
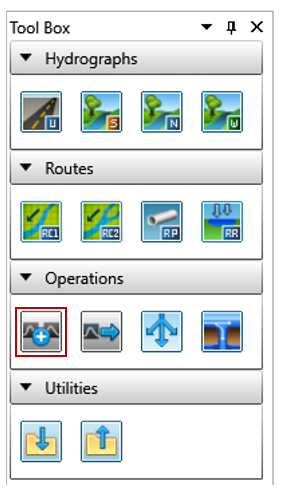
Now, two StandHyds and one NasHyd have been connected to the RouteChannel. The other two NasHyds don’t have a downstream channel. Instead, all the hydrographs will be added together at the watershed outlet. To represent this, add an AddHyd to add hydrographs from these two NashHyds.
To create an AddHyd, choose AddHyd in the tool box and drag to the desired location on the Canvas. In this case, put the AddHyd at the watershed outlet. Then, add a connector from the two left NasHyds (1002, 1001) to this AddHyd.
The Canvas will be similar to the one shown below.

The two channels (2002 and 2001) also flow to the outlet. To represent this, connect the two channels to the newly-created AddHyd as shown below.
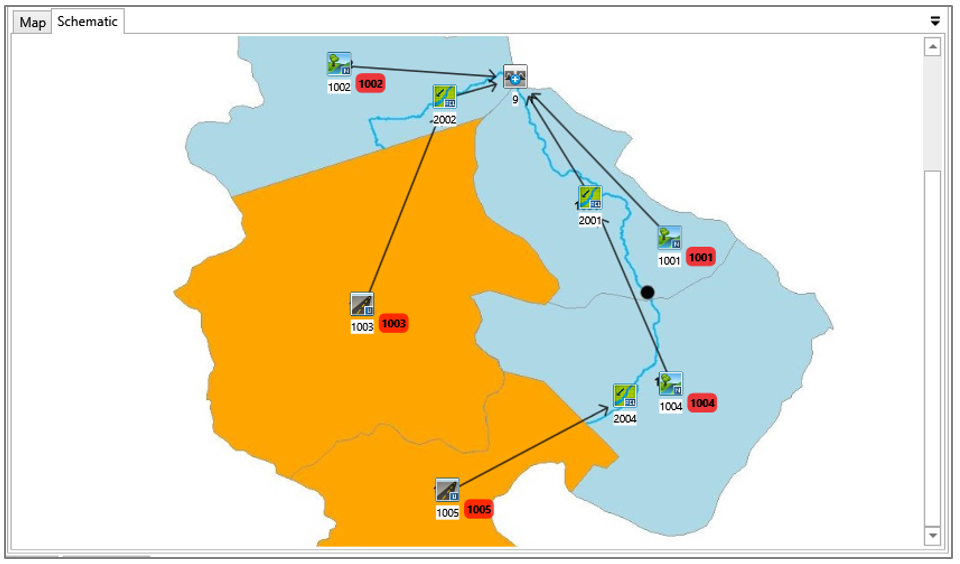
Now, most of the hydrologic objects are connected together except Channel 2004. This channel is located upstream of Channel 2001. To represent this, a connector can be added to connect them together. As a RouteChannel can only have one input link and Channel 2001 already has an input link from NasHyd 1004, an AddHyd can be added to join Channel 2004 and NasHyd 1004 together and then output to Channel 2001.
To do this, follow the steps below.
- Add another AddHyd at the end of channel 2004 and add a connector from RouteChannel 2004 to this AddHyd.
- Delete the connector between NasHyd 1004 and RouteChannel 2001 and add a new connector from NasHyd 1004 to the new AddHyd.
- Connect the new AddHyd to Channel 2001.
Now, the Canvas will be similar to the one shown below. All hydrologic objects are created and connected together. We are ready to set up the hyetograph and run the simulation.
