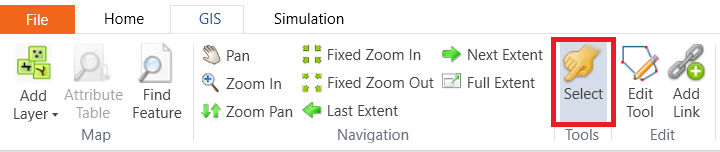
On the Map view, click the Add Link tool in the GIS ribbon. Make sure the Vertex is selected in the Snapping tools.

First, move the Support layer on top of the Hydrographs layer, so we can see the connection lines after adding connections.
Add link from a NasHyd to a RouteChannel
Your mouse cursor will be changed into a hand holding a cross. Move your mouse to a NasHyd that the link is started from. Left click the mouse. A red dot is shown on the NasHyd..
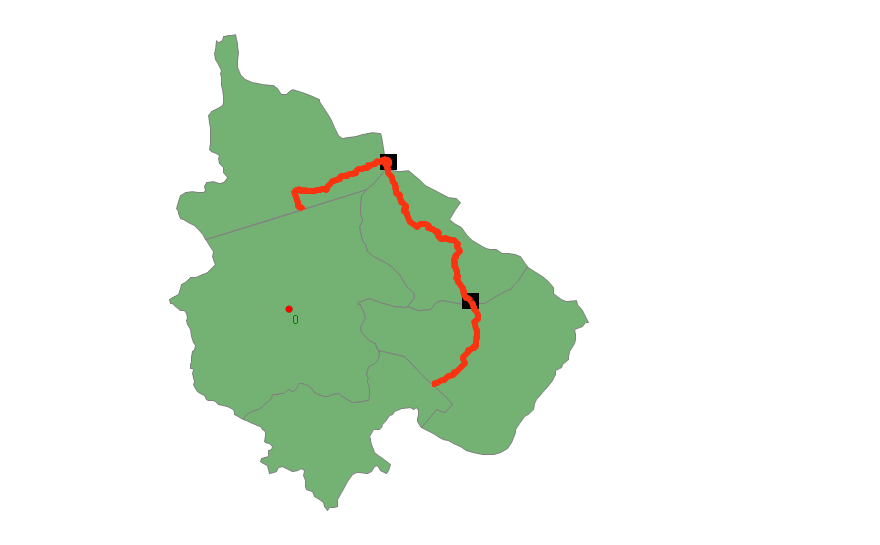
Move your mouse to the target RouteChannel that the link is connected to. Click the mouse. A link will be built between the NasHyd and the RouteChannel.
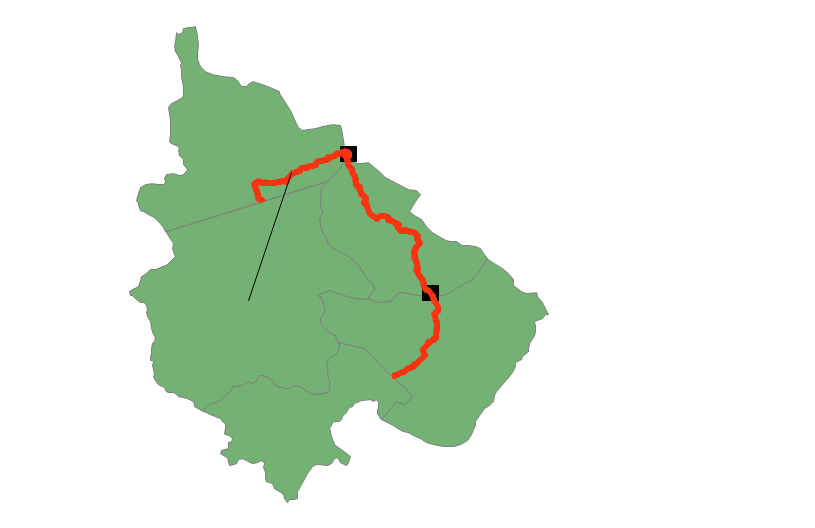
Finish the link connection
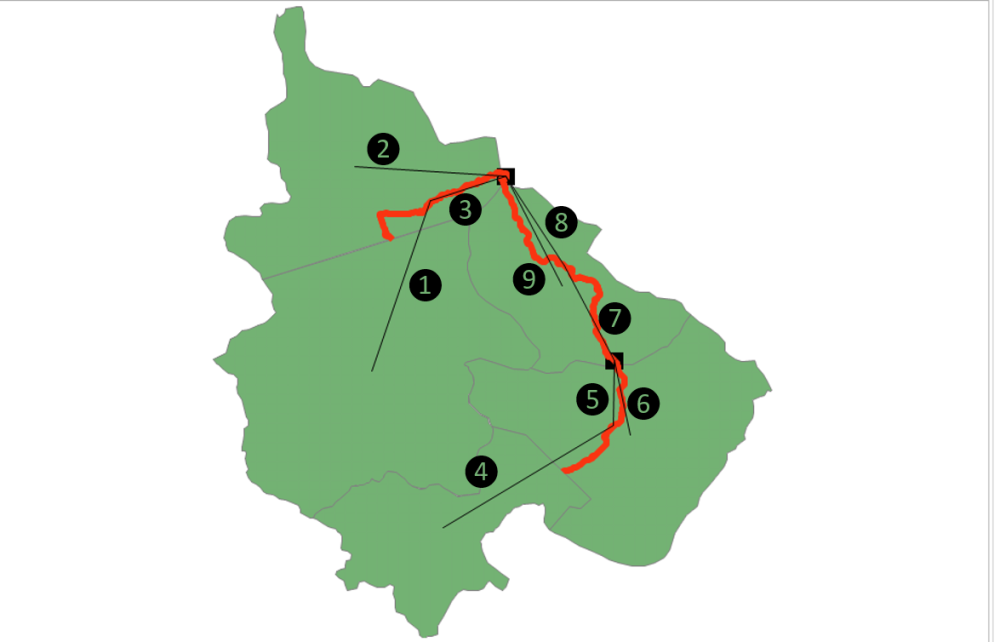
Use the same way to finish the link connection. The finished map should be displayed as below. Please follow the indicating numbers to add all links.
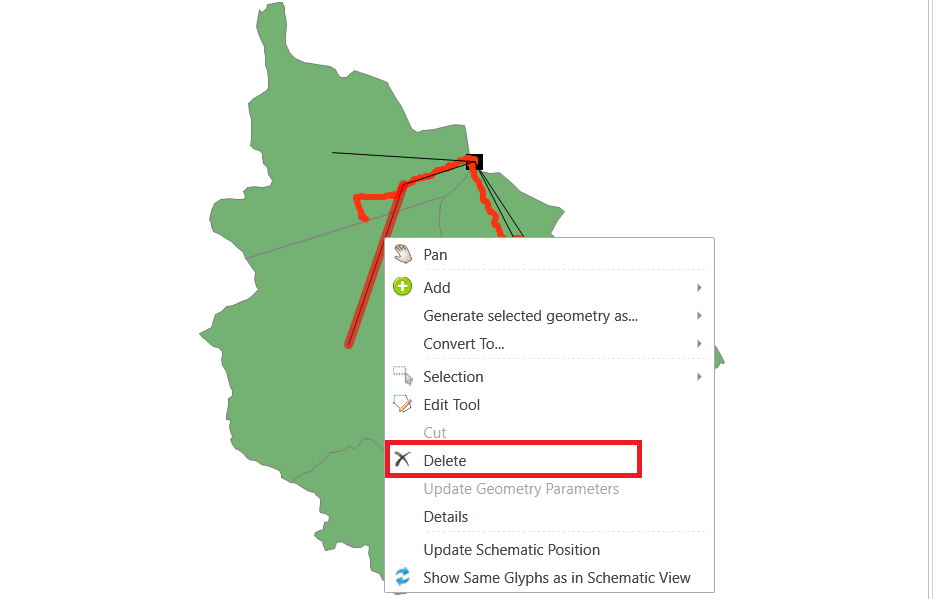
Delete the objects if you make a mistake
To delete object, make sure that the mouse is in the selection mode, where the mouse cursor will be a finger.
Select the object to be deleted.

Right click to open the context menu and select Delete.
Add links on Schematic View
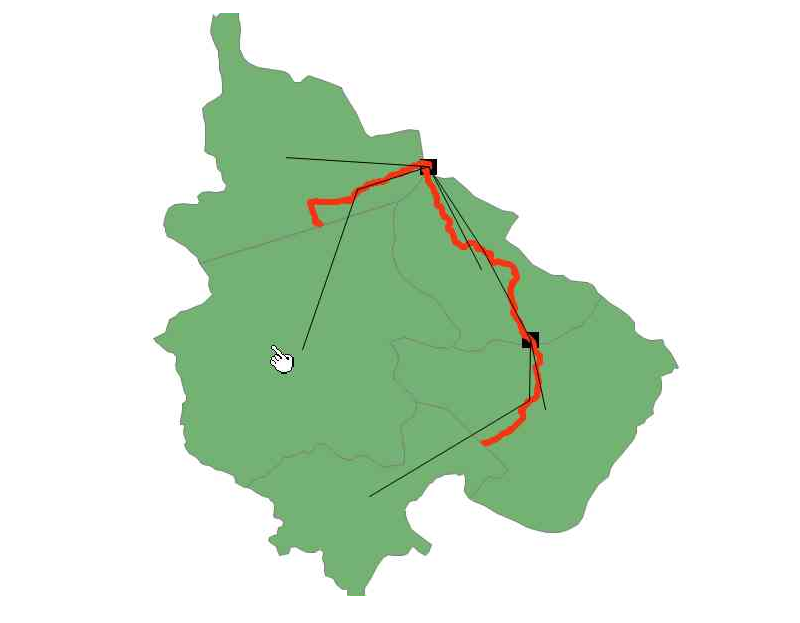
Sometimes it might be difficult to add links directly on the Map view. In this case, you can use Schematic View. The hydrologic commands generated in Map View are also shown in the Schematic view. Adjust their locations on the Schematic view to proper position. Add links following the same way as for the model built on Schematic view. Move mouse on the command where the link is started. When you see the cross sign, use the mouse left key to drag towards the target command and then release the mouse.