
Hydrologic commands do not have geospatial location information when 1) they are created on canvas or 2) they are imported from an older model. To take advantage of GIS functions, the geospatial location information can be assigned to hydrological objects.
There are two ways to assign geometry:
- There is no shapefile imported to the map. Users can assign the command by drawing a geometry on the map
- Users can add a shapefile file and then assign the command to the added geometry.
For the first situation, there is no shapefile imported to the map, so users can assign the command by drawing a geometry on the map. To do that:
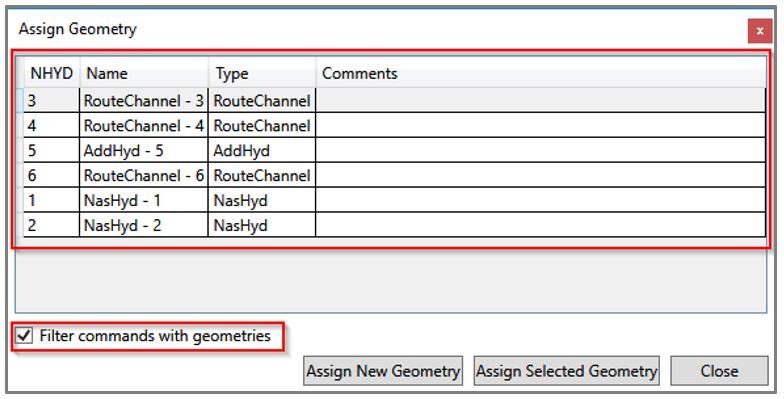
- Click the Assign Geometry button in the GIS tab. The Assign Geometry window will appear. By default, the window lists all hydrologic objects that have no associated geometry. It can also show all hydrologic objects by unchecking Filter Commands with Geometries.
![]()
- Click the Assign New Geometry button at bottom and the cursor changes to a pencil. Follow the same procedure as in 6.4.3 to create the geometry. Once the geometry is successfully created, it will be assigned to the selected hydrologic object.
For the second situation, there is shapefile, so users can assign the command to the added geometry on the map. To do that:
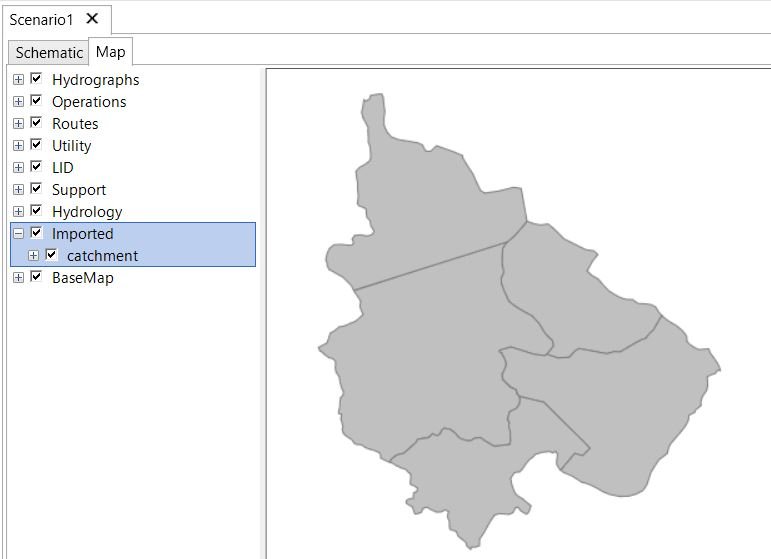
- Add shapefile layer by using Add Layer tool in the GIS ribbon. The added layer will be added to the layer list of the map and shown on the map.
![]()
- Click the Assign Geometry button in the GIS tab. The Assign Geometry window will appear. By default, the window lists all hydrologic objects that have no associated geometry. It can also show all hydrologic objects by unchecking Filter Commands with Geometries.
![]()
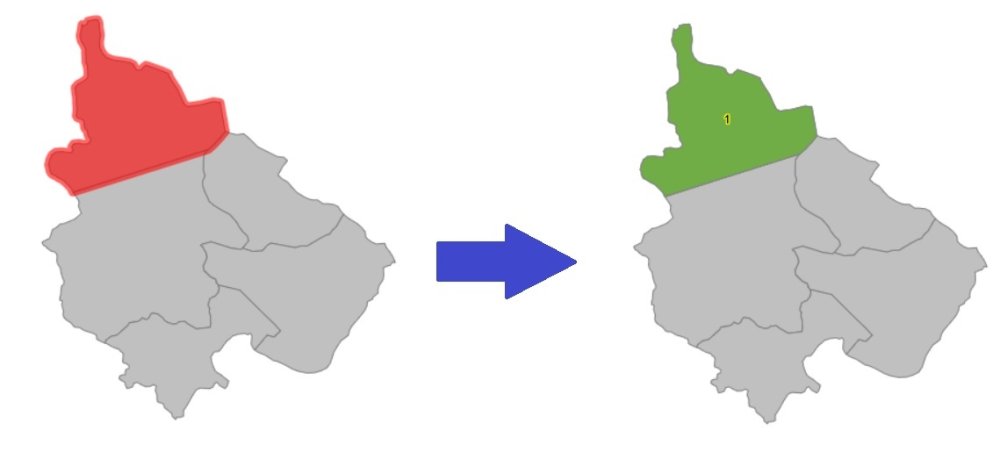
- Keep the Assign Geometry tool open. Select the desired geometry on the map.
- Select the desired hydrologic command in the list of Assign Geometry window and click Assign Selected Geometry button at the bottom.
Copyright © 2024 Smart City Water
—
Powered by 