In the Notification Item Properties window, users can create a new notification item for the application.
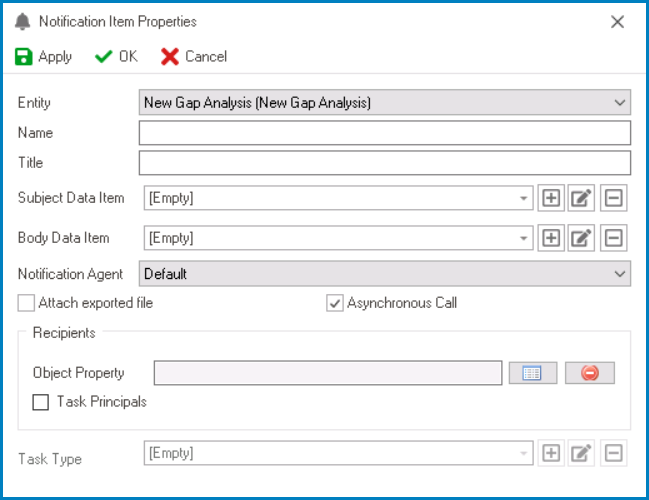
- Entity: This is a single-select dropdown field that retrieves the list of entities (from the Entity Designer section of the Entities module). It allows users to select the entity associated with the notification item.
- Name: This is a text field that allows users to input the name of the notification item. It is a mandatory field.
- There are the following guidelines determining the validity of names:
- A valid name can contain letters, numbers, and the underscore symbol. It cannot, however, contain spaces or other special characters. It also cannot begin with a number.
- A notification item must have a unique name. It cannot have the same name as another rule in the program.
- There are the following guidelines determining the validity of names:
- Title: This is a text field that allows users to input the title of the notification item. It is a mandatory field.
- Unlike with names, there are no guidelines determining the validity of titles.
- Subject Data Item: This is a single-select dropdown field that retrieves the list of data items (from the Task Data Item section of the Notification module). It allows users to select the data item that will dynamically populate the subject or title of the notification.
- To define a new data item, select the
![]() button.
button.
- It will display the Data Item Properties window.
- To modify an existing data item, select the
![]() button.
button. - To delete a data item, select the
![]() button.
button.
- To define a new data item, select the
- Body Data Item: This is a single-select dropdown field that retrieves the list of data items (from the Task Data Item section of the Notification module). It allows users to select the data item that will dynamically populate the body or text of the notification.
- As with the previous field, users can utilize the corresponding buttons to create, edit, and/or delete data items.
- Notification Agent: This is a single-select dropdown field that displays the list of notification agents. It allows users to select the type of notification they want to use for the current notification item.
- Notification Agents
- Email: This option allows users to send the notification as an email to the recipient’s registered email address.
- SMS: This option allows users to send the notification as a text message to the recipient’s registered phone number.
- Task List: This option allows users to send the notification as a new task instance to the assigned task type recipient.
- Attach Exported File: This is a checkbox which, if selected, allows users to attach the exported template file to their (email) notification.
- Template Attachment – Workflow Implementation
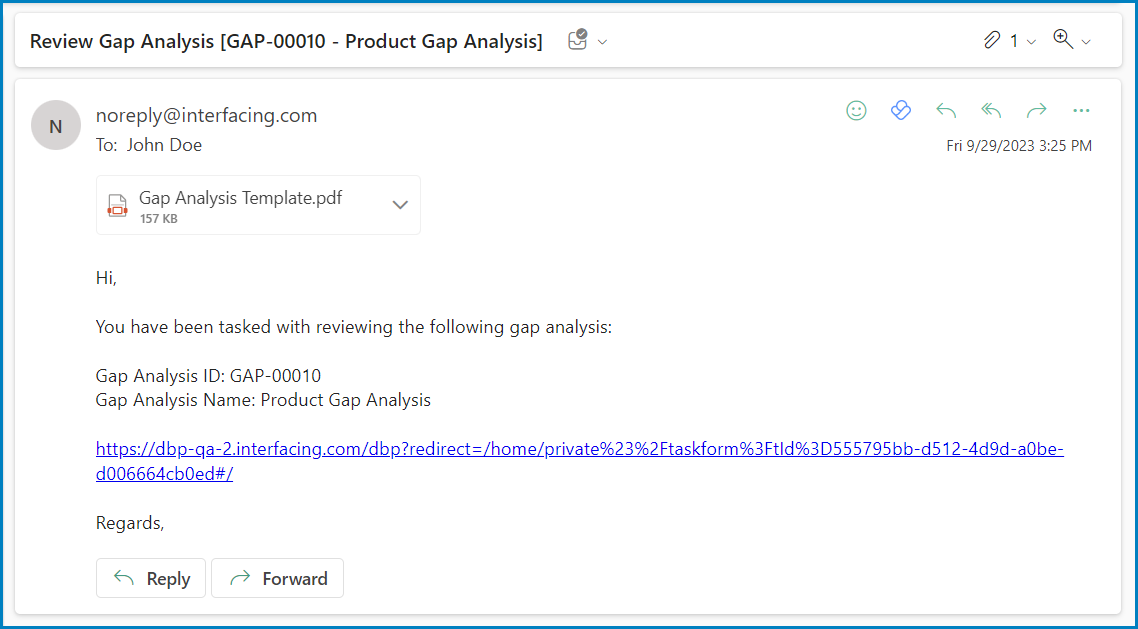
In a practical workflow, each task (e.g., Task A, Task B, Task C) is assigned its unique template and notification. Enabling the Attach Exported File checkbox for each task ensures that its corresponding template is attached to the email notification.
For example, if Task A has an assigned template, enabling this option will attach Task A’s template to the email, and the same applies to Task B and Task C.
![]()
- Asynchronous Call: This checkbox determines whether or not the notification call will be asynchronous.
- If selected, the system will process notifications in batches without any tagging-out pauses.
- If selected, the system will process notifications in batches without any tagging-out pauses.
- Recipients: In this section, users can specify the recipients of the notification.
![]() : This button allows users to select the object property or attribute that will define the recipient of the notification.
: This button allows users to select the object property or attribute that will define the recipient of the notification.
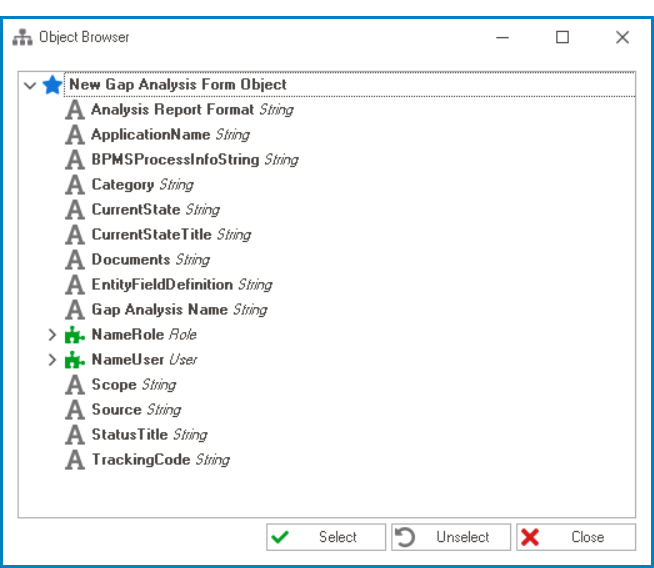
- If selected, it will display the Object Browser window.
![]()
- Once an attribute has been selected, it will populate the Object Property field.
![]()
- If selected, it will display the Object Browser window.
![]() : This button allows users to remove the selected object property.
: This button allows users to remove the selected object property.- Task Principals: This is a checkbox which, if selected, allows users to send the notification to the task’s principals, i.e., the assignees of the task.
- Task Type: This is a single-select dropdown field that retrieves the list of task types (from the Task Types section of the Processes module). It allows users to select the specific task type to which the notification will be associated.
- To define a new task type, select the
![]() button.
button.
- It will display the Task Type Properties window.
- To modify an existing task type, select the
![]() button.
button. - To delete a task type, select the
![]() button.
button.
- To define a new task type, select the