
In the Entity subtab, users can define the properties of the newly created entity as well as manage the structure of the Entity Tree.
This subtab is divided into three key components:
- Entity Tree
In this section of the tab, users can view a hierarchical representation of the entities and their associated attributes in the application.

- Users can expand and collapse the tree nodes to view or hide the associated attributes of each entity.
![]()
- Users can also search the list of entities and their attributes by using the search box.
![]()
- All the titles containing the search value will be highlighted in yellow. Users can then click on the up or down arrow buttons to navigate to the next or previously matched title, respectively.

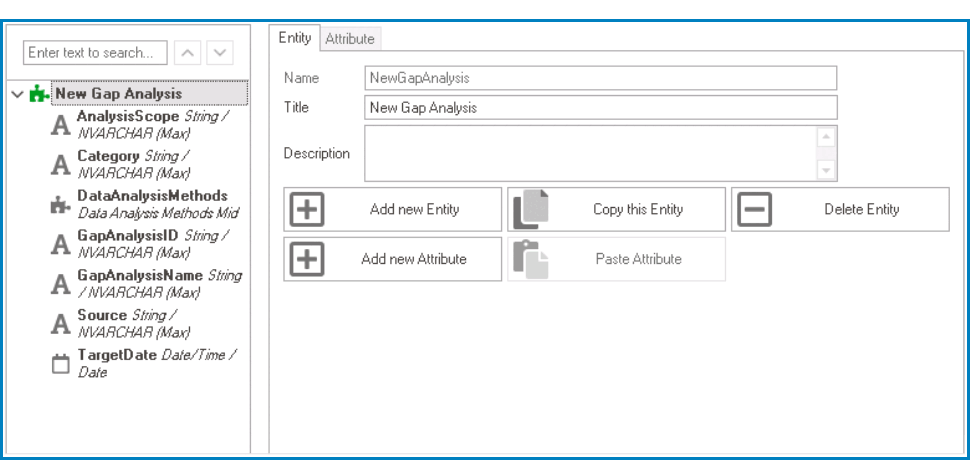
- Entity Properties
In this section of the tab, users can define the properties of the entity.
- Name: This is a text field that allows users to input the name of the entity. It is a mandatory field.
- There are the following rules determining the validity of names:
- A valid name can contain letters, numbers, and the underscore symbol. It cannot, however, contain spaces or other special characters.
- An entity must have a unique name. It cannot have the same name as another entity in the program.
- There are the following rules determining the validity of names:
- Title: This is a text field that allows users to input the title of the entity. It is a mandatory field.
- The title inputted in this field will be used as the display title for the entity.
- Unlike with names, there are no rules determining the validity of titles.
- Description: This is a multi-line text field that allows users to input a description for the entity.
- Entity Menu
In this section of the tab, users can manage the entity and its attributes.
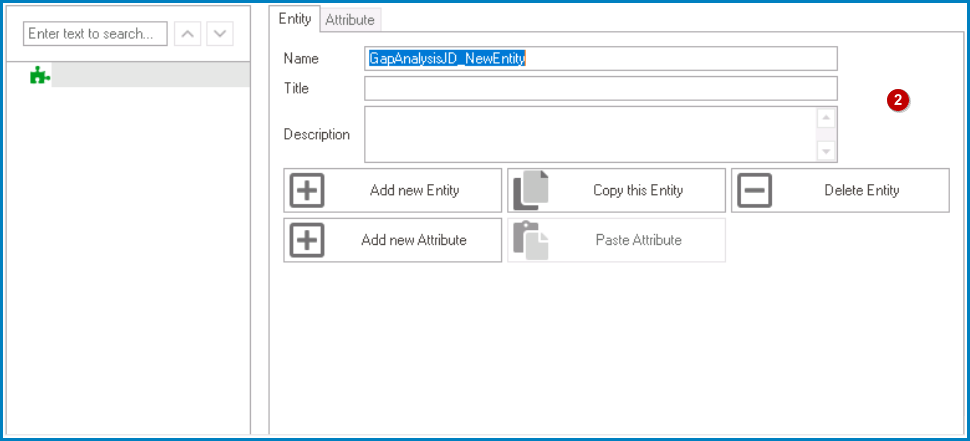
- Add New Entity: This button allows users to add a new entity.
- Copy This Entity: This button allows users to copy the selected entity.
- If selected, a new entity with all the associated attributes of the original will be automatically created.
- Users can then modify the properties of the duplicate entity as needed.
- By default, however, the name of the duplicate entity will follow this format: OriginalName_1.
- By default, however, the name of the duplicate entity will follow this format: OriginalName_1.
- Users can then modify the properties of the duplicate entity as needed.
- If selected, a new entity with all the associated attributes of the original will be automatically created.
- Delete Entity: This button allows users to delete the selected entity.
- If selected, users will be alerted of the action with a confirmation message.
- To confirm the deletion, click on the Yes button. To cancel, click on the No button.
- If selected, users will be alerted of the action with a confirmation message.
- Add New Attribute: This button allows users to add a new attribute under the selected entity.
- If selected, it will redirect users to the Attribute tab, wherein they can define the properties of the newly created attribute.
- Paste Attribute: This button allows users to paste the selected attribute.
- To enable this button, users must first select an attribute from the Entity Tree and click on the Copy Attribute button (located in the Attribute tab).