In the Process Designer, users can insert events into the diagram either automatically or manually.
- Automatic Method
To insert an event automatically, take the following steps:
- First, drag and drop an object (start event, state, gateway, etc.) from the toolbox onto the design canvas.
![]()
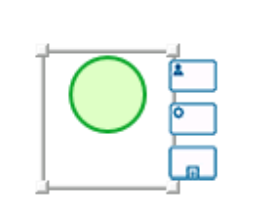
- Next, select the object now situated on the canvas. It will display to its right a list of thumbnails, each representing a different element that the object can be linked to.
![]()
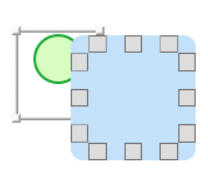
- Select the appropriate thumbnail—that is, the one representing the next object needed for your process—and from the resulting blue field, click on the grey box that most closely aligns with your desired location for the second object.
![]()
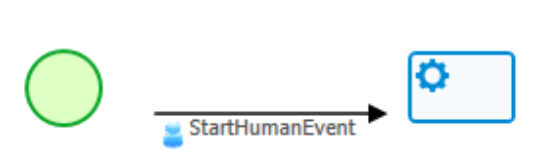
- Once you have determined its location, the second object will appear in the diagram with an arrow linking it to the first object. This arrow is known as an event.
![]()
- In this manner, users can design the rest of the process, automatically adding events as they go.
![]()

- Manual Method
To insert an event automatically, take the following steps:
- First, drag and drop an object (start event, state, gateway, etc.) from the toolbox onto the design canvas.
![]()
- Next, drag and drop another object to which the first object can be connected. (Users can look to the thumbnails associated with the first object for reference.)
![]()
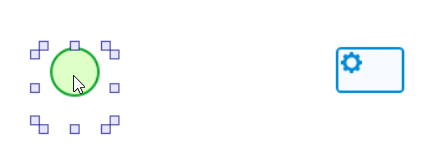
- Once you have both objects situated on the canvas, hover over the first object. It will display a set of small boxes along its borders.
![]()
- Place the cursor over the box that most closely aligns with your desired direction for the event. Click and drag the cursor across to the corresponding box for the second object.
![]()
- In this manner, users can design the rest of the process, manually adding events as they go.
![]()


Note: To adjust or reroute an event, simply click and drag the handle on either end of the arrow.