A nested form link control requires at least two entities: a main entity, in which the nested form link will be used, and a custom entity, which will contain the attributes for the nested (or custom) form.
To create nested form link controls and their associated attributes, follow these steps:
- Create Custom Entity
- Access Entity Properties
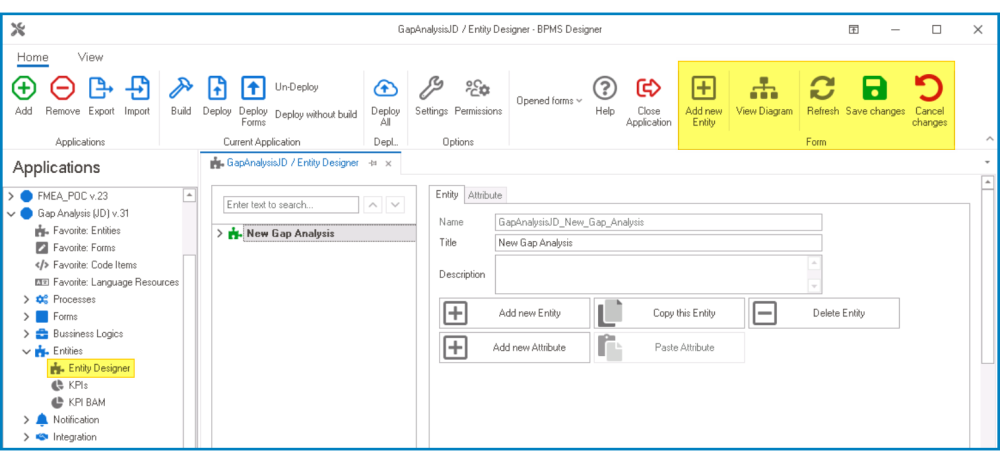
- From the Application Tree, navigate to Entities > Entity Designer (double-click to open). It will display the Entity Designer tab and expand the menu bar to show additional options.
![]()
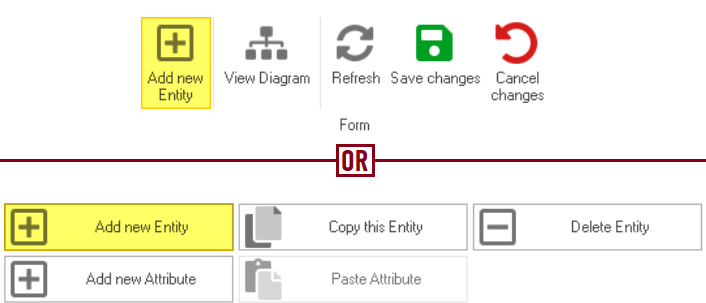
- From either the Entity tab or the menu bar, select the Add New Entity option. It will display a set of fields in which you can define the properties of the new entity.
![]()
- From the Application Tree, navigate to Entities > Entity Designer (double-click to open). It will display the Entity Designer tab and expand the menu bar to show additional options.
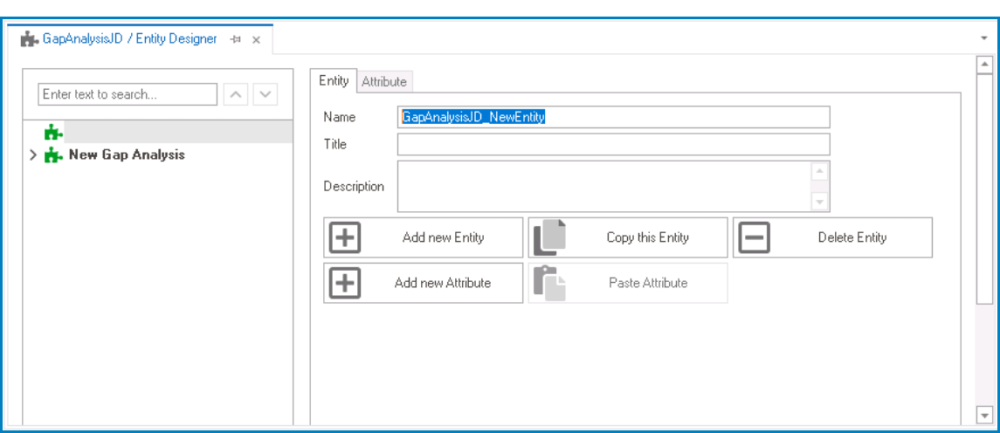
- In the fields of the Entity tab, users can define the properties of the newly created entity.
![]()
- In the Name field, provide a name for the entity.
- In the Title field, either specify a custom title for the entity or let the system automatically generate it based on the provided name.
- In the Description field, provide a description for the entity, if needed.
- Create Custom Attributes
- Access Attribute Properties
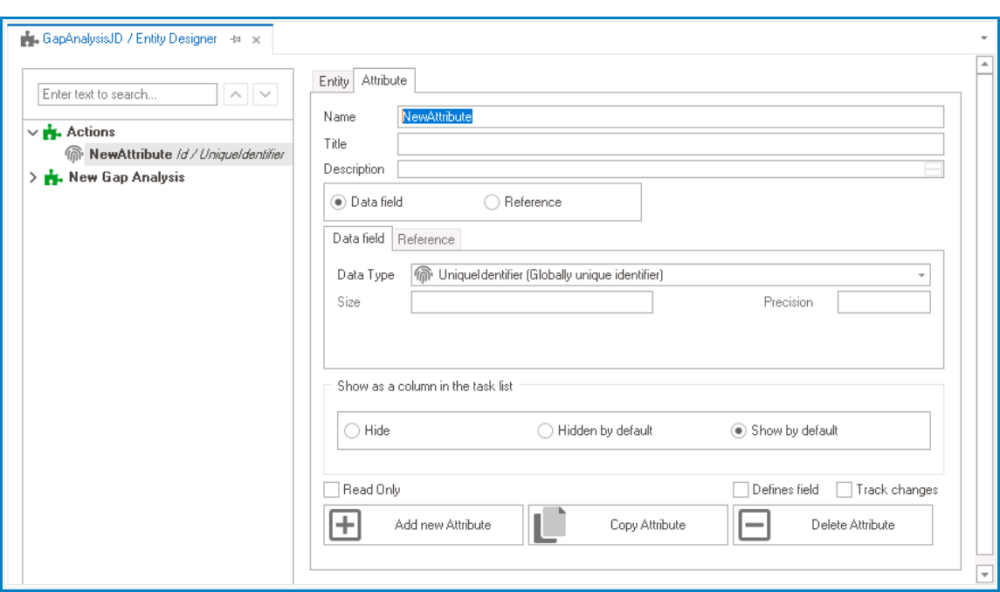
- Once you have created the entity, select the Add New Attribute option from the Entity tab. It will direct you to the Attribute tab where you can define the properties of the new attribute.
![]()
- Once you have created the entity, select the Add New Attribute option from the Entity tab. It will direct you to the Attribute tab where you can define the properties of the new attribute.
- In the fields of the Attribute tab, users can define the properties of the newly created attribute.
![]()
- In the Name field, provide a name for the attribute.
- In the Title field, either specify a custom title for the attribute or let the system automatically generate it based on the provided name.
- Choose an attribute type— Data Field or Reference.
- For the Data Field attribute, select the appropriate data type from the dropdown.
- For the Reference attribute, select the appropriate reference from the System Reference window.
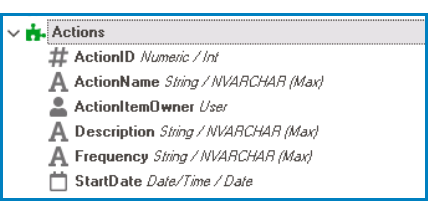
- Custom Entity Attributes Example
-
![]()

- Create Foreign Key (Under Main Entity)
- Access Attribute Properties
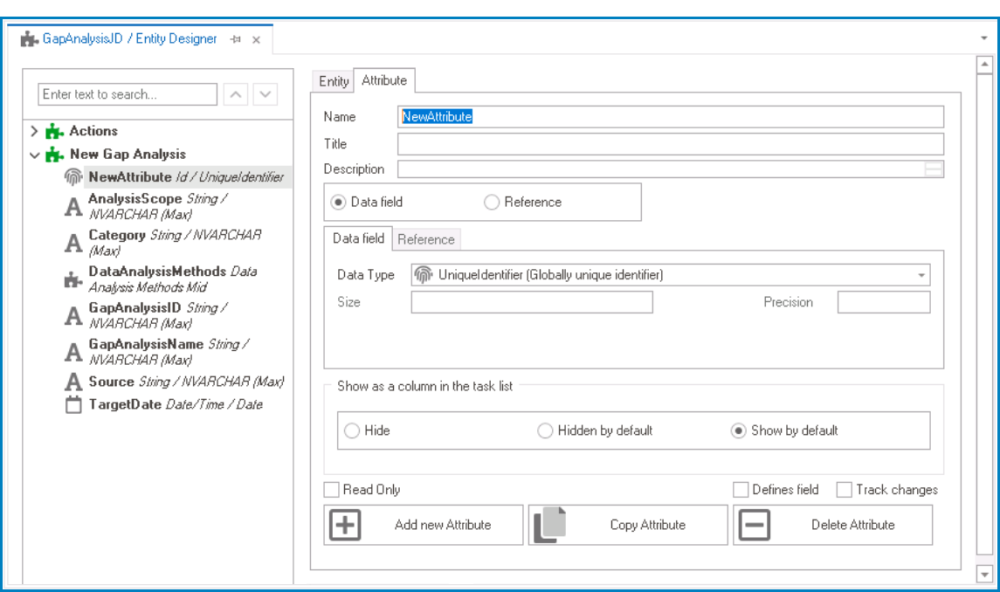
- Once you have created the custom entity and its attributes, return to the main entity. Select the Add New Attribute option from the Entity tab. It will direct you to the Attribute tab where you can define the properties of the new attribute.
![]()
- Once you have created the custom entity and its attributes, return to the main entity. Select the Add New Attribute option from the Entity tab. It will direct you to the Attribute tab where you can define the properties of the new attribute.
- In the fields of the Attribute tab, users can define the properties of the newly created attribute.
![]()
- In the Name field, provide a name for the foreign key.
- In the Title field, either specify a custom title for the foreign key or let the system automatically generate it based on the provided name.
- Choose the Reference option.
- Click on the
![]() button. It will display the Select Reference window. From the entity section, select [AppName] – [CustomEntity]. From the field section, select ID.
button. It will display the Select Reference window. From the entity section, select [AppName] – [CustomEntity]. From the field section, select ID.
![]()
- Selecting the entity will redirect to the Attribute tab, where the entity section will display [CustomEntity] and the field section will display ID.
![]()


- Create & Design Custom Form
- Access Form Properties
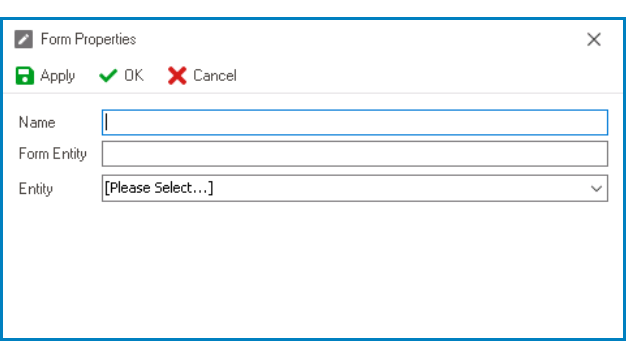
- From the Application Tree, navigate to Forms > List of Forms (double-click to open). It will display the List of Forms tab and expand the menu bar to show additional options.

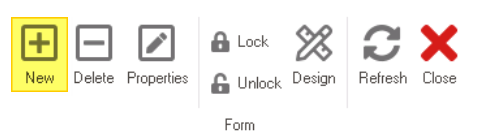
- From the menu bar, select the New option. It will display the Form Properties window.
![]()
- From the Application Tree, navigate to Forms > List of Forms (double-click to open). It will display the List of Forms tab and expand the menu bar to show additional options.
- In the Form Properties window, users can create a new form for the application.
![]()
- In the Name field, provide a name for the form.
- In the Form Entity field, either specify a custom name for the form entity or let the system automatically generate it based on the provided form name.
- From the Entity dropdown, select the custom entity.
- Click OK and confirm both the prompt to start designing the form and the prompt to create a draft.

- Configure Nested Form Link Control Binding Properties
- After creating and configuring the custom form, users can return to their main form and define the binding properties for the nested form link control.
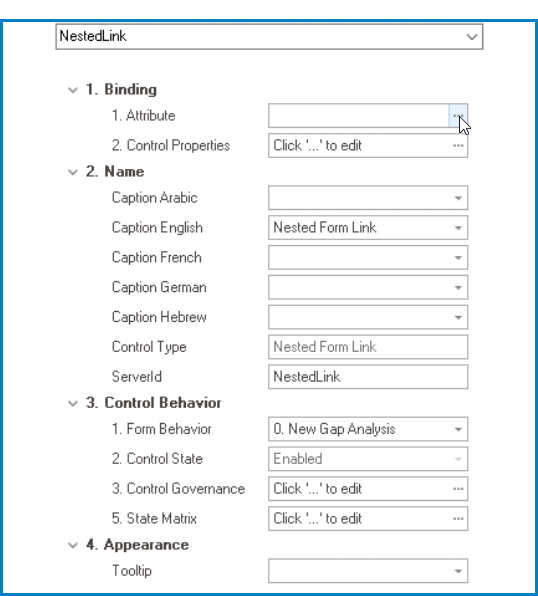
- Bind Nested Form Link Control to Attribute
- A nested form link must be connected to the foreign key associated with the custom entity.
![]()
- A nested form link must be connected to the foreign key associated with the custom entity.
- Configure Binding Properties
-
- To access the control properties, click on the ellipses (
![]() ) inside the field. In the displayed window, navigate to the Nested Link tab.
) inside the field. In the displayed window, navigate to the Nested Link tab.
![]()
- From the Physical Form dropdown, select the custom form.
- Click on the OK button to save your changes and exit the window.
- To access the control properties, click on the ellipses (
- Configure Control Governance Properties
-
- To access the control governance properties, click on the ellipses (
![]() ) inside the field.
) inside the field.
![]()
- To enable a functionality, users must link a corresponding form behavior.
- To set up a form behavior, users only need to provide a name and a title.
- When creating the form behaviors for the ‘New’ functionality, users must select the Starter checkbox.
- Click on the OK button to save your changes and exit the window.
- To enable a functionality, users must link a corresponding form behavior.
- To access the control governance properties, click on the ellipses (
- Click Save Form and deploy the application to the web.