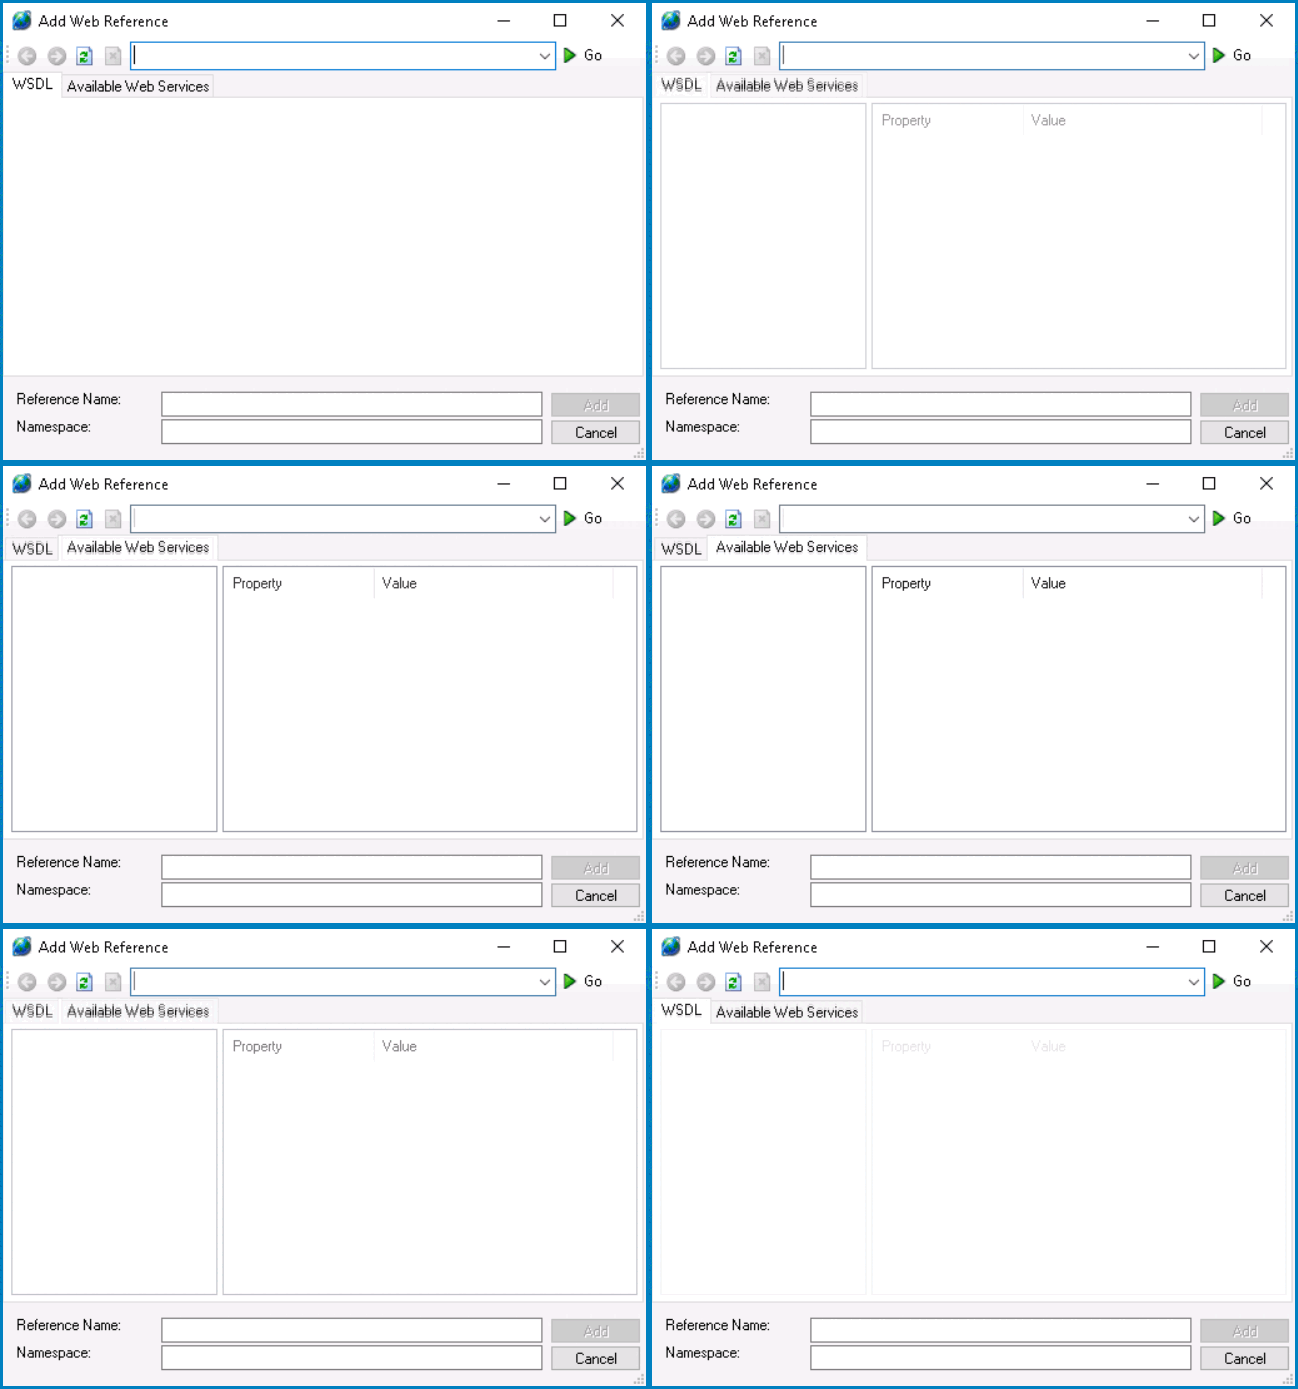
In the Add Web Reference window, users can create a new web reference for the application.

- Address Bar: This field allows users to input the address or URL of the desired web service.
- Back: This button allows users to navigate back to the previously visited web address.
- Forward: This button allows users to move forward in their browsing history, if they have previously gone back.
- Refresh: This button allows users to reload the current web page.
- Stop: This button allows users to halt the loading process of the current web page.
- Go: This button allows users to initiate the loading of the web page specified in the address bar.
- Type of Web Service: In this section of the window, users can switch between different tabs to explore the contents of the chosen web service.
- WSDL: If the web service adheres to the WSDL standard, users can access and explore its functionalities through this tab.
- Available Web Services: If the web service is accessible on the server, users can discover and access it from the list provided in this tab.
- WSDL: If the web service adheres to the WSDL standard, users can access and explore its functionalities through this tab.
- Reference Name: This is a text field that allows users to input a name for the web service reference, facilitating easy identification within the application.
- Namespace: This is a text field that allows users to define a namespace for the web service reference, aiding in categorization and organization.
- Example of Namespace Usage
- For example, consider the incorporation of the line:
using System;
At the outset of a program, this allows the developer to employ the code:
Console.WriteLine("Hello, World!");
Instead of:
System.Console.WriteLine("Hello, World!");
- Add: This button allows users to integrate the selected web service reference into their application.
- Cancel: This button allows users to cancel the process of adding the web service reference.


