In the Layouts tab of the toolbox, users are provided access to a variety of layouts that can be used for designing a form.
To add layouts to the design environment, take the following steps:
- From the toolbox, select a layout style and drag it towards a viable drop location in the design environment.
*As users drag an object towards the design environment, the viable drop locations will be indicated by the Add Row to Page fields.
- Drop the layout style onto the viable area.
*Make sure the Add Row to Page field is highlighted in yellow before dropping the object. Otherwise, the placement operation will not succeed.
- In this manner, users can design the layout of the form, adding as many layout styles as needed.
*When adding an object to an existing column in the design environment, the viable drop locations will be highlighted in yellow. When adding an object in between existing layouts, the viable drop locations will be indicated by the Insert Here fields.
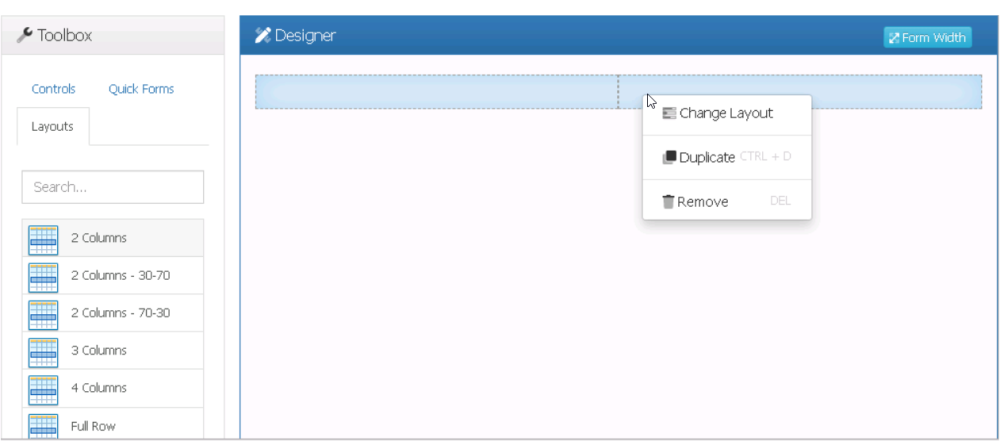
Once a layout has been added to the design environment, users can perform the following actions:
- Change, Duplicate, or Remove Layout
- For more information on the options in this context menu, click here.
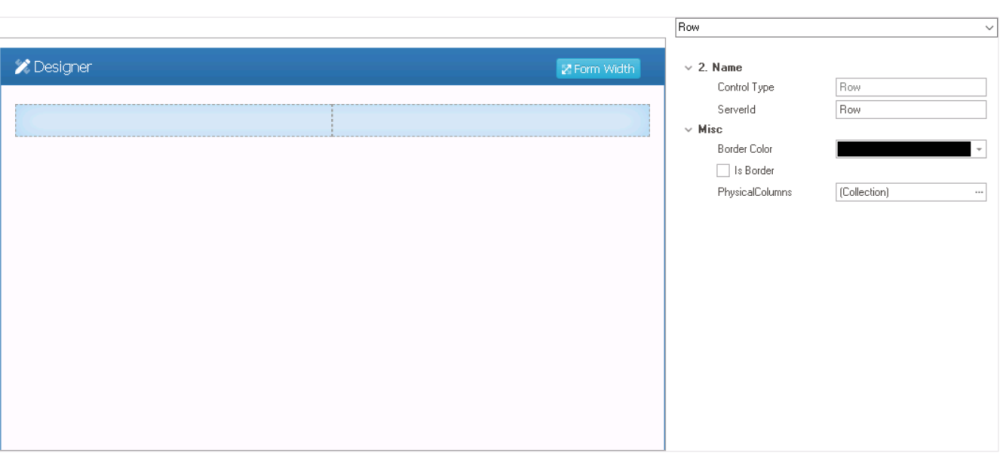
- Configure Properties
- For more information on how to configure the layout properties, click here.
!It is important to note that these layout styles are used solely for organizing and structuring the layout of controls within the form. Put simply, while the layout selected will impact how controls are categorized in the web application, the columns themselves will not be visible to the end-user.
- Layout Preview: Design View vs. Web View
-