
Sag area can be modelled as a Storage Unit. VOSWMM can measure the Storage Curve from the DEM.
A. Add storage unit
Zoom into the sag area at the downstream of the overland conduits, which is the location where all the three branches merge.

Click the button Create Sag Node in the Micro-Drainage tab.

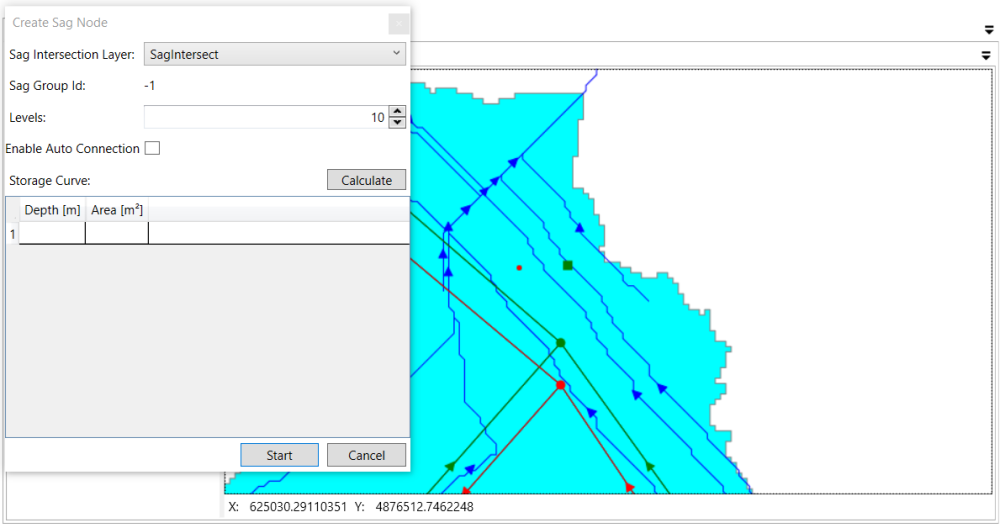
In the Create Sag Node window, make sure that the box Enable Auto Connection is unchecked.

Move the Create Sag Node window aside the map to see the sag area. Click the Start button on the Create Sag Node window. Hover your mouse cursor to the map and the mouse cursor changes to the Edit mode. Click anywhere on the Sag Area. The place where you click will show a red dot.
Move your mouse to the flow path where you want to place the Storage Unit in the sag area. Snap on the flow path. The snapped Vertex is in a red box.

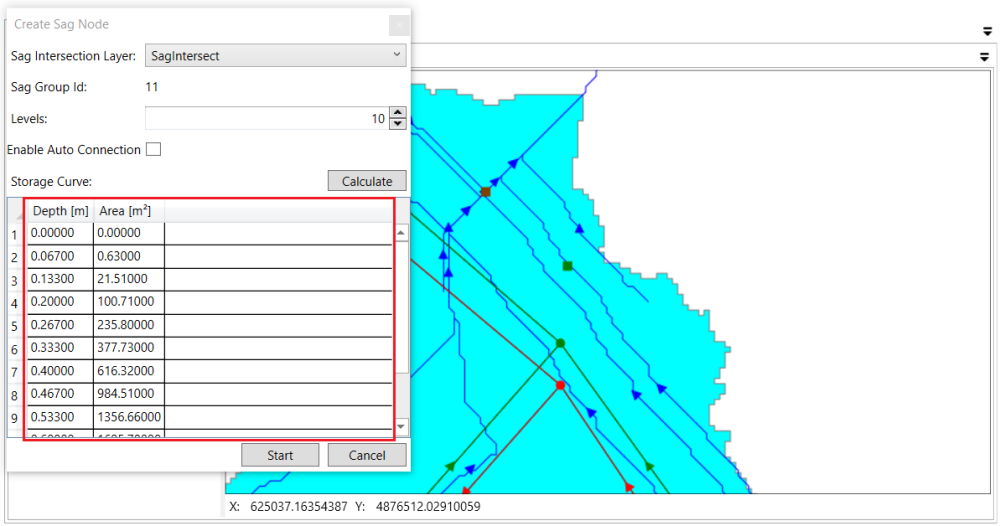
Click to add a Storage Unit node on the flow path. The Storage Curve is automatically obtained and shown in the table of Create Sag Node window,
B. Connect overland node and storage unit
The overland Junction and the Storage Unit are connected by a Conduit link. Drag and drop the Conduit icon from the Tool Box to the Map canvas. The mouse cursor will change to the Edit mode.

To add a Conduit, first select the node where the Conduit starts, i.e. the From Node and then select the node where the Conduit ends, i.e. the To Node. In this tutorial case, click the last overland Junction on the north branch.

Then, click the Storage Unit. A Conduit link will be added to the map.

Following the same procedure to add major conduits from the south branch downstream node to the storage unit and from the west branch downstream node to the storage unit. The follow graph highlights those conduits connection from the major nodes (denoted in black circles) and the storage unit (denoted in black box).
