For more information about the model setup for manhole inflow modeling, please refer to Manhole Inflow Analysis.
A. Set Outlet Links to Use Manhole Inflow Rating Curves
Navigate to the Parameter Tables -> Outlet tab. Select all the outlet links. To select all the outlet links, select the first row in the Parameter Table of Outlet links and then press Ctrl + A.
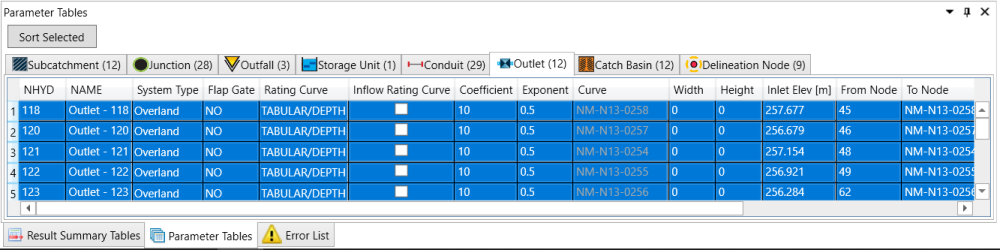
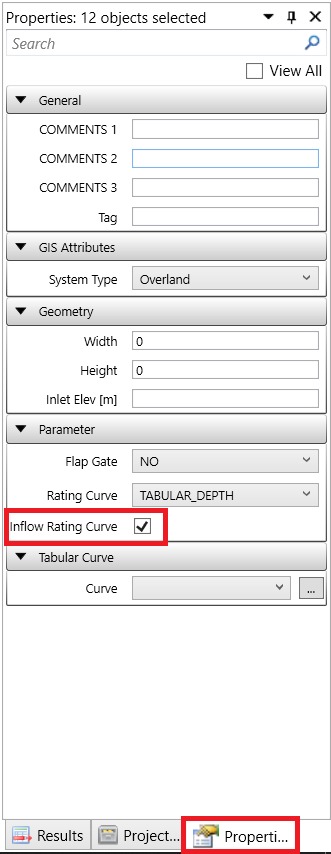
In the Properties tab, check on the box Inflow Rating Curve for the select Outlet links.
B. Select Manhole Inflow Sources
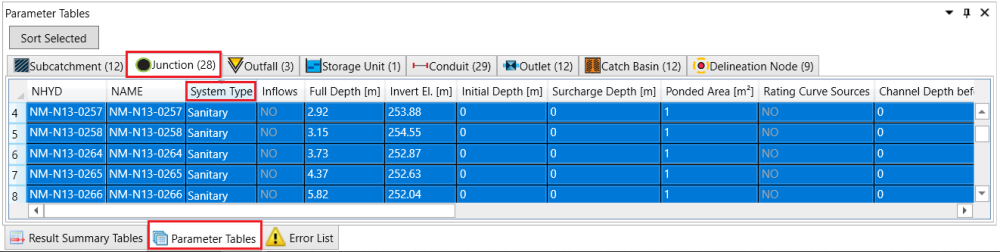
Navigate to the Parameter Tables -> Junction tab. Sort the table by System Type by clicking on the header of System Type. Select all the Sanitary junctions. To select all the Sanitary junctions, select the first Sanitary junction in the Parameter Table of Junction, scroll down the table until reach the last Sanitary junction, hold Shift key and click on the last Sanitary junction.
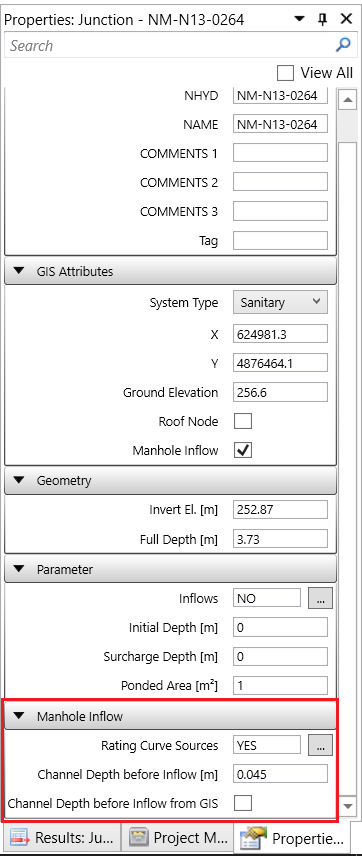
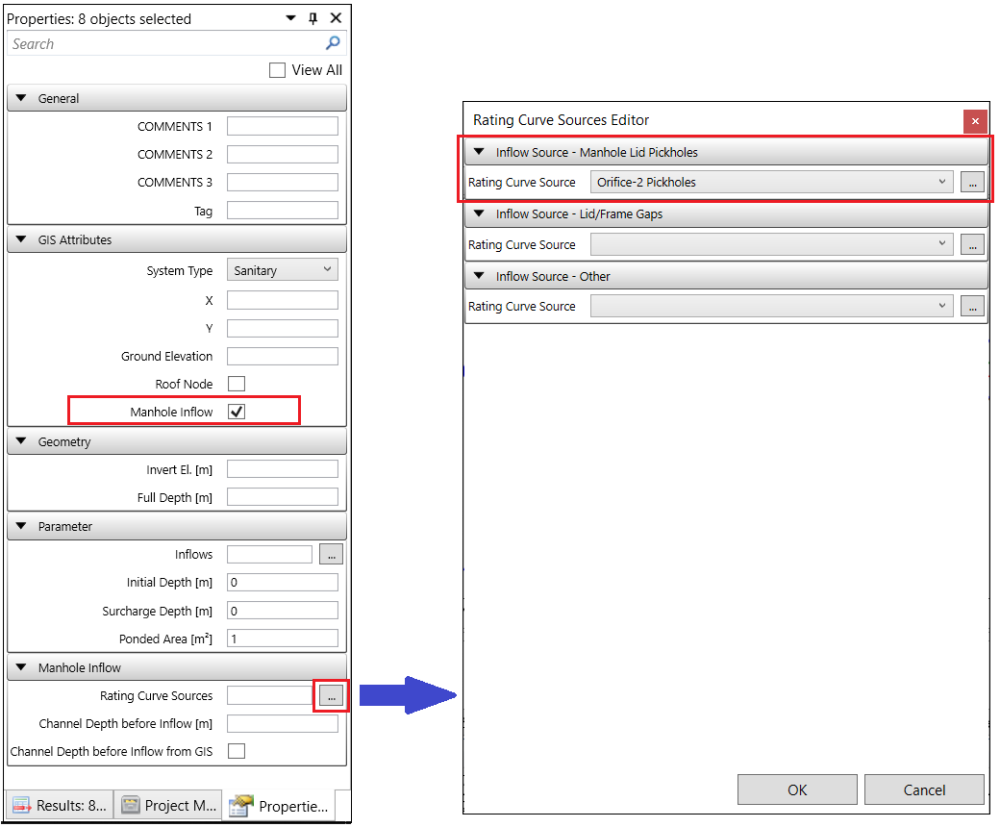
In the Properties tab, check on the box Manhole for the Sanitary junctions. A new section Manhole Inflow will display. Click on the  button next to the Rating Curve Sources. In the pop-up Rating Curve Sources Editor window, select Orifice-2 Pickholes as the Rating Curve Source for Inflow Source – Manhole Lid Pickholes.
C. Set Up Channel Depth before Inflow
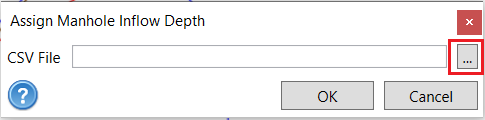
Navigate to Micro-Drainage toolbar and click the Assign Manhole Inflow Depth button.

in the pop-up Assign Manhole Inflow Depth window, click the button next to CSV File.
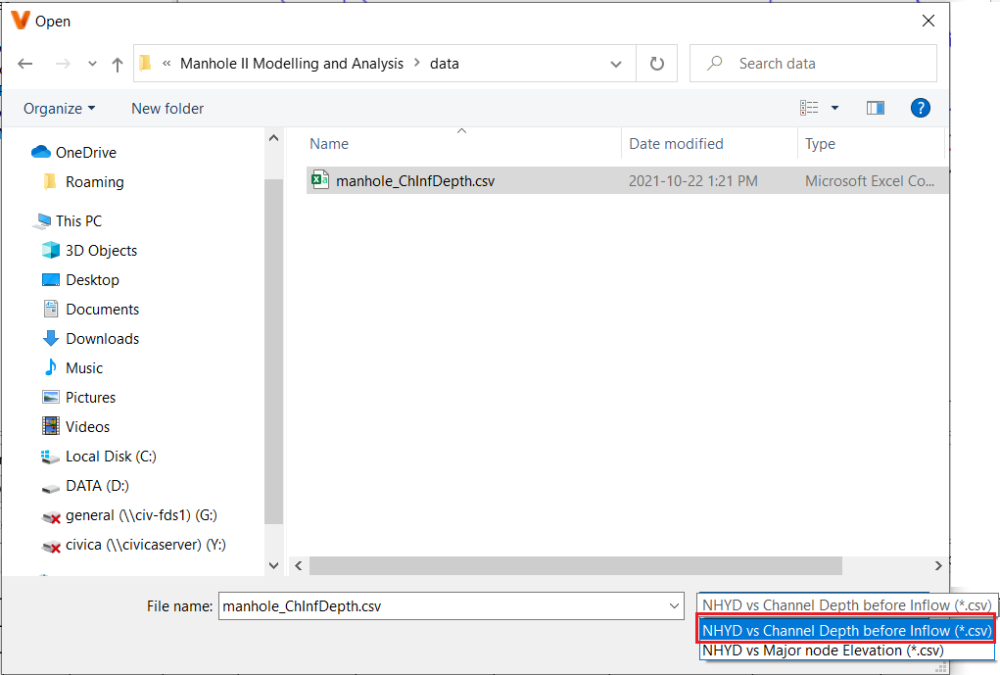
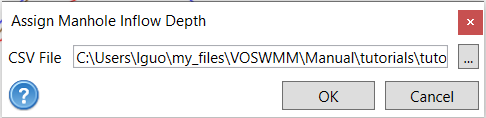
In the pop-up window, make sure the file type is selected as NHYD vs Channel Depth before Inflow (csv). Navigate to the file “…\Manhole II Modelling and Analysis\data\manhole_ChInfDepth.csv”. Double click the file to add it to the Assign Manhole Inflow Depth window.
Click OK on the Assign Manhole Inflow Depth window to assign the Channel Depth before Inflow to the Sanitary Manholes.
You can click on any Sanitary junction to check its Manhole Inflow settings.