This particular example has been previously introduced in the post-development runoff section. Here, our focus shifts to exploring additional dimensions of the project, setting the stage for upcoming examples.
Begin by importing the INP file named Example1-Pre and establishing a suitable background for the project. To achieve this, navigate to the schematic portion, right-click, and opt for “change background.” Choose the Site-pre option as the background. Adjustments might be necessary, such as zooming or repositioning commands to align them with the chosen background.
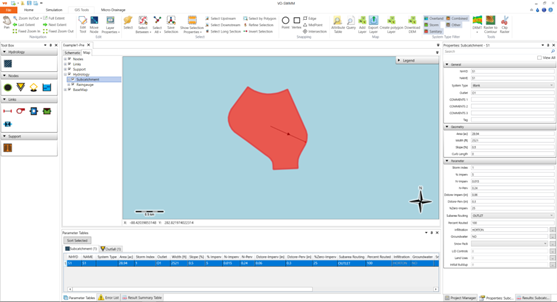
A notable benefit of utilizing VOSWMM lies in the incorporation of a map layer alongside the schematic aspect. In this instance, clicking on the map provides access to the Map tab. Under the Map tab, navigate to Hydrology >> Subcatchments, and through a right-click, opt to “zoom to layer.” This action presents the model’s commands in the form of shapefiles. It’s important to note that due to the absence of a coordinate system within an INP, the displayed location may not be accurate.
This innovative approach, facilitated by VOSWMM, enriches the modeling experience by seamlessly integrating schematic representations with geographical context. As we delve further into this example, these features will underscore the versatility and convenience of VOSWMM for practical stormwater management projects.