
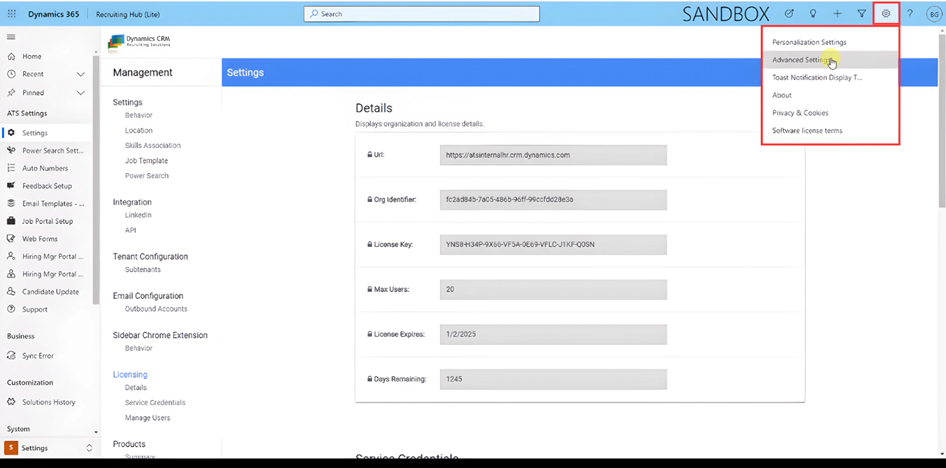
To create a custom workflow and send an automatic email when a job is created, navigate to advanced settings.
Click on Settings and then select Processes to access the workflow creation interface.
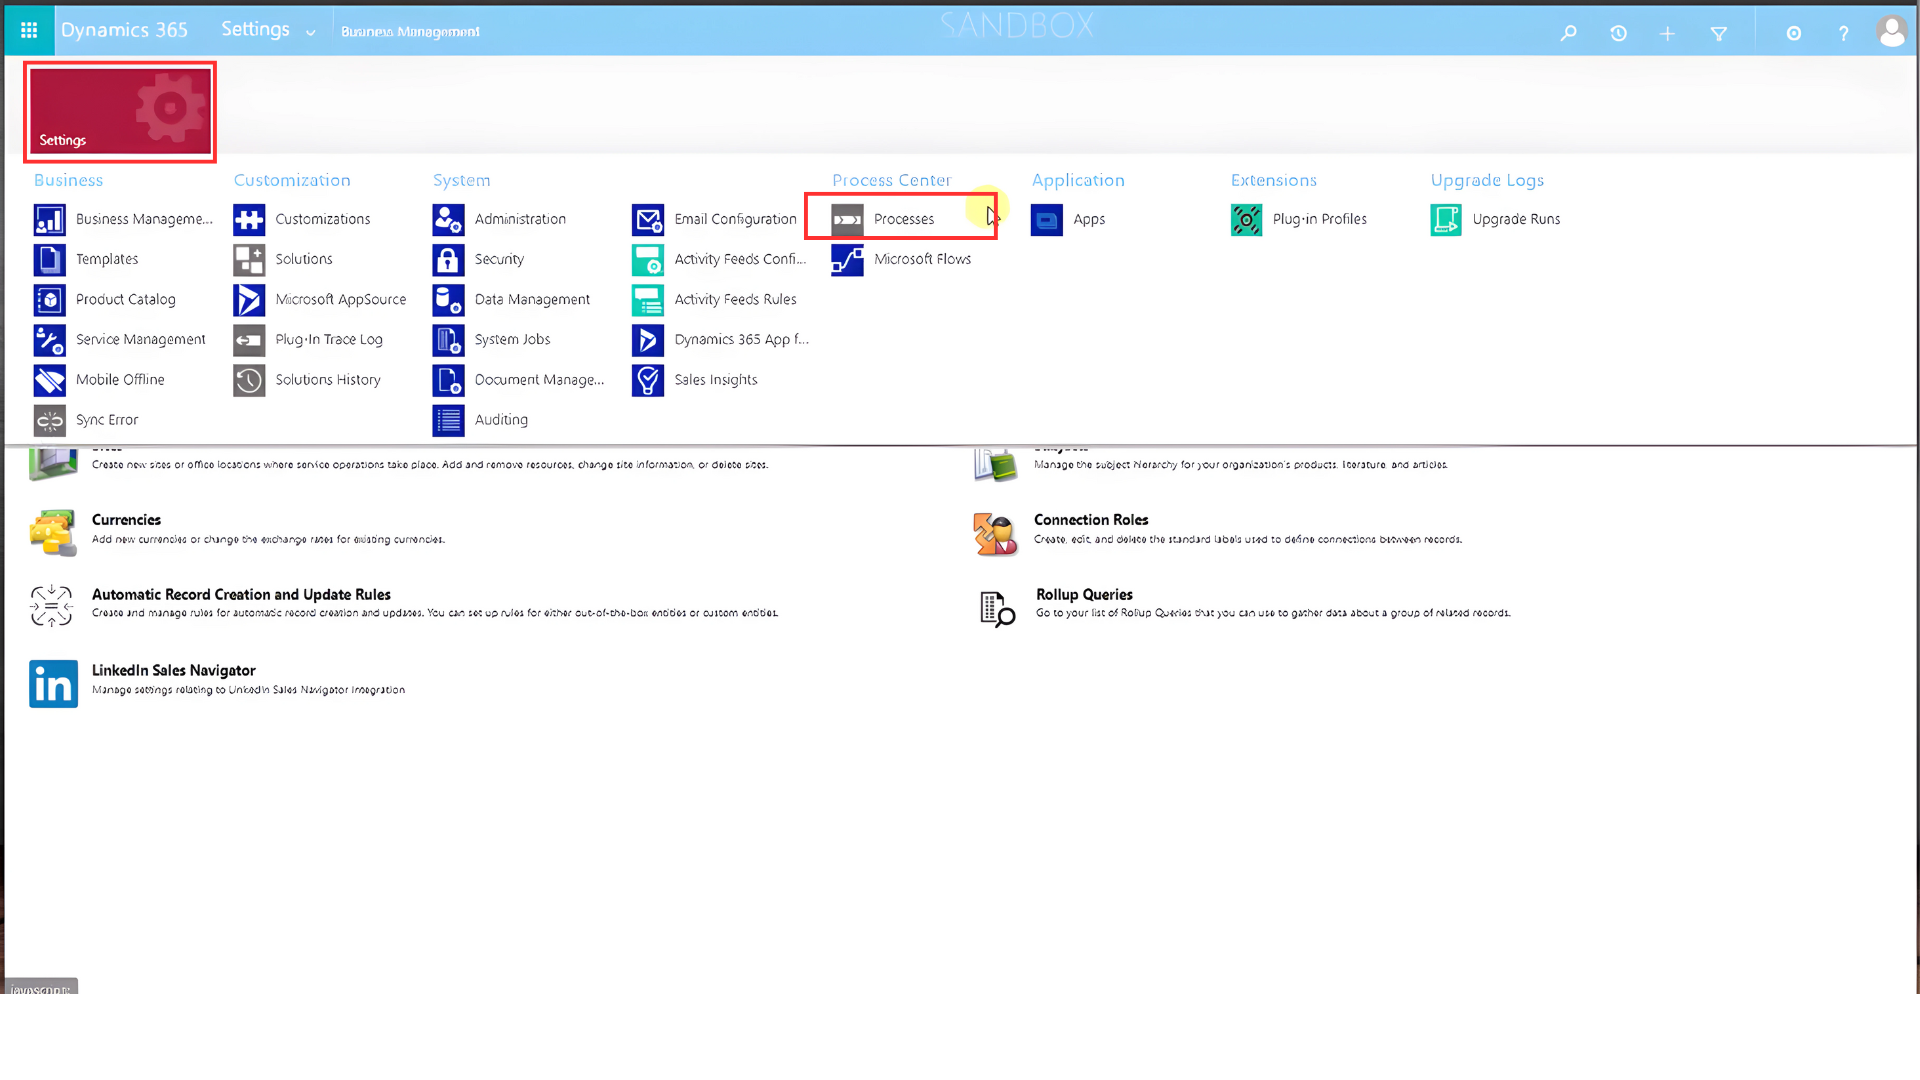
Press New to start creating a new workflow.
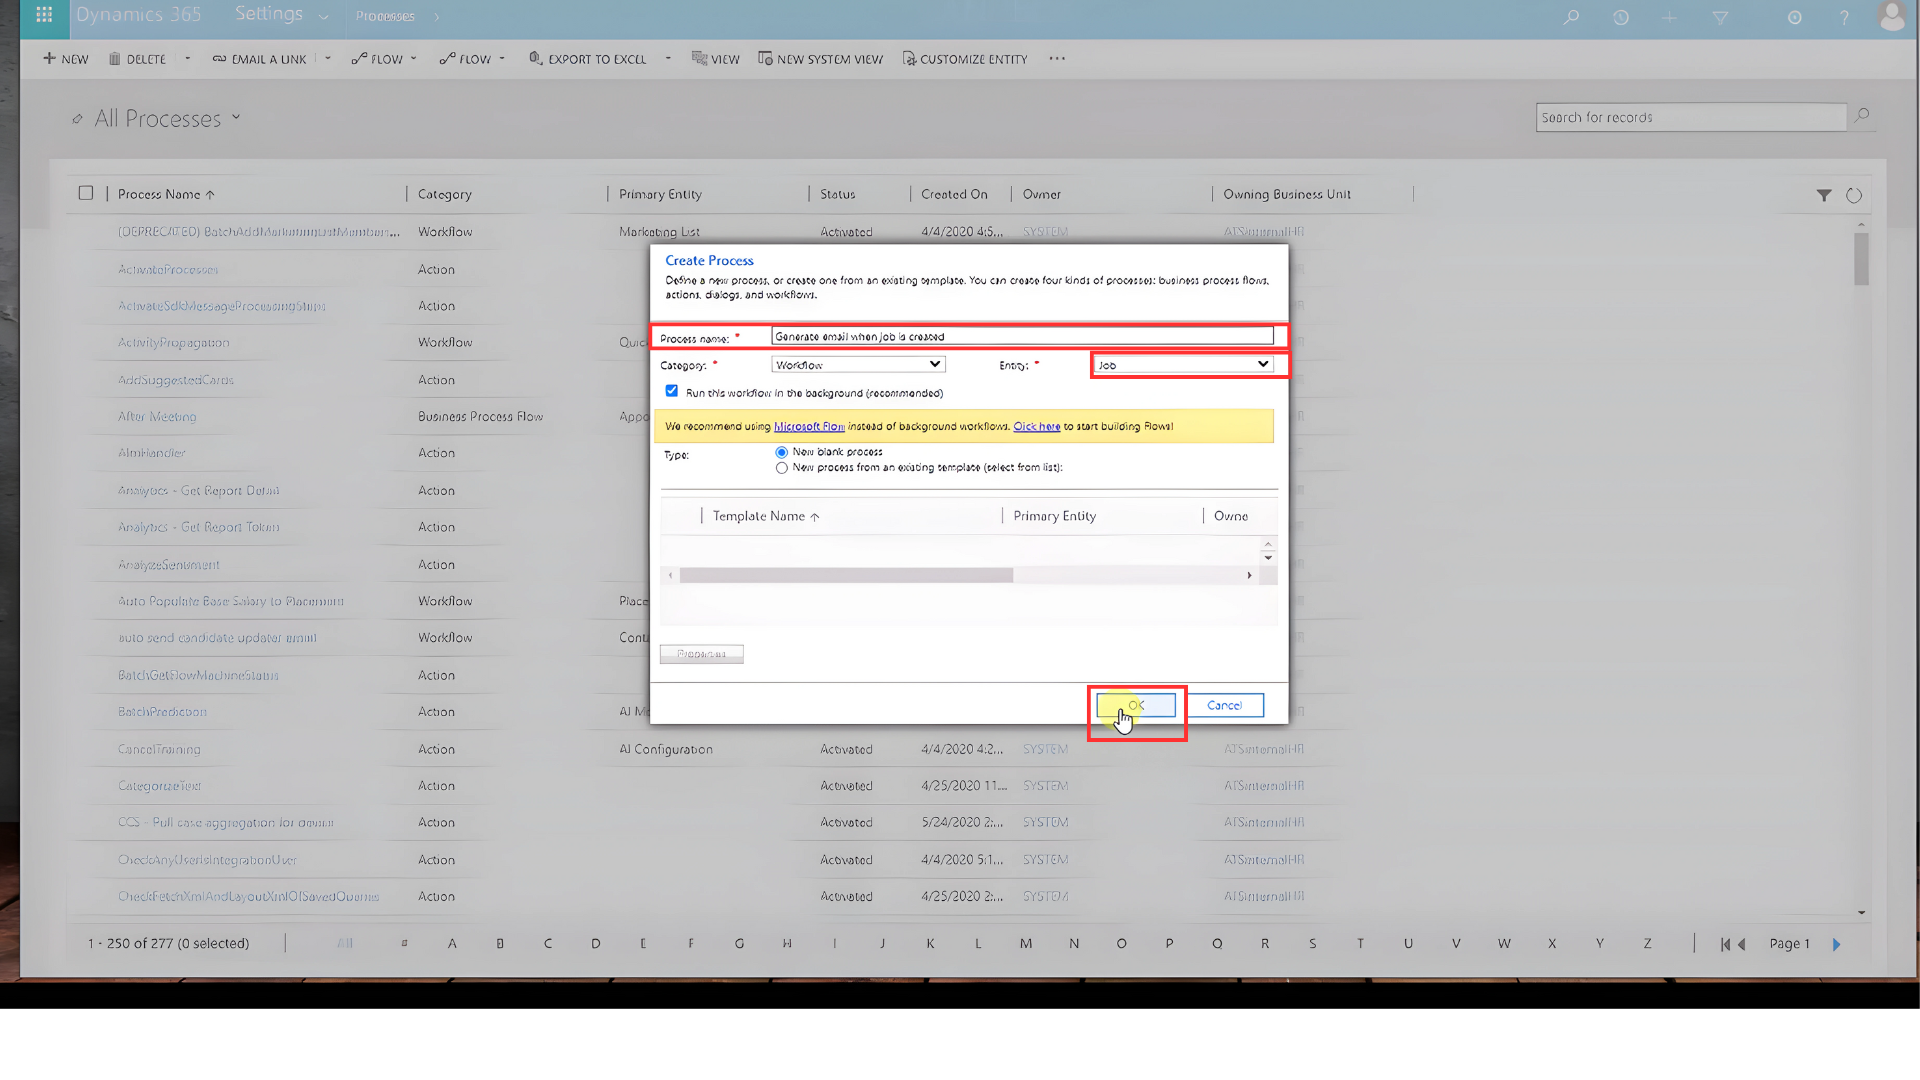
Enter the process name and select the entity to which the workflow will apply, in this case, Job. Then click OK.
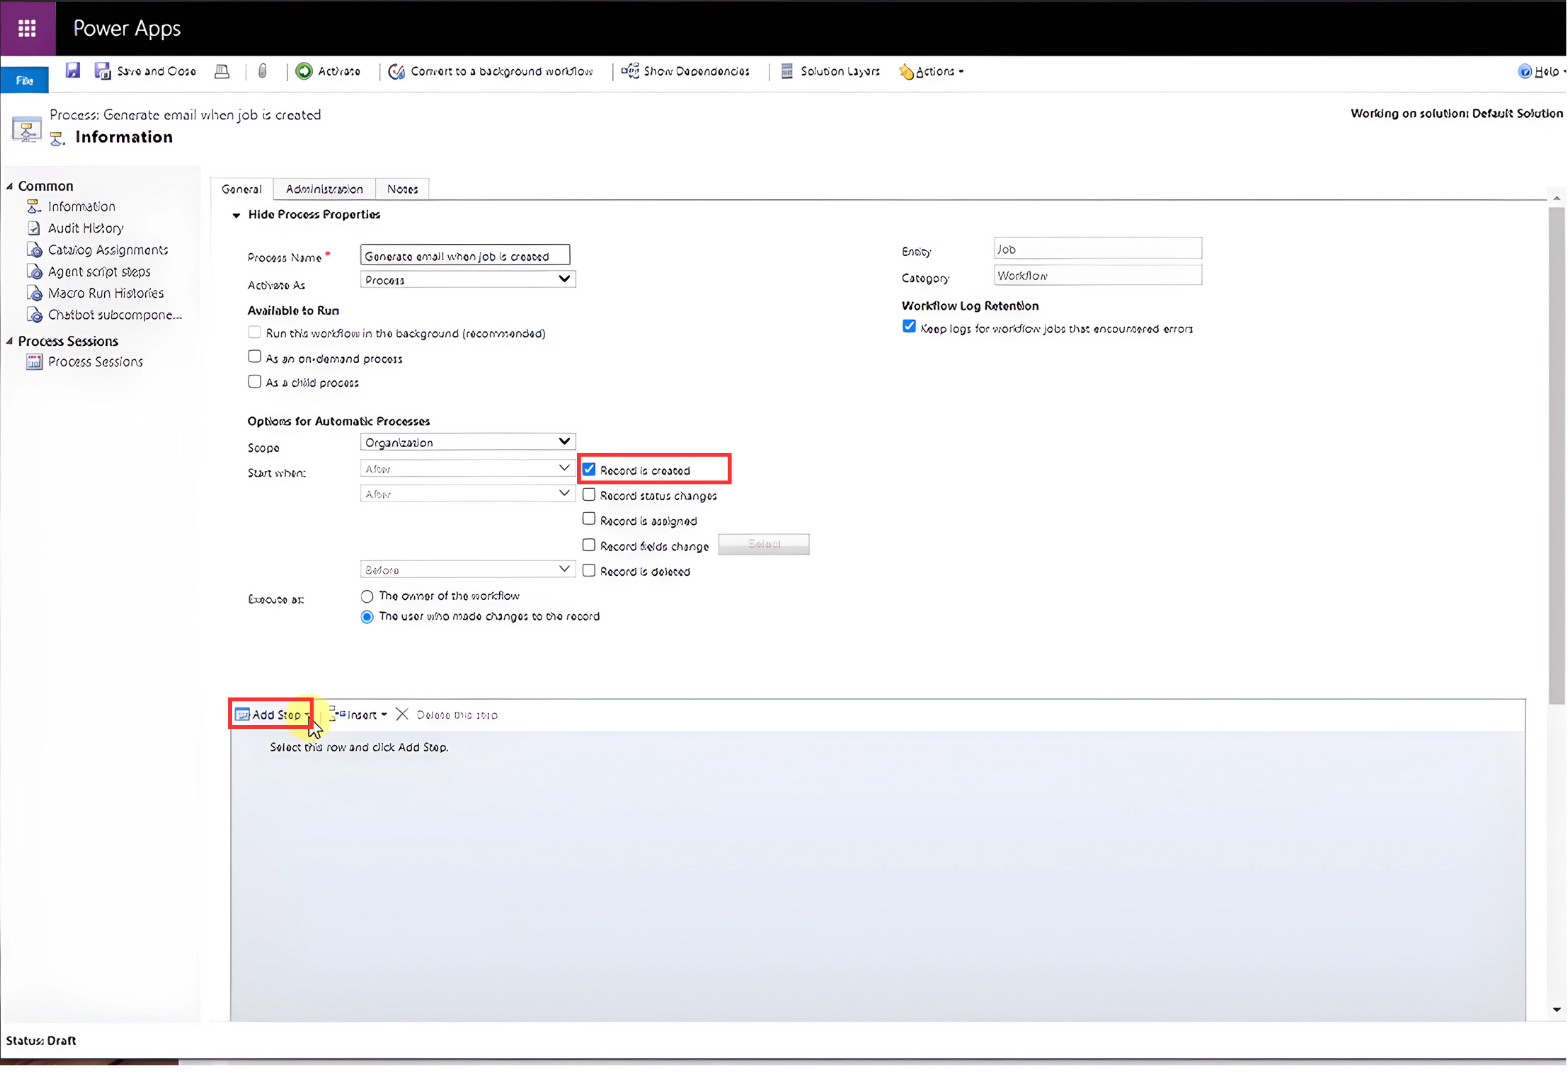
Now, you must set the execution mode. To do this, select “Organization” on the scope dropdown and press “Convert to real-time workflow.
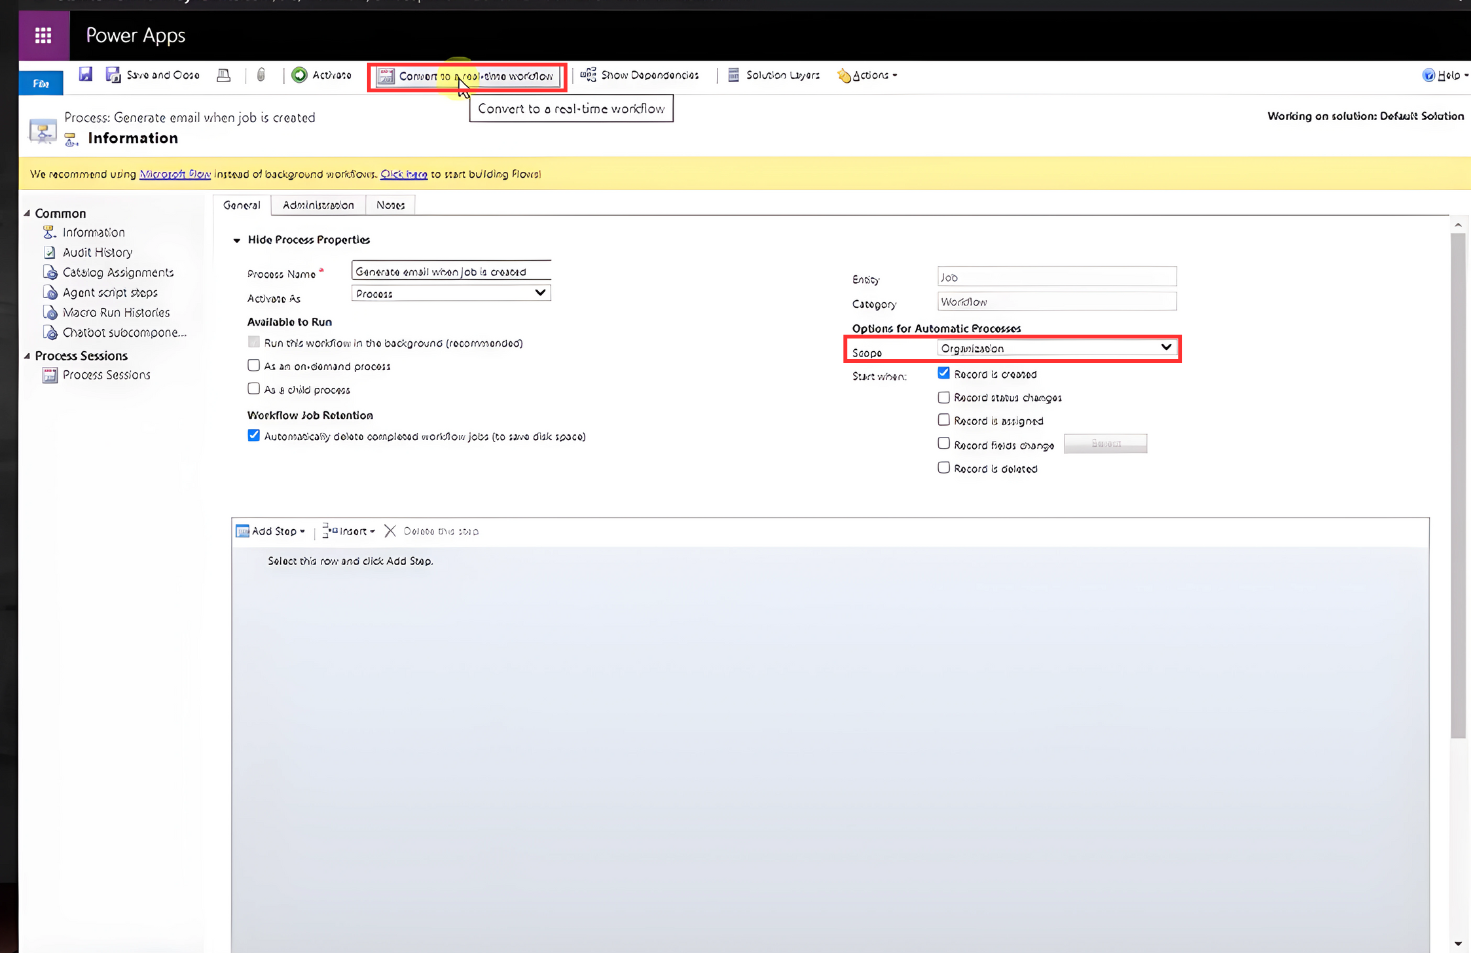
On this screen, you must define trigger conditions. In this case, is necessary to mark Record is created.
Optionally, add conditions to refine when the email should be sent. For instance, ensure that data exists in specific fields like job description and job title before sending the email. To do this, click Add Step and select Check condition. Choose your conditions and, when you finish, Save and Close.

Click down and then add the step Send Email.
>
Press the Set Properties button. From there you can:
• Choose the recipients of the email.
By clicking the button in the To field and selecting Dynamics ATS users.
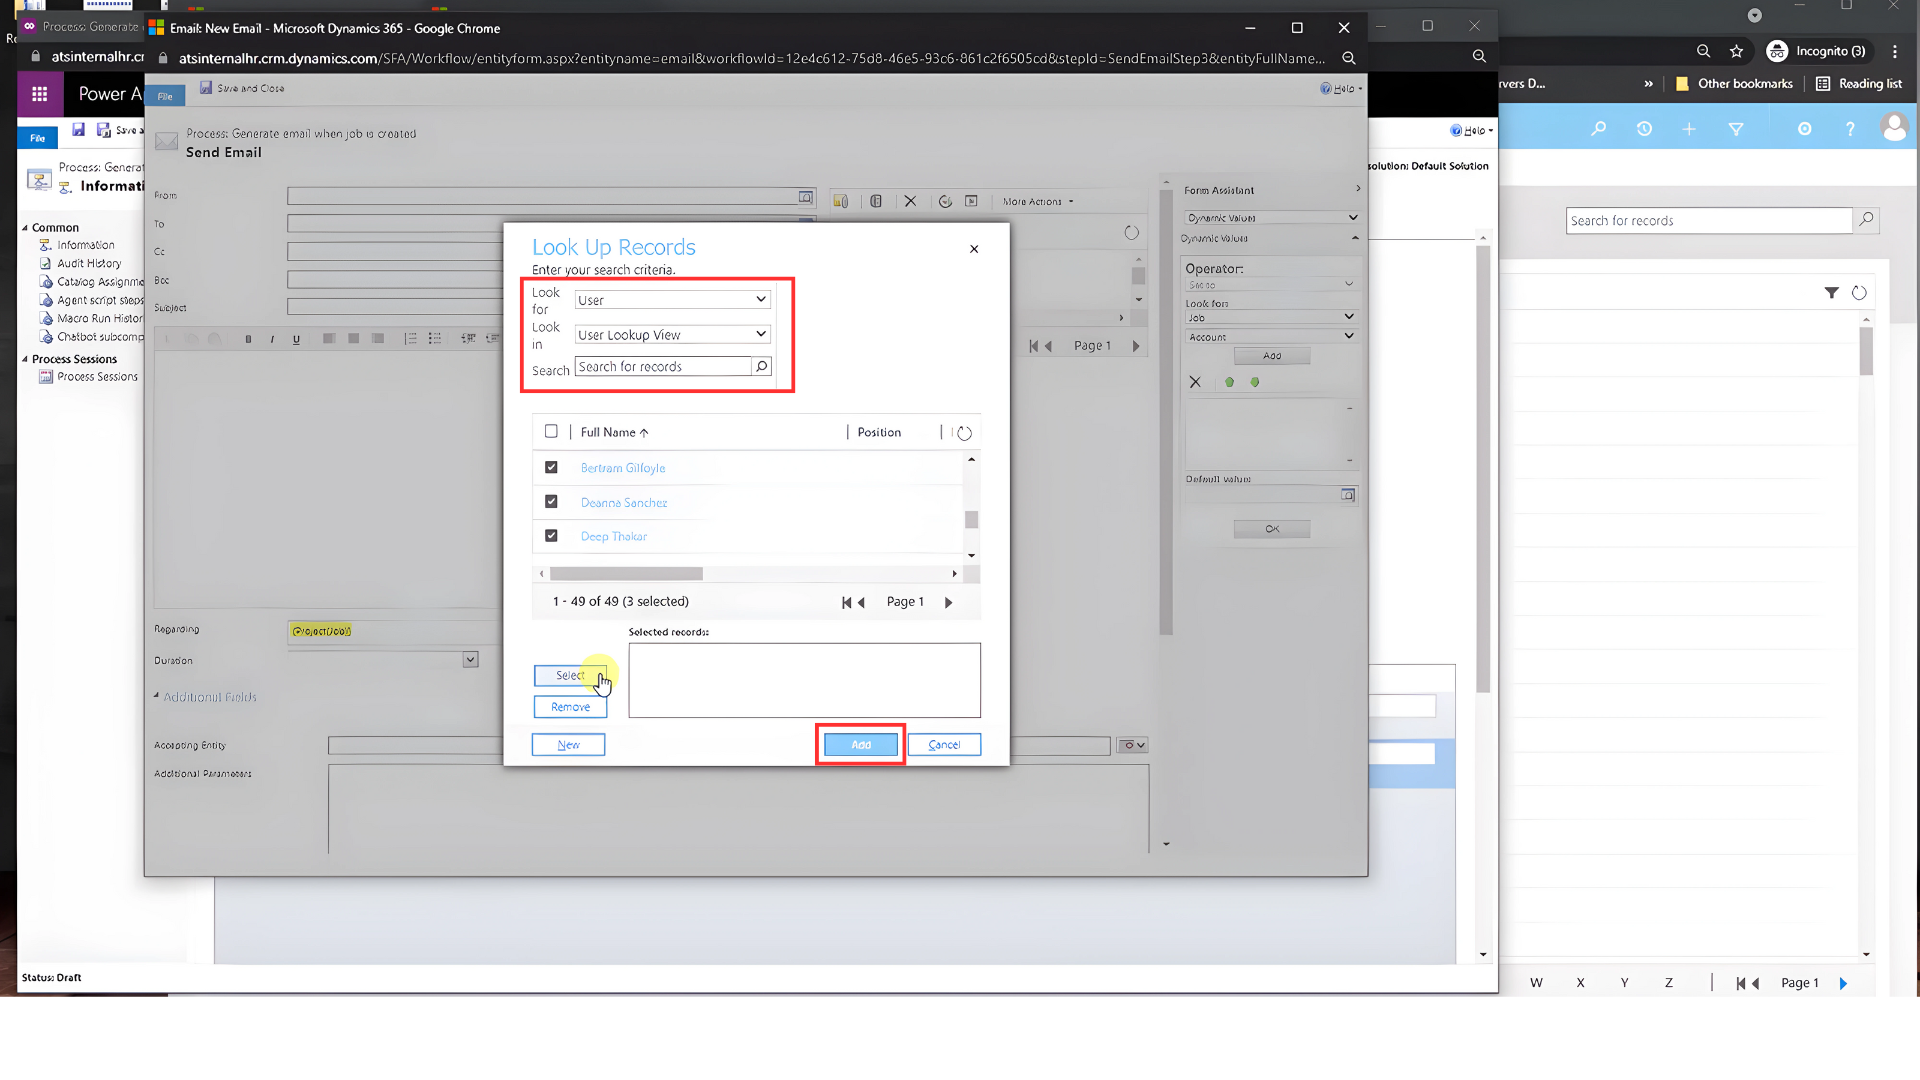
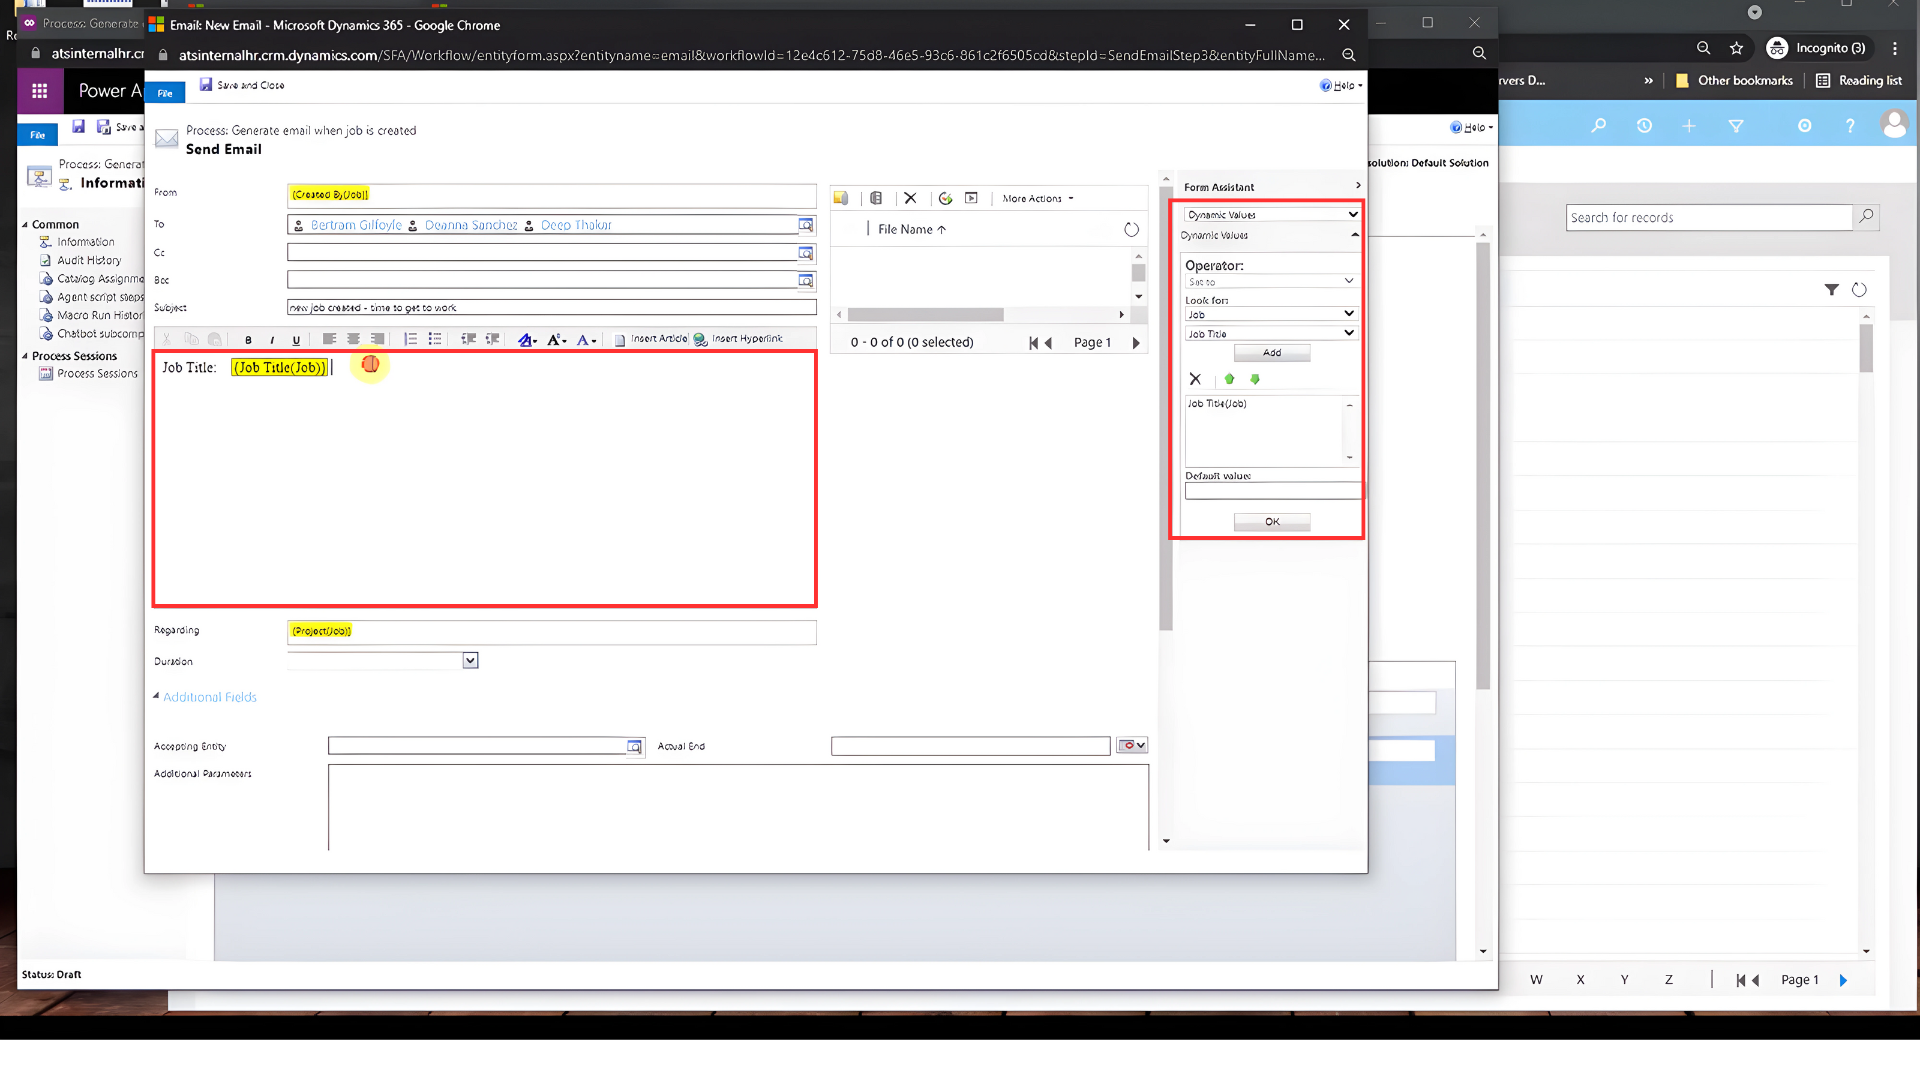
• Set email sender.
Click the button next to the From field and select Job in the dropdown. Next, click OK to add it.

• Write the content of the email, including dynamic fields like job title, category, job type, hiring manager, and a hyperlink to the job record.
To include dynamics fields, go to the Operator box and select it on the dropdown. Next, click OK to add it.
When you finish, Save the workflow configuration and activate it to make it operational.
If needed, deactivate the workflow to make changes. After editing, save the changes and reactivate the workflow.
Post your comment on this topic.