
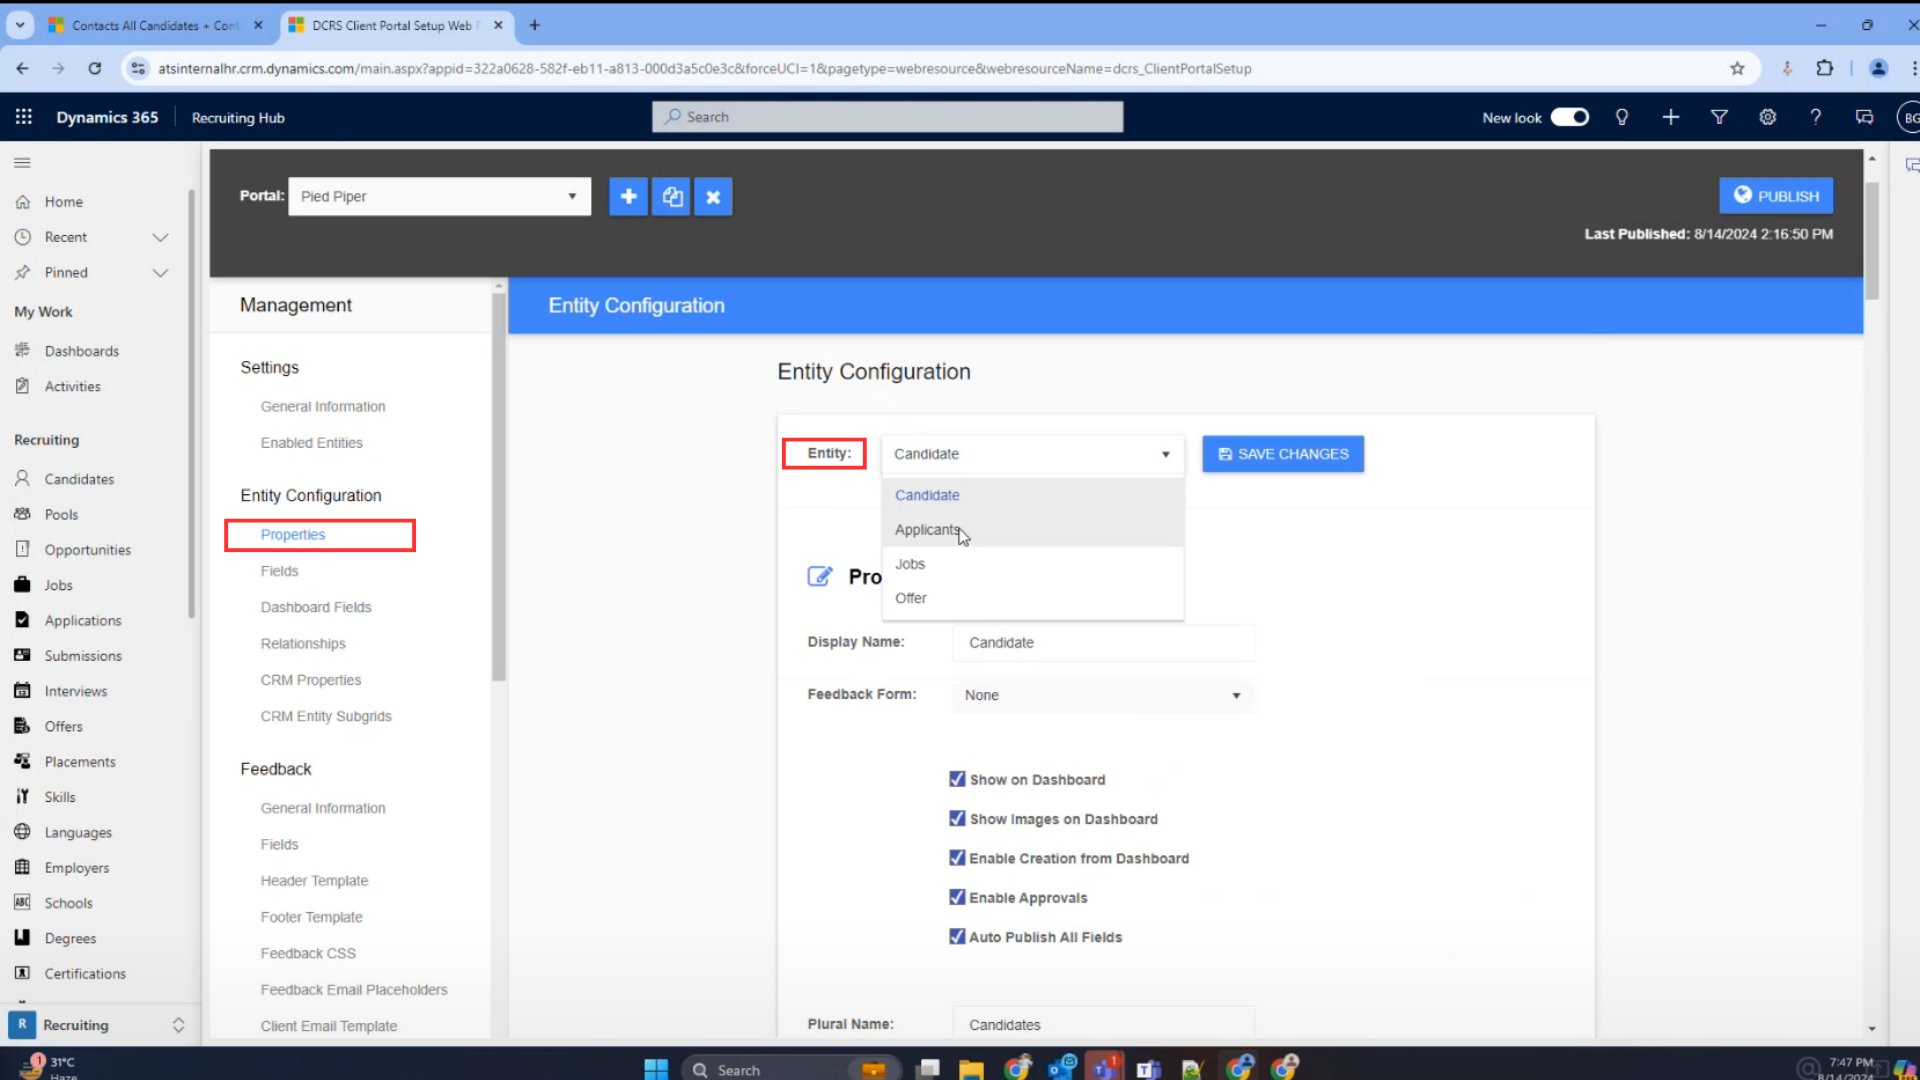
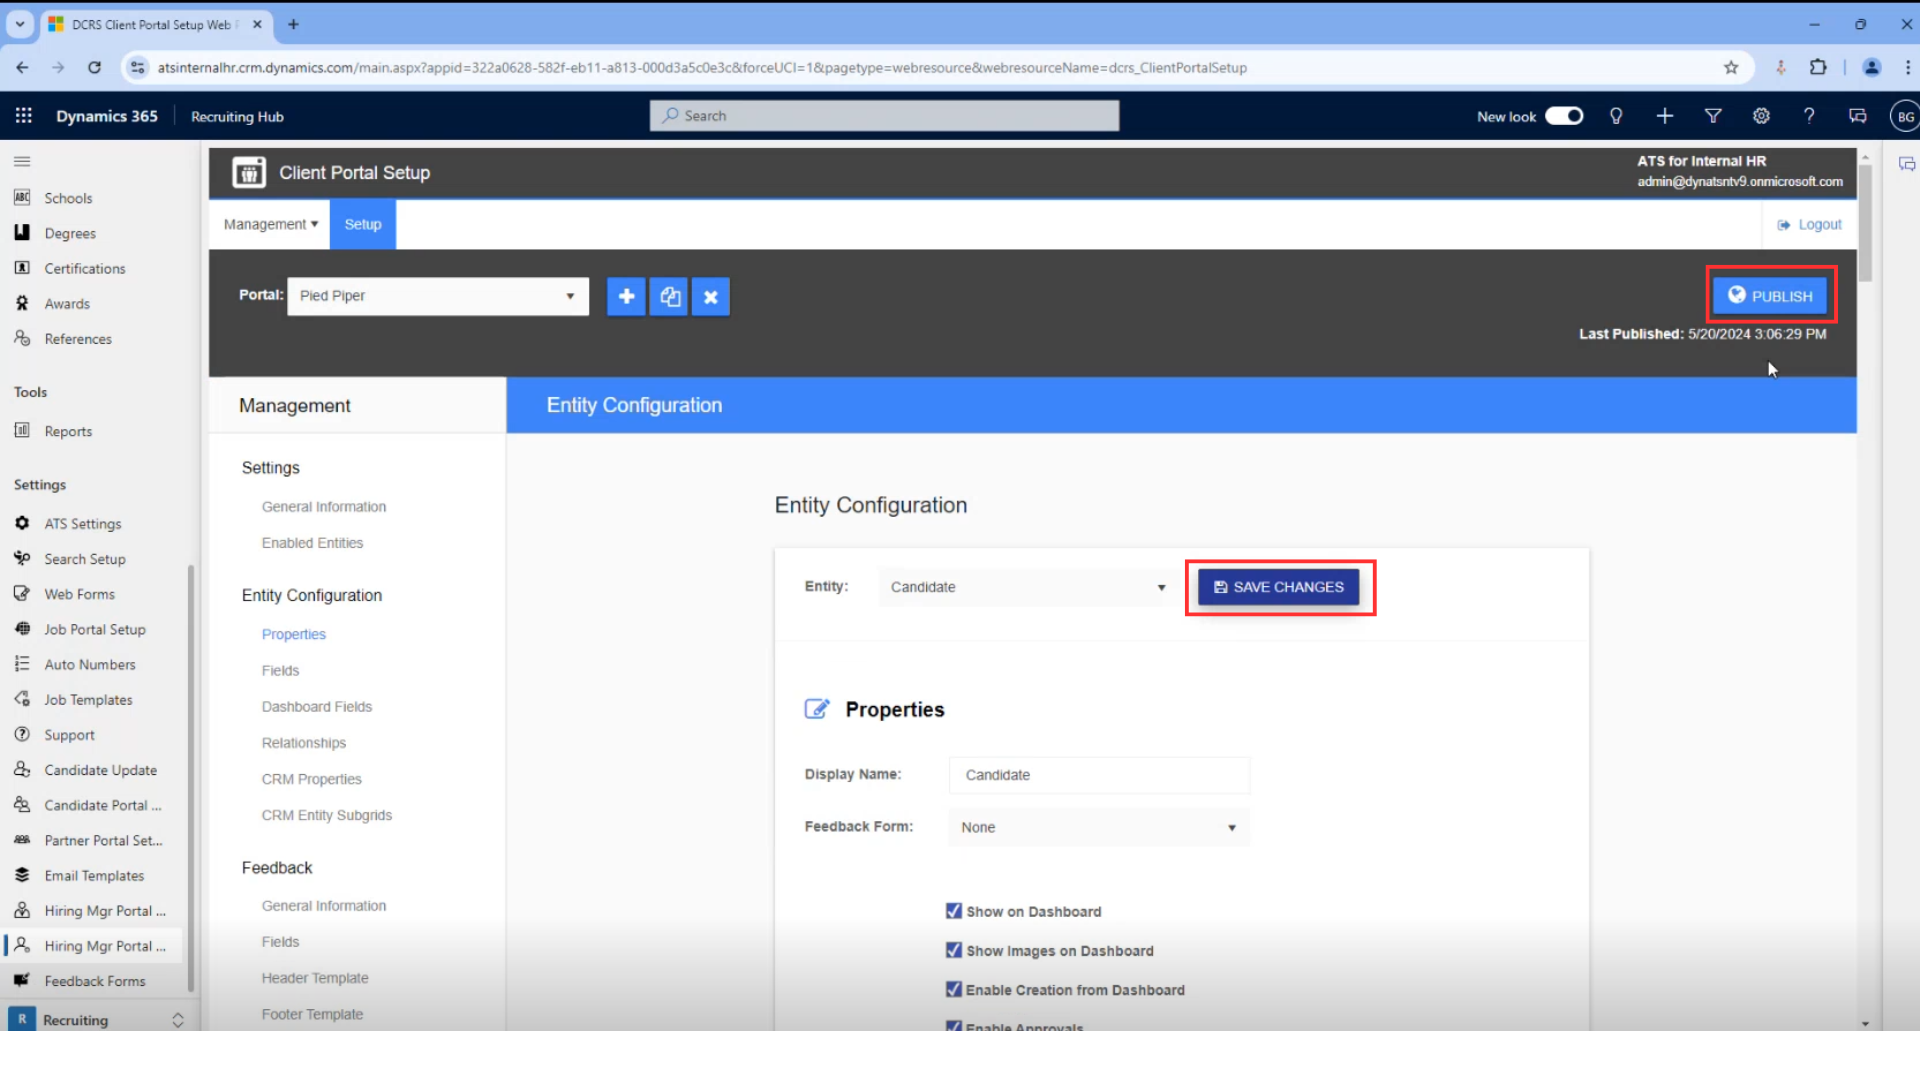
To configure the fields that will be displayed in the forms of the Hiring Manager Portal or the Client Portal, go to the ‘Hiring Manager Portal Setup’ or ‘Client Portal Setup,’ depending on your company’s terminology, in the sidebar and select ‘Properties’ within the Entity Configuration section.
From the dropdown menu, select the entity that the form you want to configure belongs to.
Scroll down to the ‘Fields’ section or press ‘Fields’ in the sidebar.
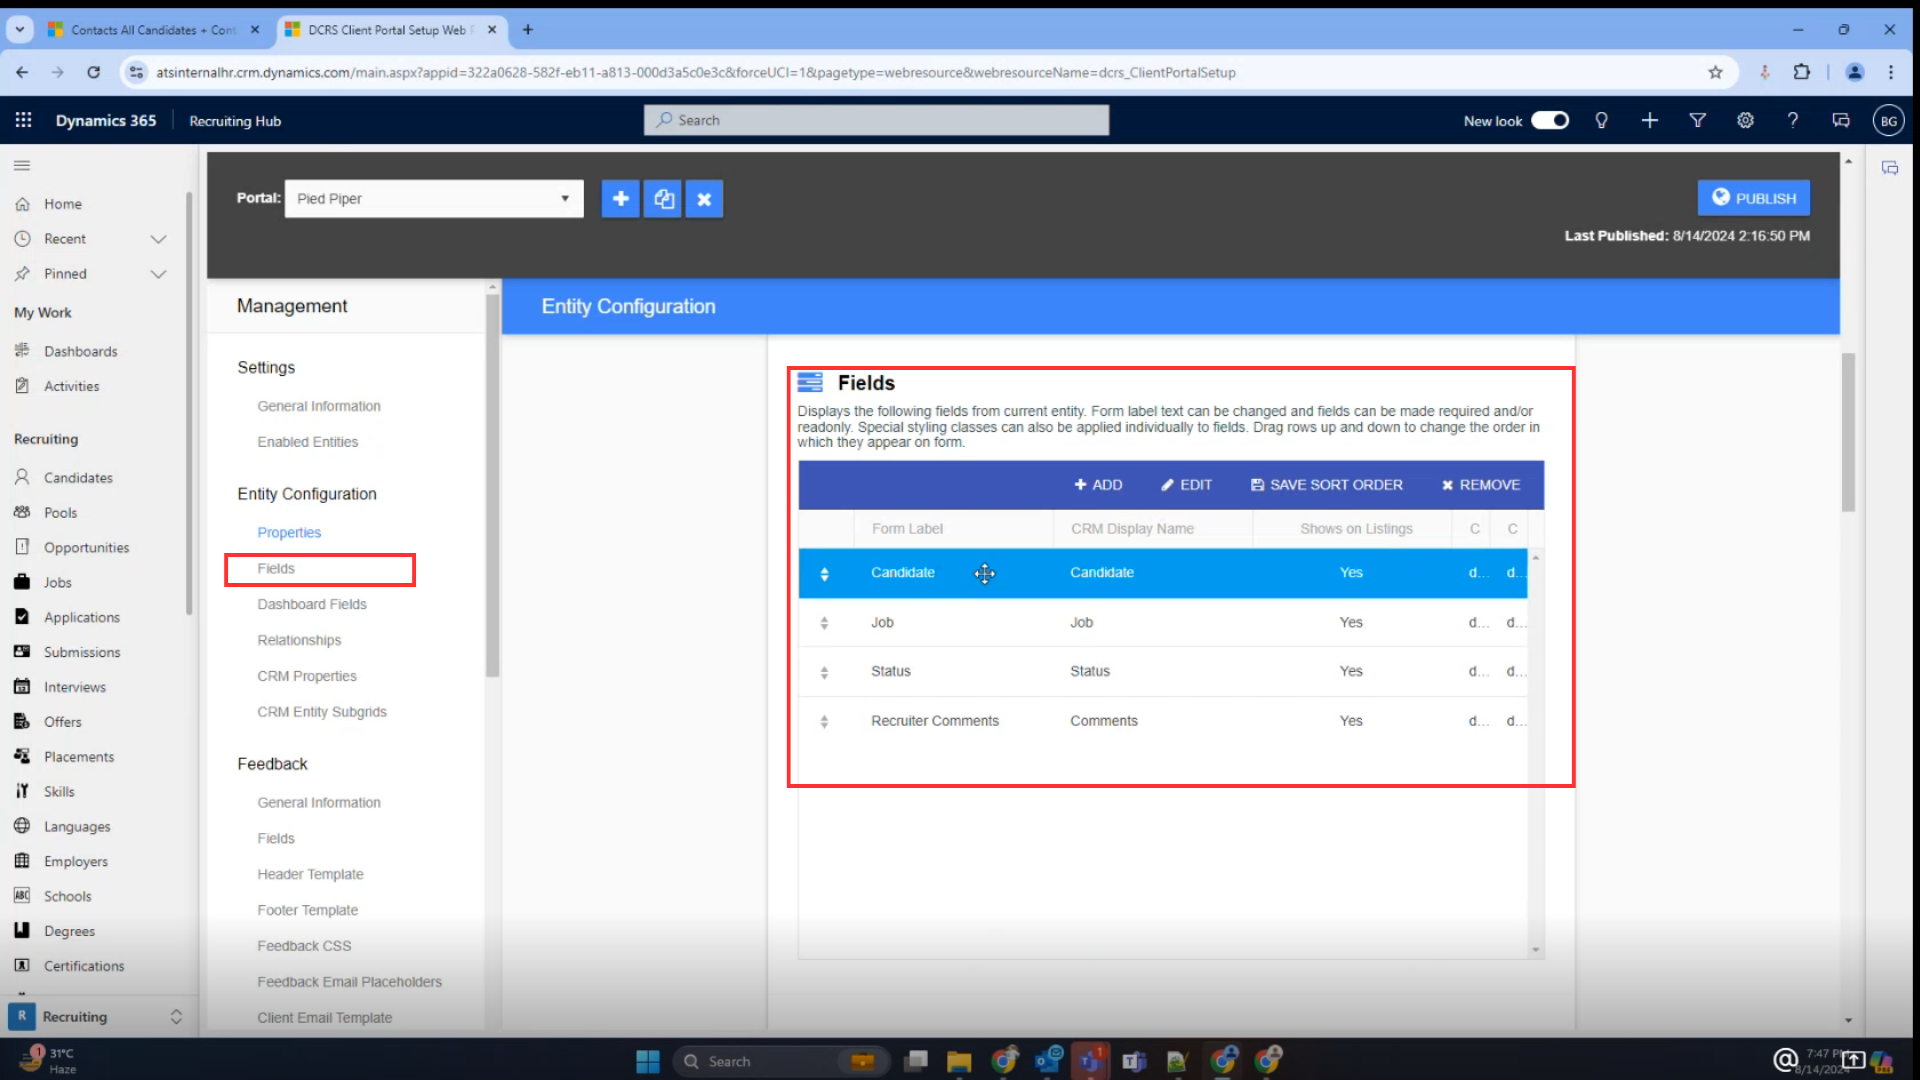
You will see the current fields required in your web forms. You can add, change the order, remove, or edit them.
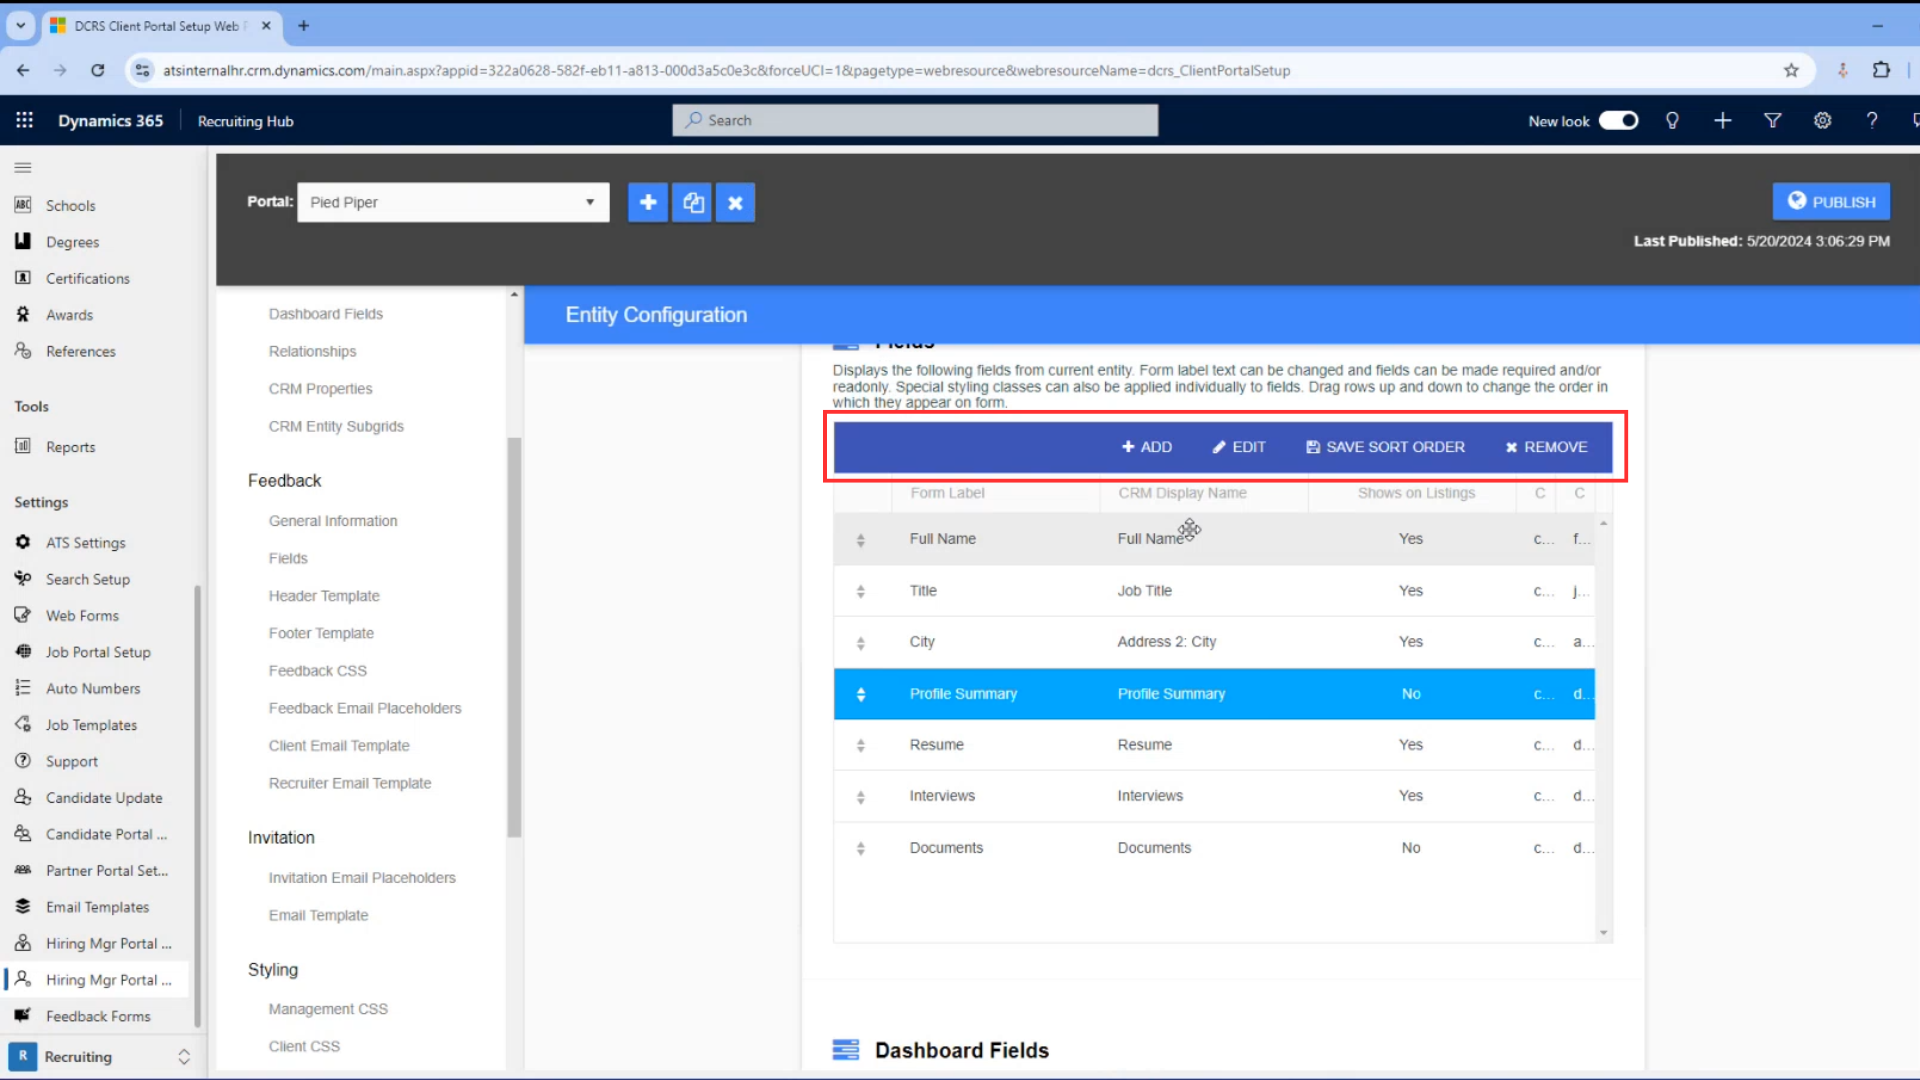
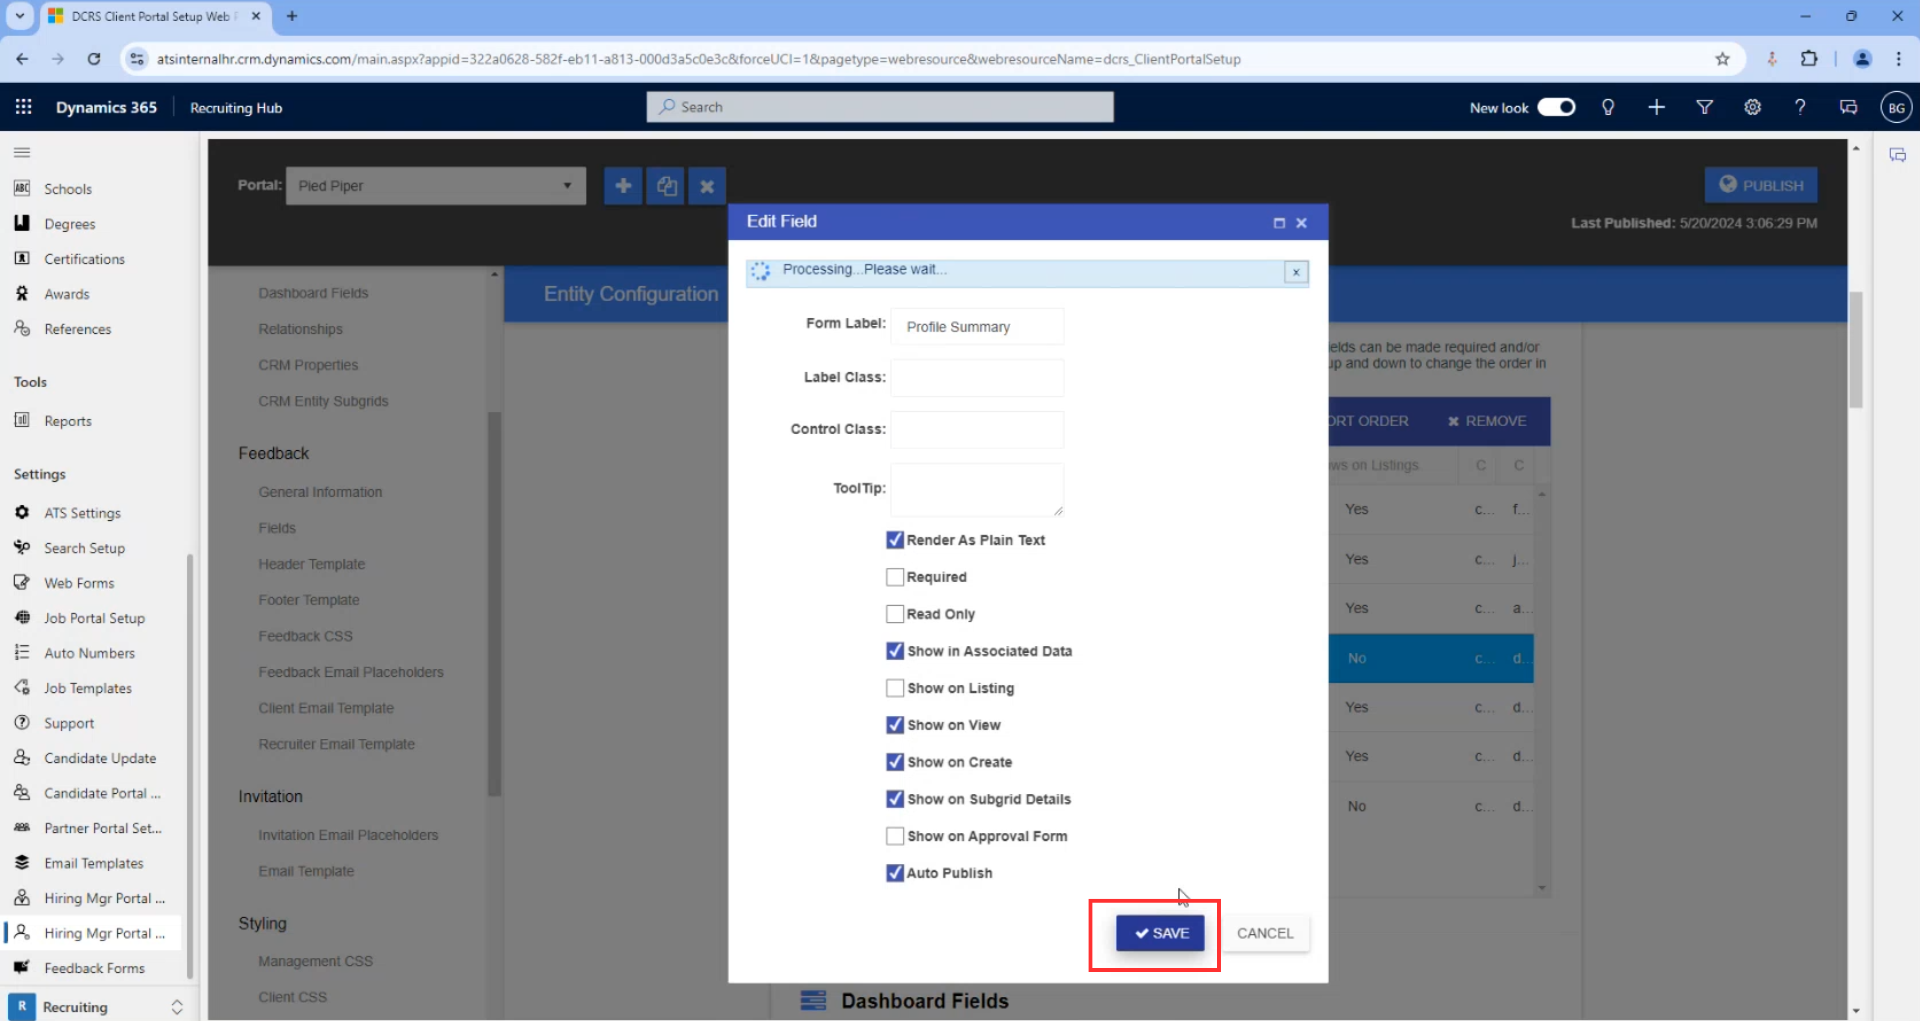
To find the field configuration click on it and then press the ‘Edit’ button. A checklist with a series of options will appear, such as:
- Render As Plain Text
- Required
- Read Only
- Show Associated Data/ Show in Associated Data
- Show on Listing
- Show on View
- Show on Create
- Show on Subgrid Details
- Show on Approval Form
- Auto Publish

Select the options that you want and press ‘Save’.
Finally, go to the top of the screen and press ‘Save Changes’ and ‘Publish.’
Post your comment on this topic.