
First of all, you may install the ADP solution file, which contains all the necessary components.”
To do it, go to Settings, and press Solutions.
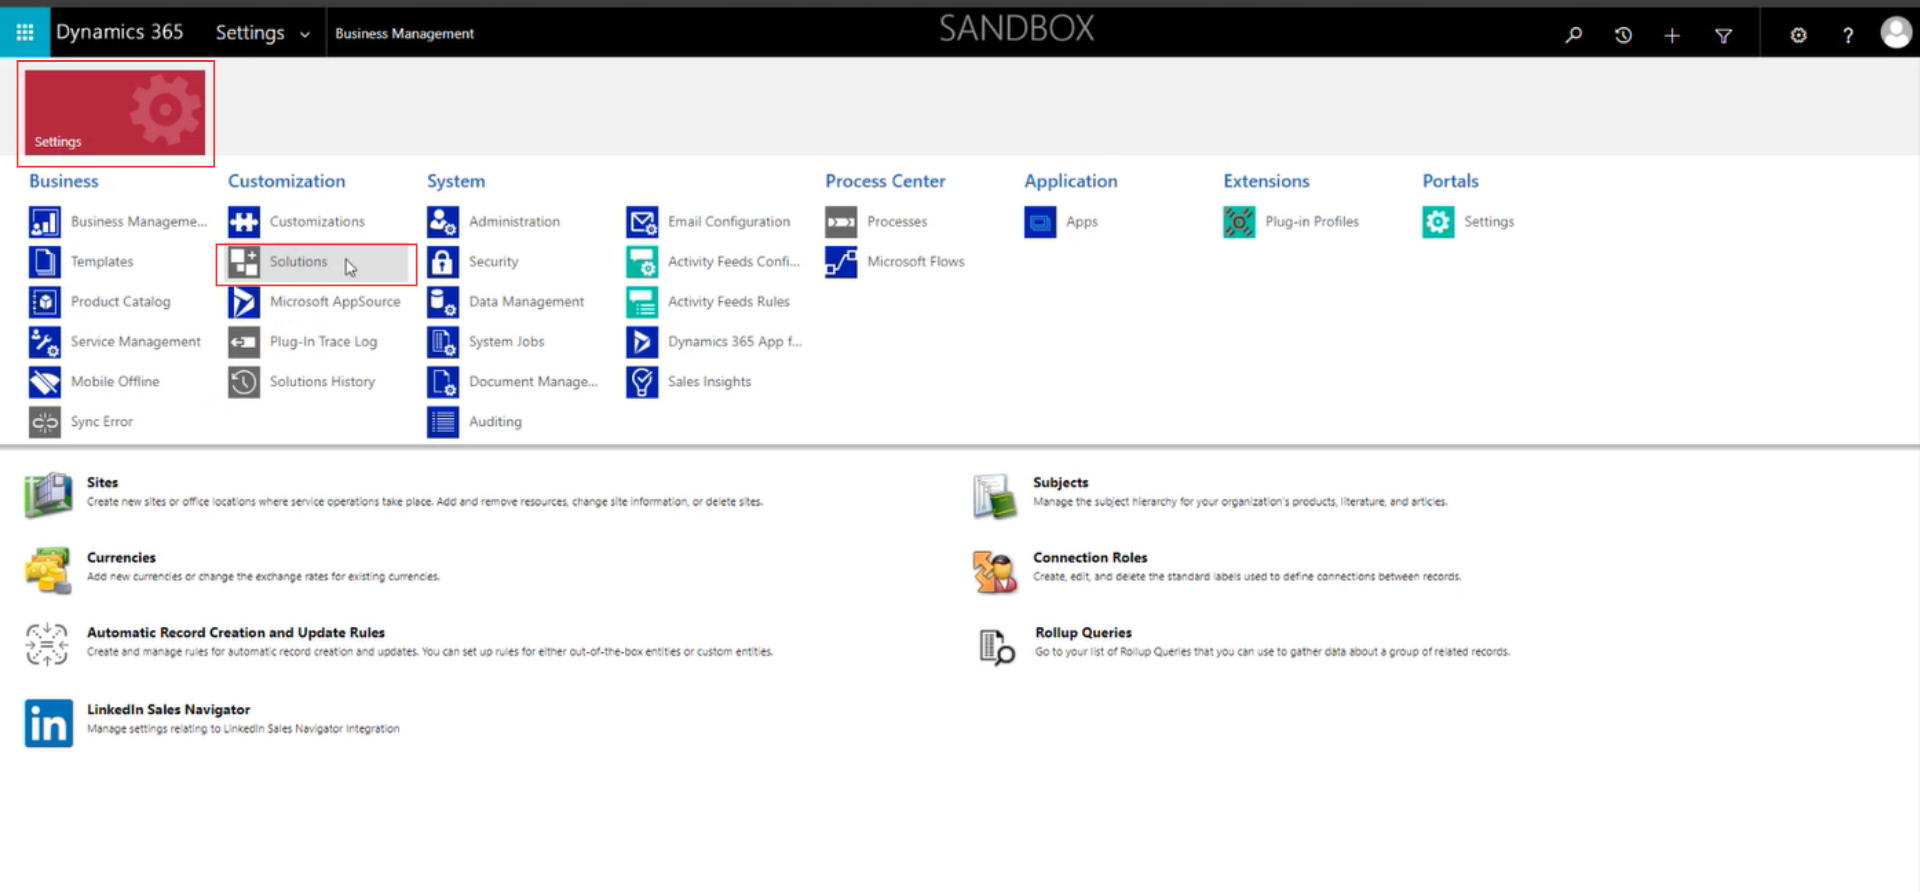
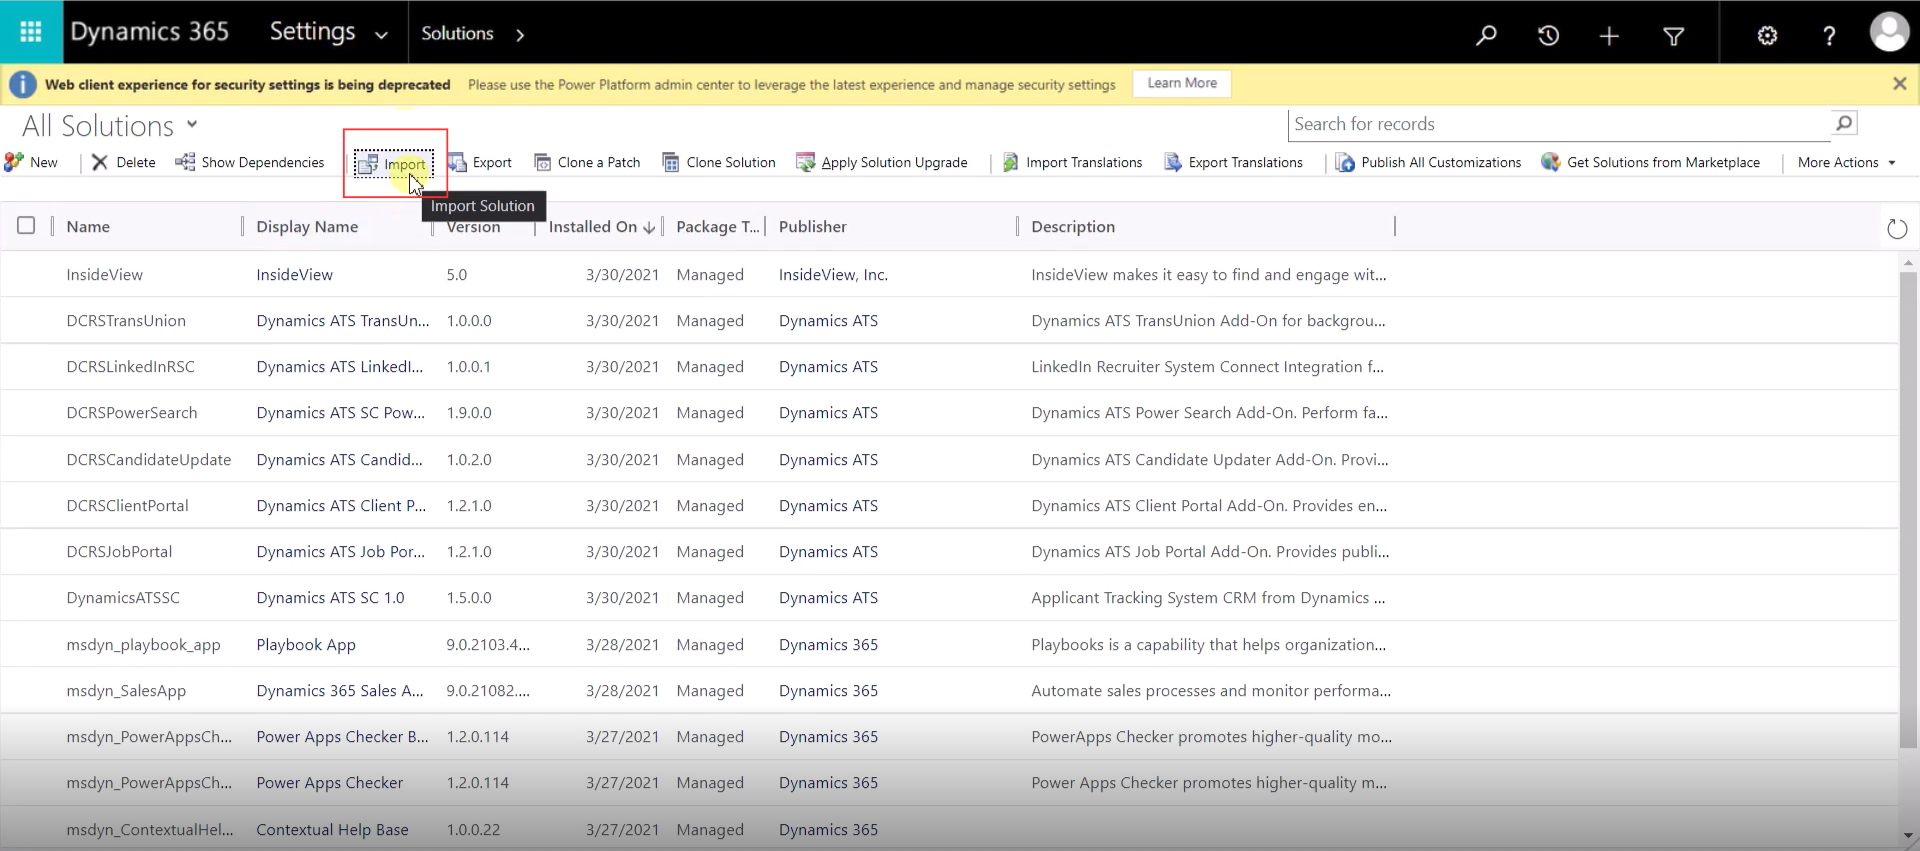
There, click on the Import button.
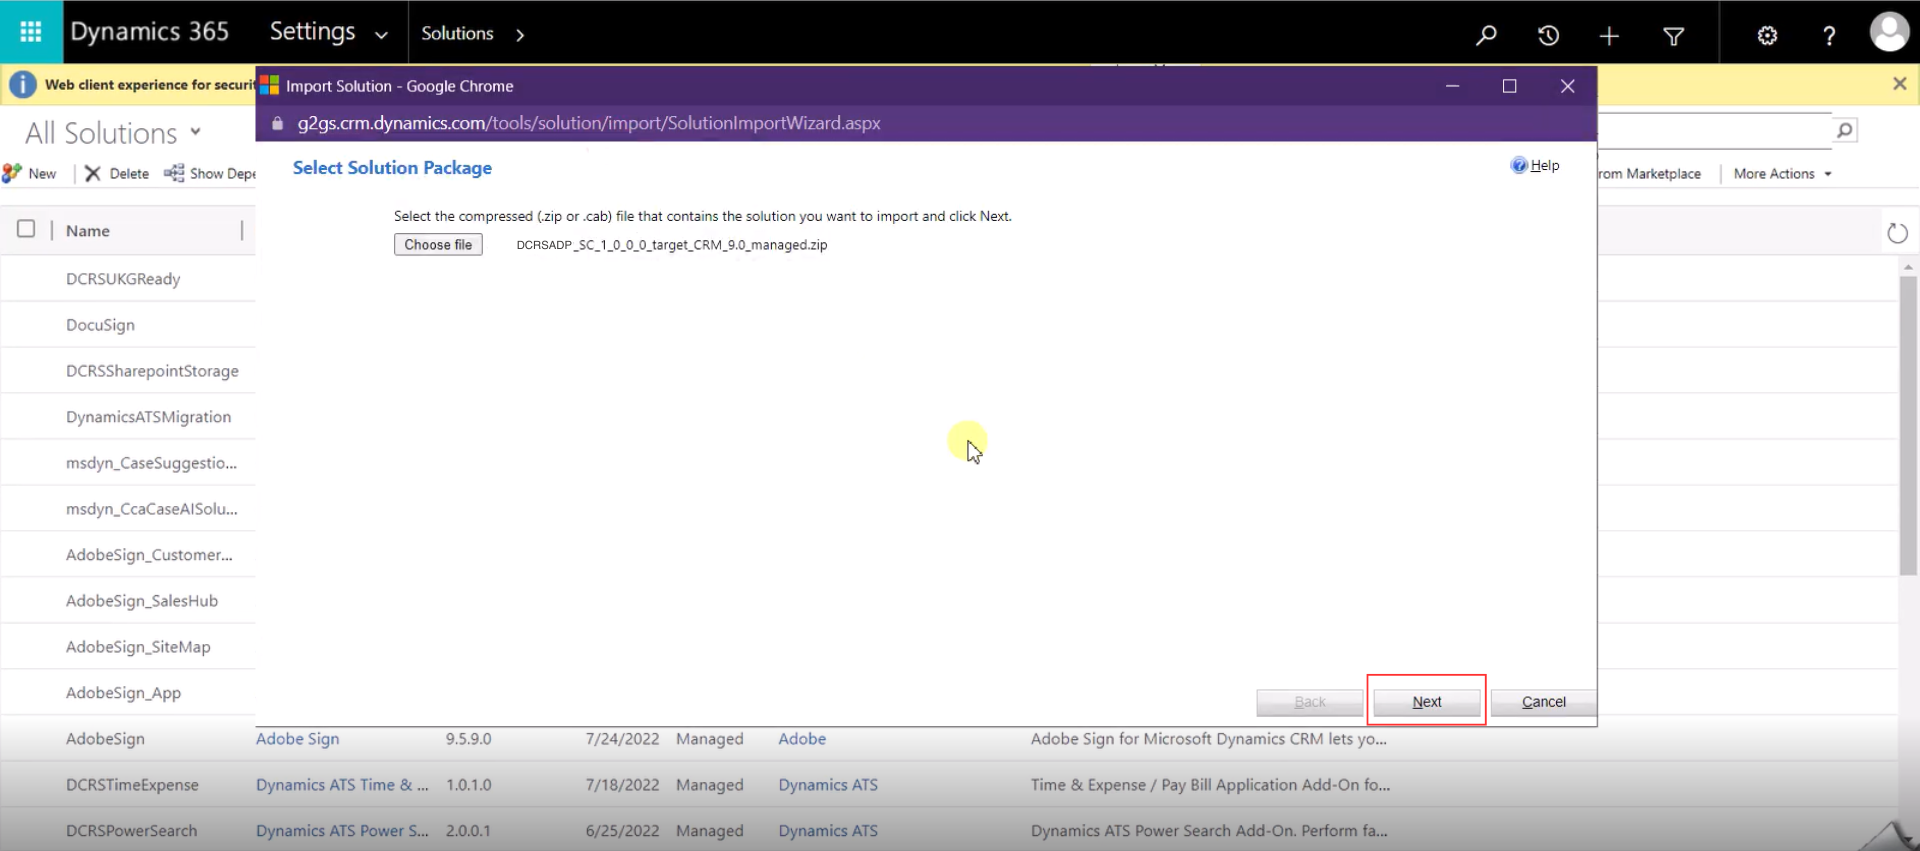
Select the file, and press Next
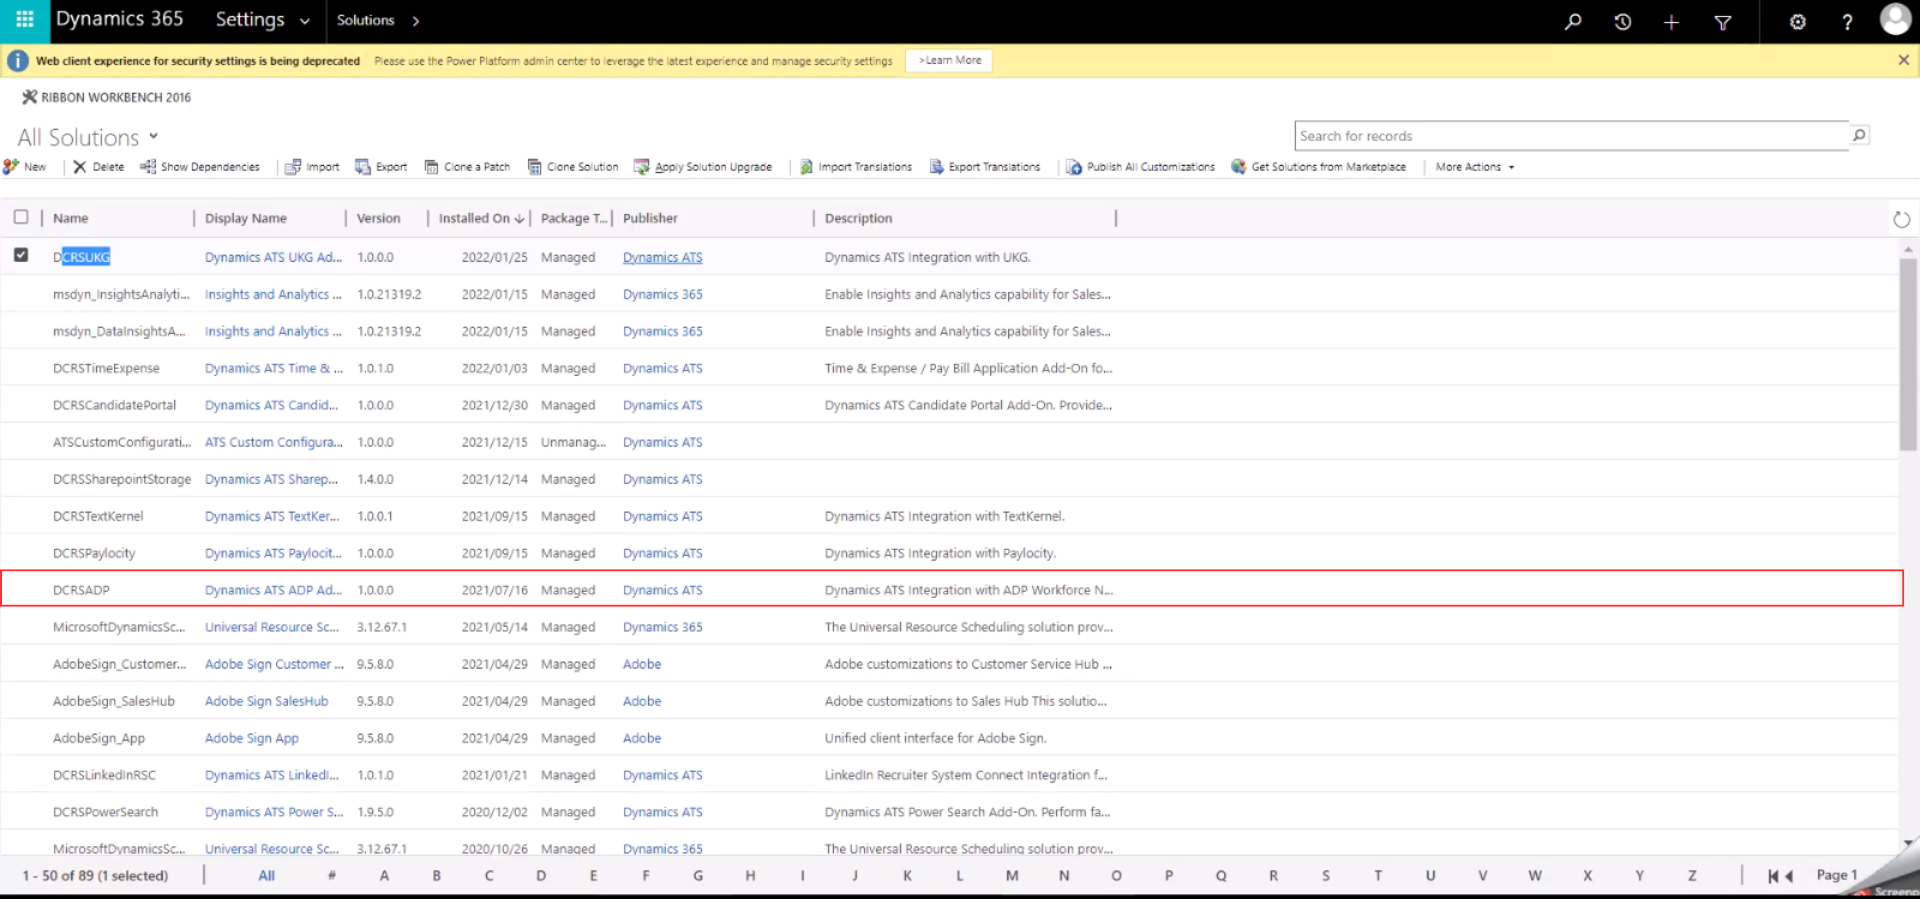
Then, you will find the DCRSADP field in the All Solutions section.
Then, go to ATS Settings in the sidebar and select ADP in the integrations section.
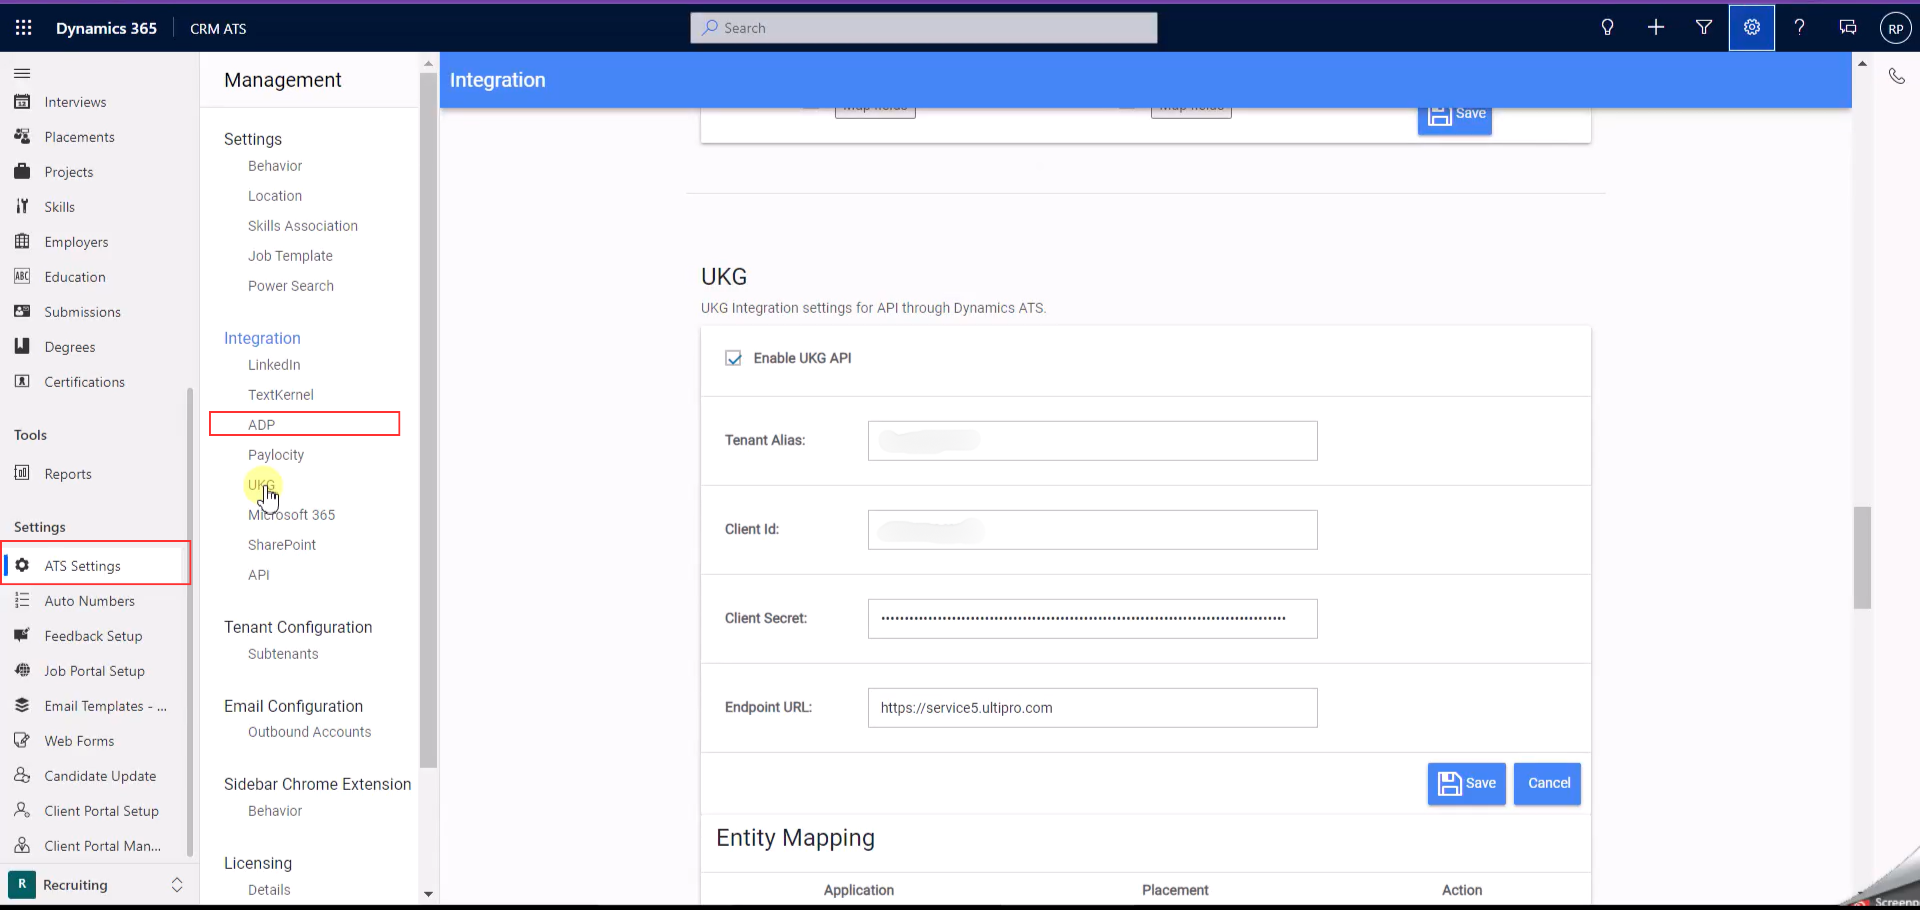
Navigate to the ADP settings page, where the ADP API section will be enabled. Enter the user’s credentials required for the ADP API to function. The user needs to provide the following information:
- Client Id
- Client Secret
- ADP BaseUrl (generally it is common for all the customers): https://api.adp.com
- Certificate file in .pfx format. NOTE: .pfx file must be generated without a password.
If the customer is unsure how to create it:
Provide them with this zip file and instruct them to execute the following command:
Command:
openssl pkcs12 -export -out certificate.pfx -inkey privateKey.key -in certificate.pem
Alternatively, the customer can provide the following two files, and we will generate the .pfx file and upload it for them:
.key file (the private key of the certificate)
.pem file (the certificate file)
Save the details. If everything is correct, a list of templates enabled by the ADP Admin for the API will be displayed. To see it, go to your Dynamics ATS account. Select ATS Settings in the sidebar and click on ADP API in the Integrations section.
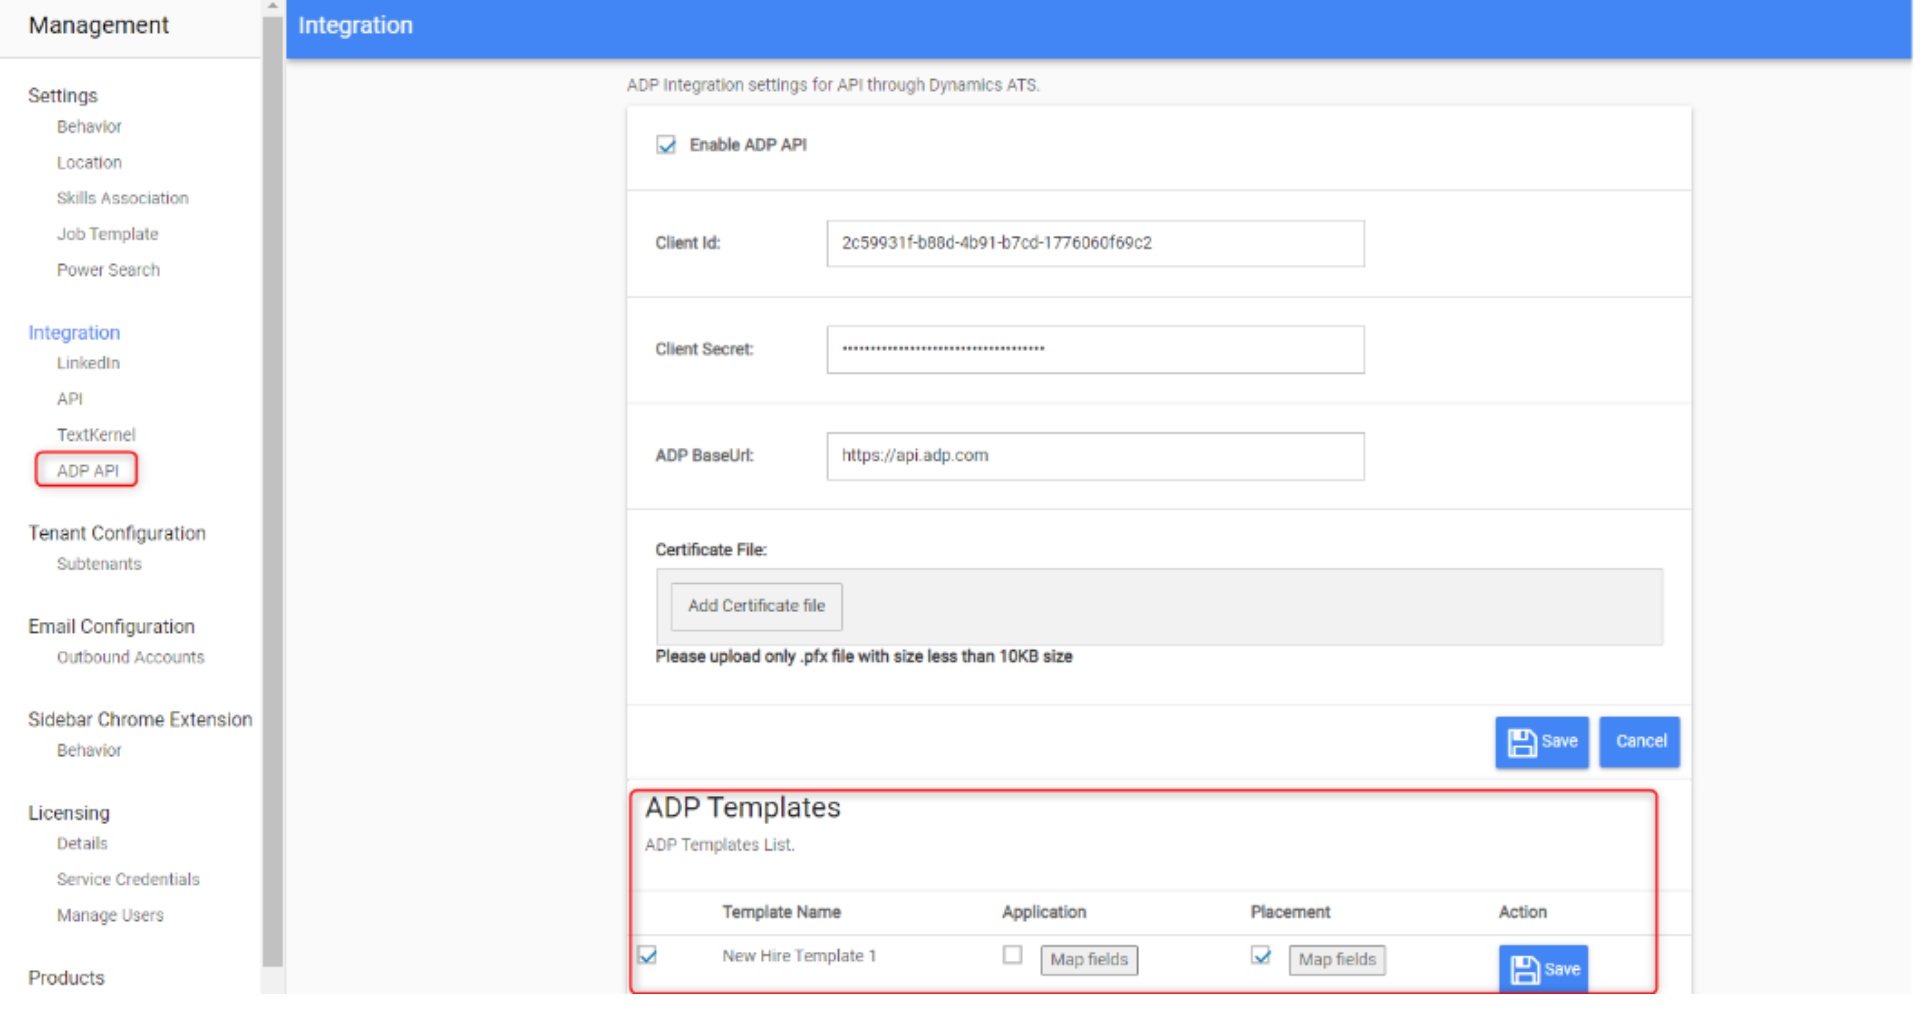
By default, all templates are enabled for both the Application and Placement entities. You can disable a template by unchecking the corresponding checkbox. After making your changes, press Save to apply them.

By pressing the ‘Map Fields’ button, you can set up which fields will appear on the Application or Placement ADP Sync screen. There, you can choose which fields will appear in the UKG Sync screen. Select them by marking the checkbox.
In the first dropdown menu, you can select the entity, and in the dropdown menu below, you can choose the corresponding field.
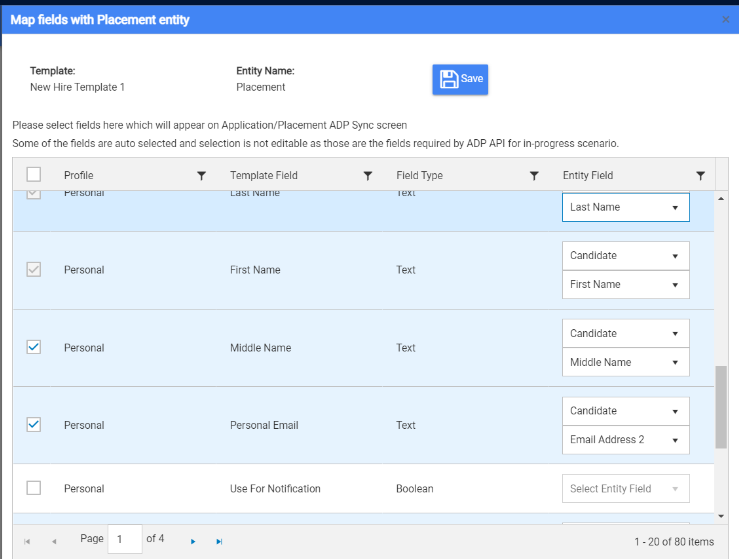
Then, press Save to save the mappings.
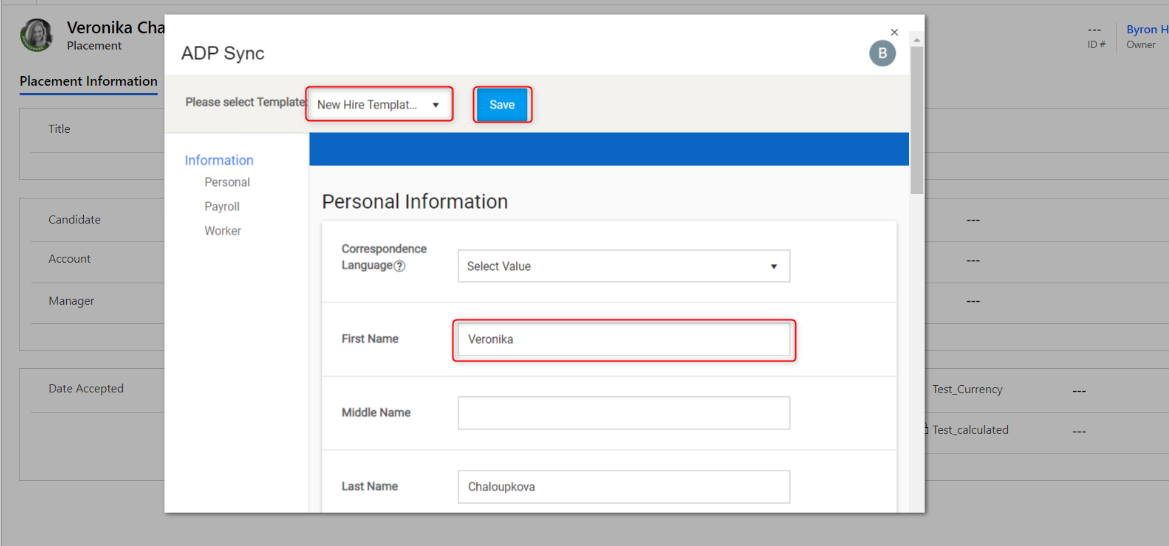
Now you can synchronize the candidate information to ADP. To do that, go to ‘Placements or Applications in the sidebar, and select the candidate.
In their profile, you will see the ADP button.
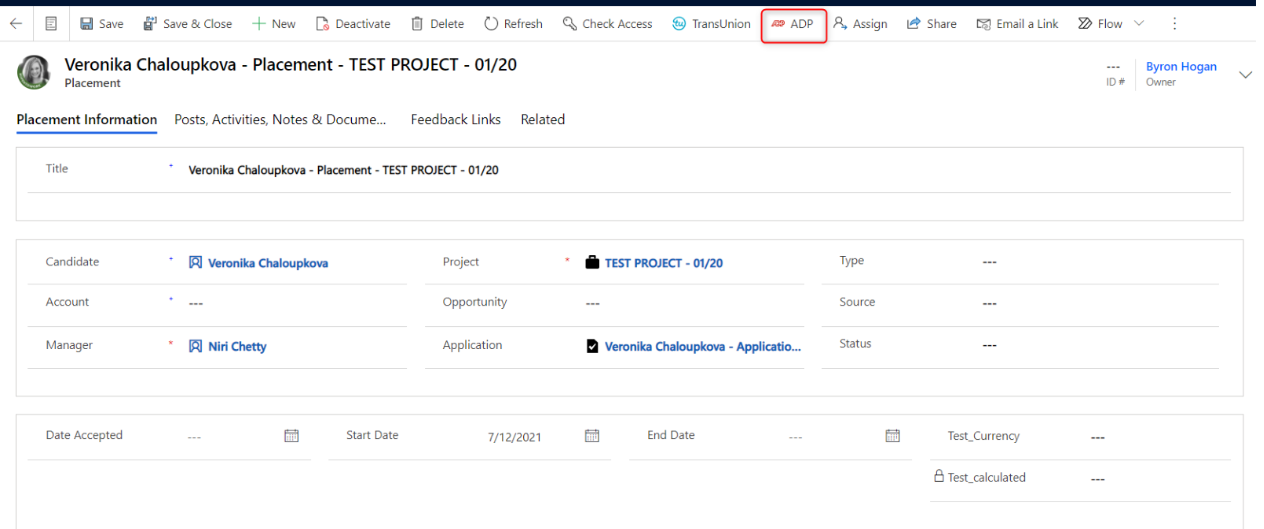
Click the ADP button. A pop-up will appear, and some of the fields will auto-populate based on values and mappings. Select the required field here and click on Save.
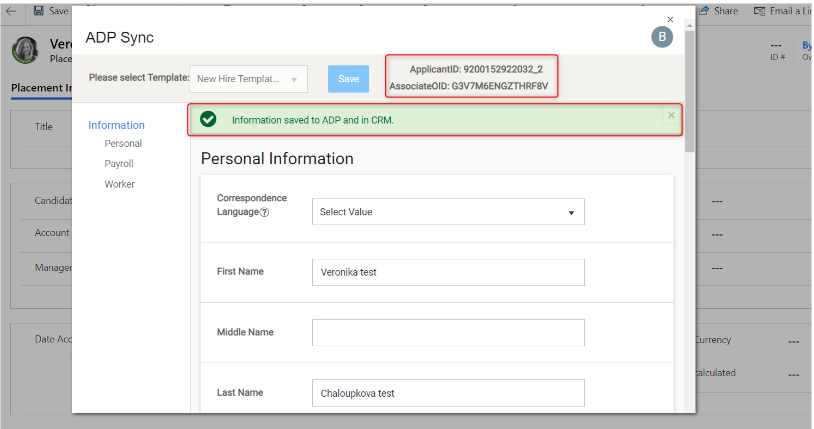
Next, click Save. You will see the synchronization message, along with the Applicant ID number and the Associate ID number.
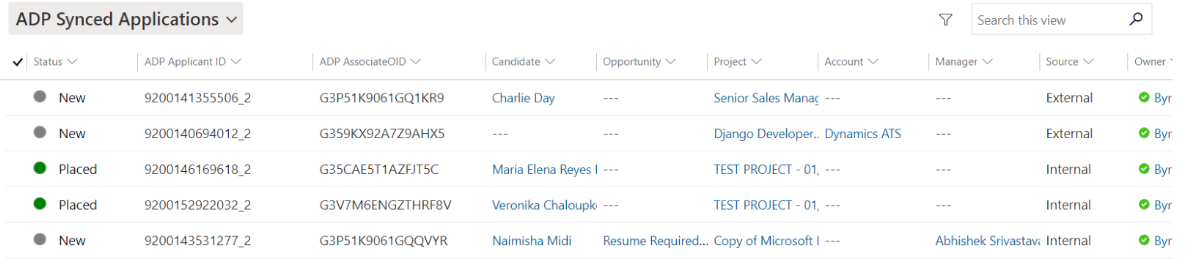
The views have been created to display all records that have been synced to ADP (for Application or Placement)

Post your comment on this topic.