
When you hire someone, you can request that they log their working hours in the Candidate Portal. This way, the designated approver will receive the details of the worked hours (regular and/or overtime) and can approve or reject them for payment processing.
To configure the timesheets, it is necessary to create a placement and add the start date for that placement. To do this, go to the placement and select the start date on the calendar.
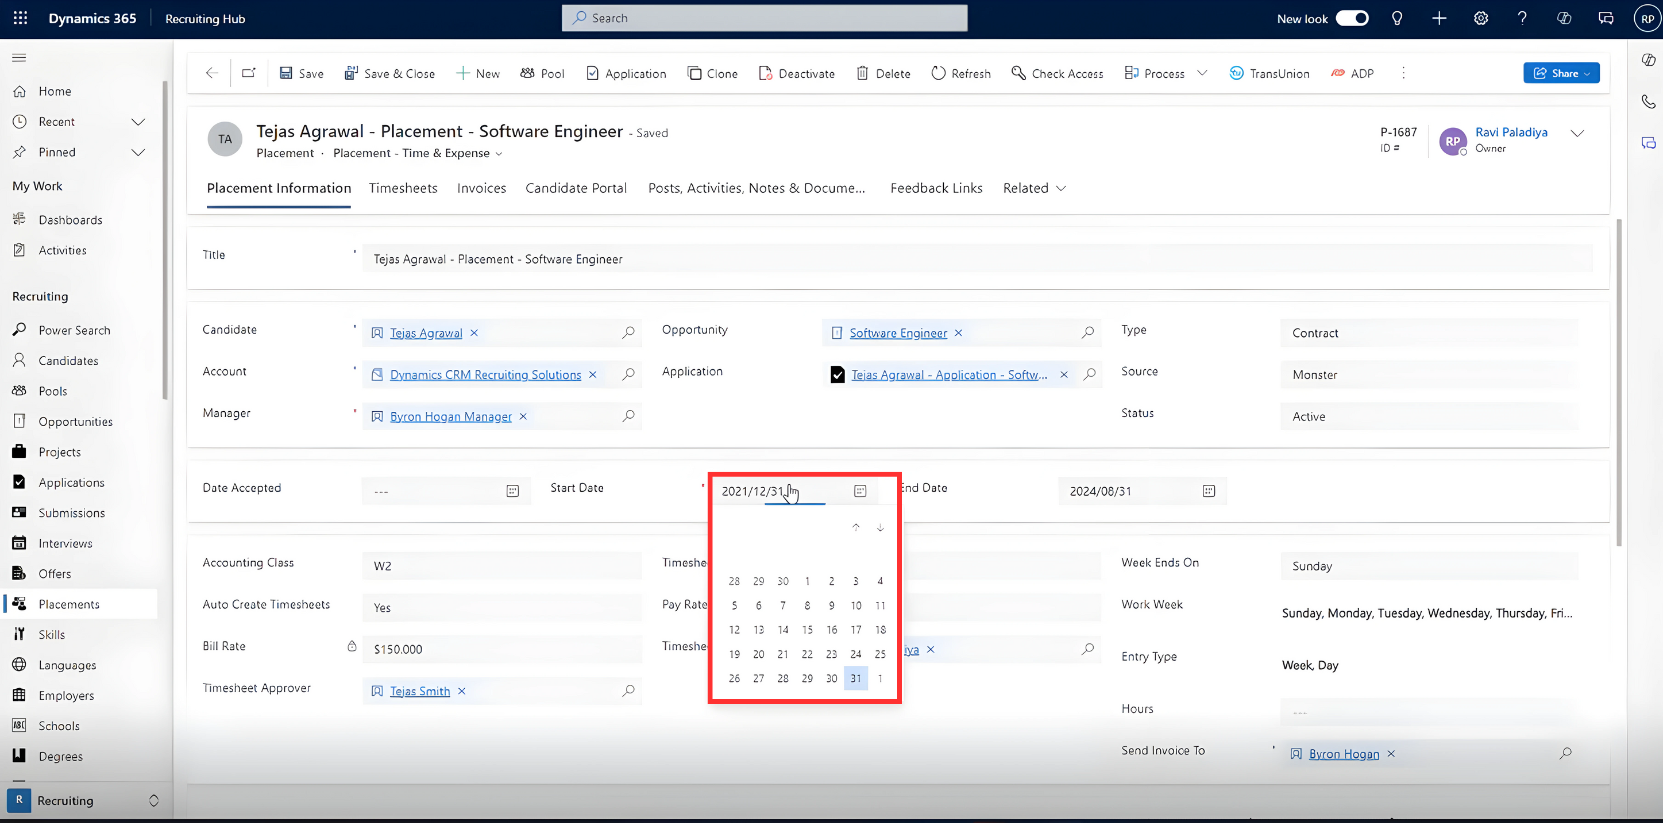
Then click Save. The timesheet will be created from that date.
You can configure the specific type of workday you want to trigger for that placement. In this way, when you create a Contract or Contract to Permanent placement, a timesheet will be automatically created in the candidate portal.
To do this, go to the Type field and select your desired option from the dropdown menu.

Then go to the Auto Create Timesheet field and select Yes.
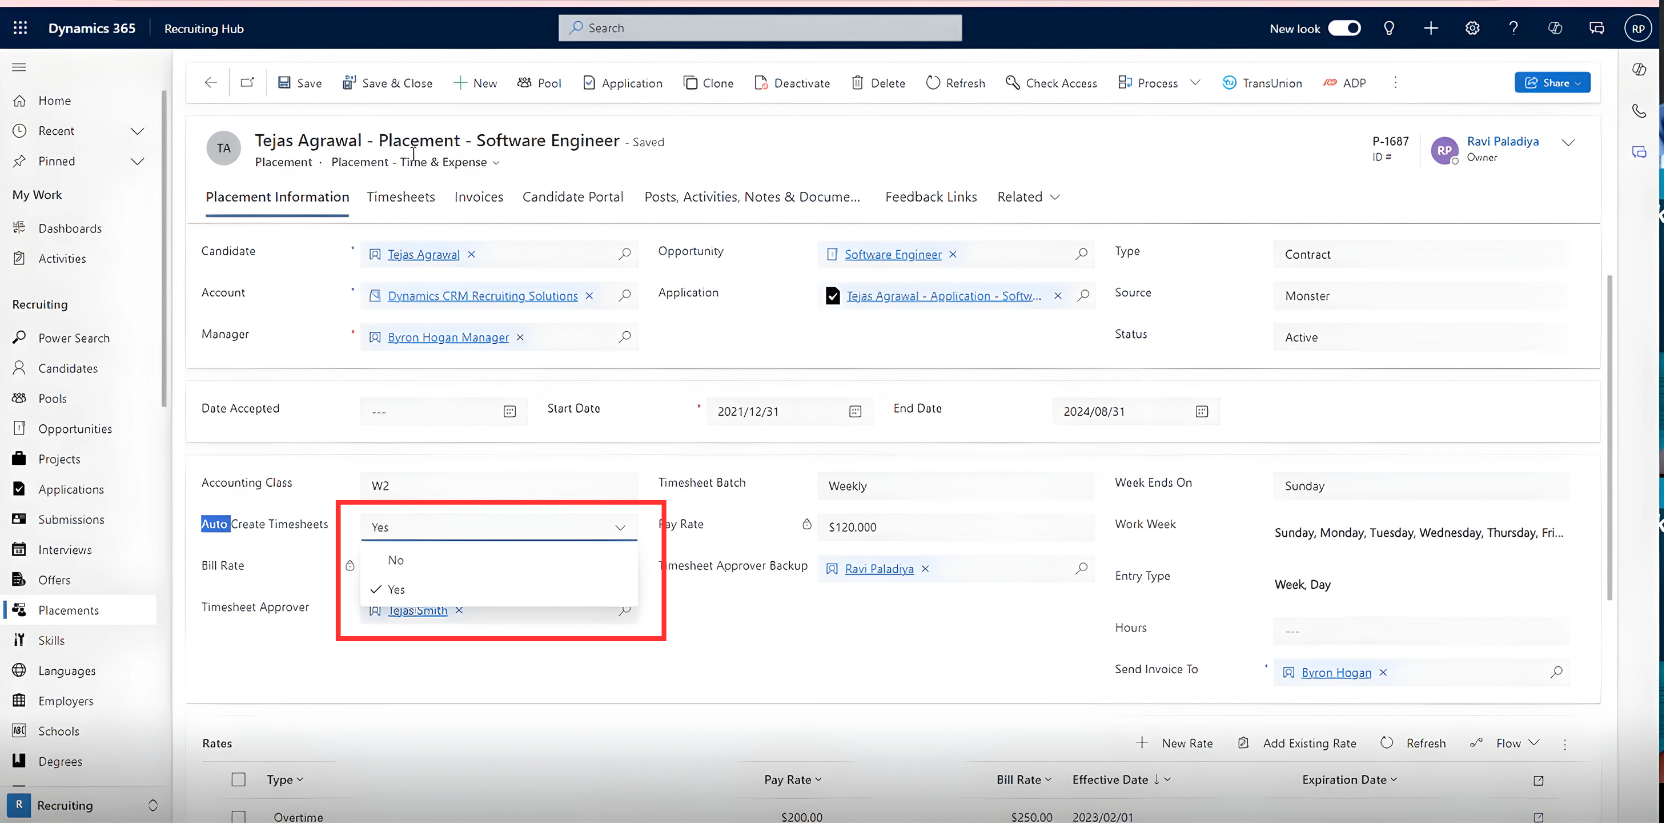
Press Save to save the changes.
Post your comment on this topic.