
Dynamics ATS allows you to enable a custom domain for your Portals (Candidate Portal, Partner Portal, or Hiring Manager Portal).
To begin, access the settings of your portal. In this example, we’re enabling a custom domain for the partner portal.
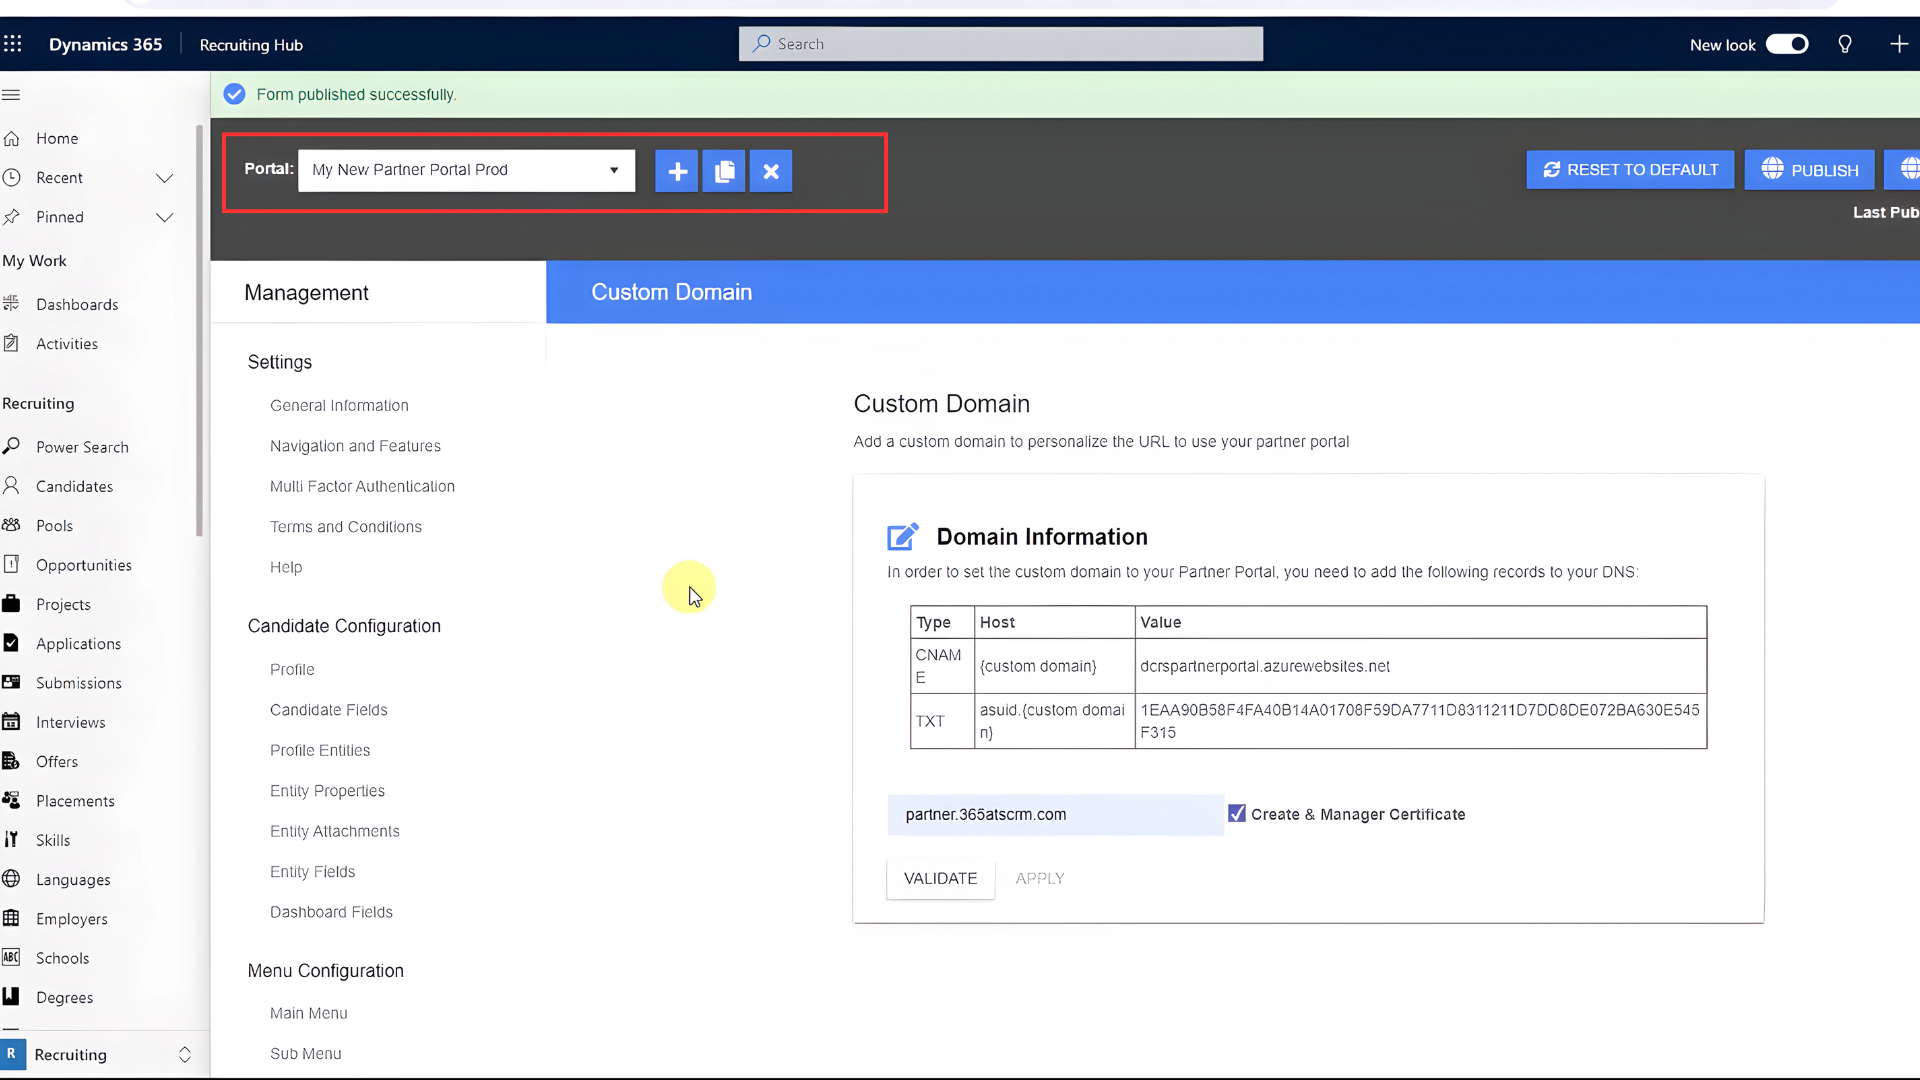
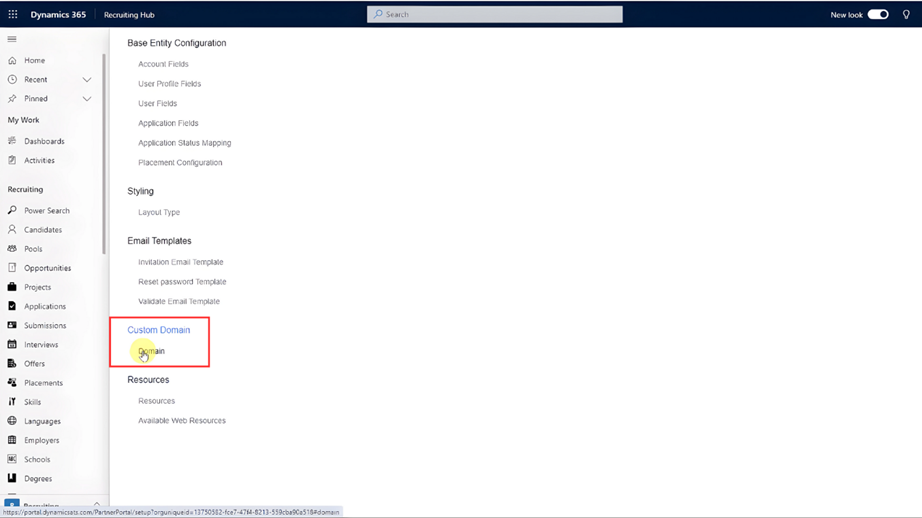
Within the portal settings, locate the option for custom domains on the sidebar.
On that screen, you need to review the DNS records provided in the instructions. These records will include details like CNAME records and text records that need to be added to your DNS settings.

Log in to your DNS provider’s website. In this example, GoDaddy is used. Access the DNS settings for your website.

Add a CNAME record for your custom subdomain. Copy the CNAME value provided in the instructions.

Next, paste it into the corresponding field in your DNS settings.

Similarly, add a text record as instructed. Paste the provided value into the appropriate field for the subdomain.
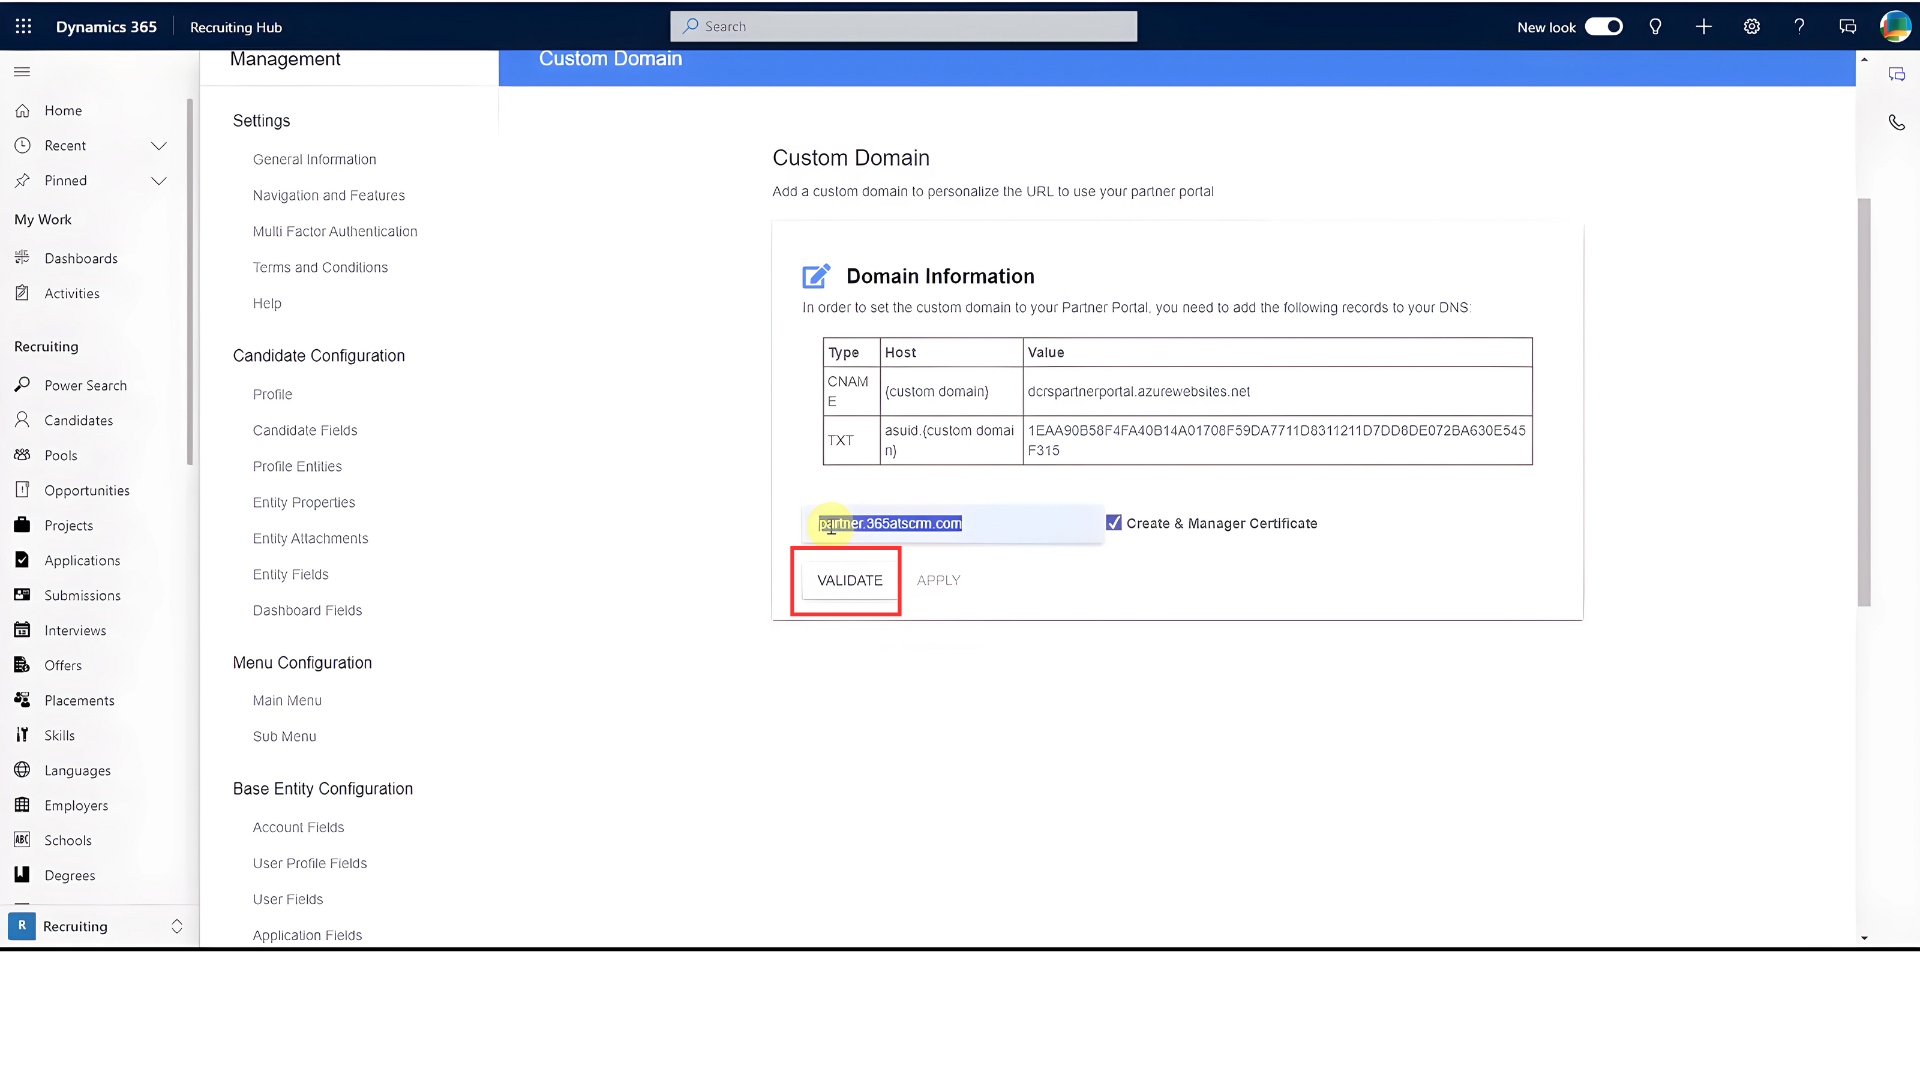
Once you’ve added the CNAME and text records, return to the portal settings and input your custom domain (e.g., partner.365crm.com). Click on the validate button to ensure that the configuration is successful.
If validation is successful, you’ll see an “Apply” button. Click on it to apply the custom domain settings to your portal.
After clicking “Apply,” you will receive a message indicating that your custom domain is being created.
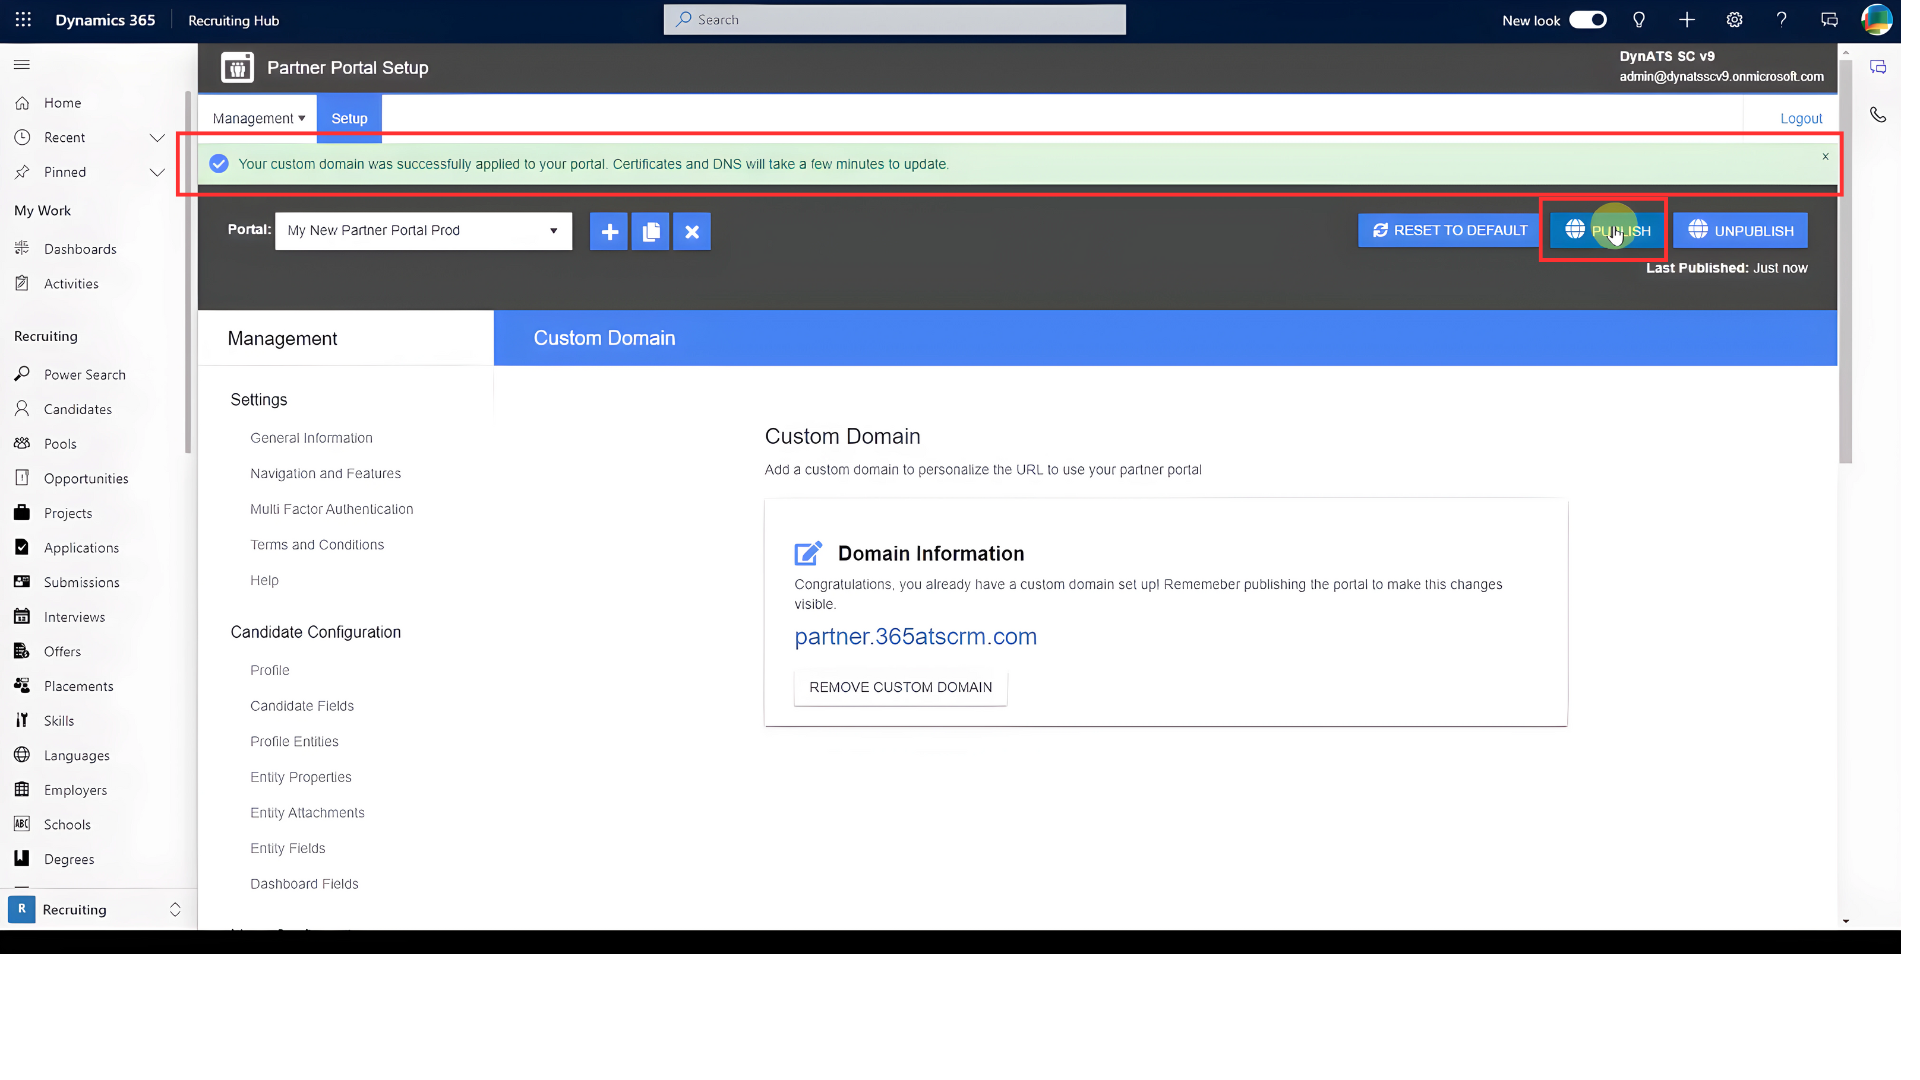
Once the custom domain has been successfully applied, remember to publish the changes to your portal settings.
Post your comment on this topic.