
You can tailor how candidates interact with their timesheets by configuring a few key settings. These options allow you to define which day the timesheet week ends, which days are available for time entry, and how candidates should log their hours. Follow the steps below to customize the timesheet experience for each placement.
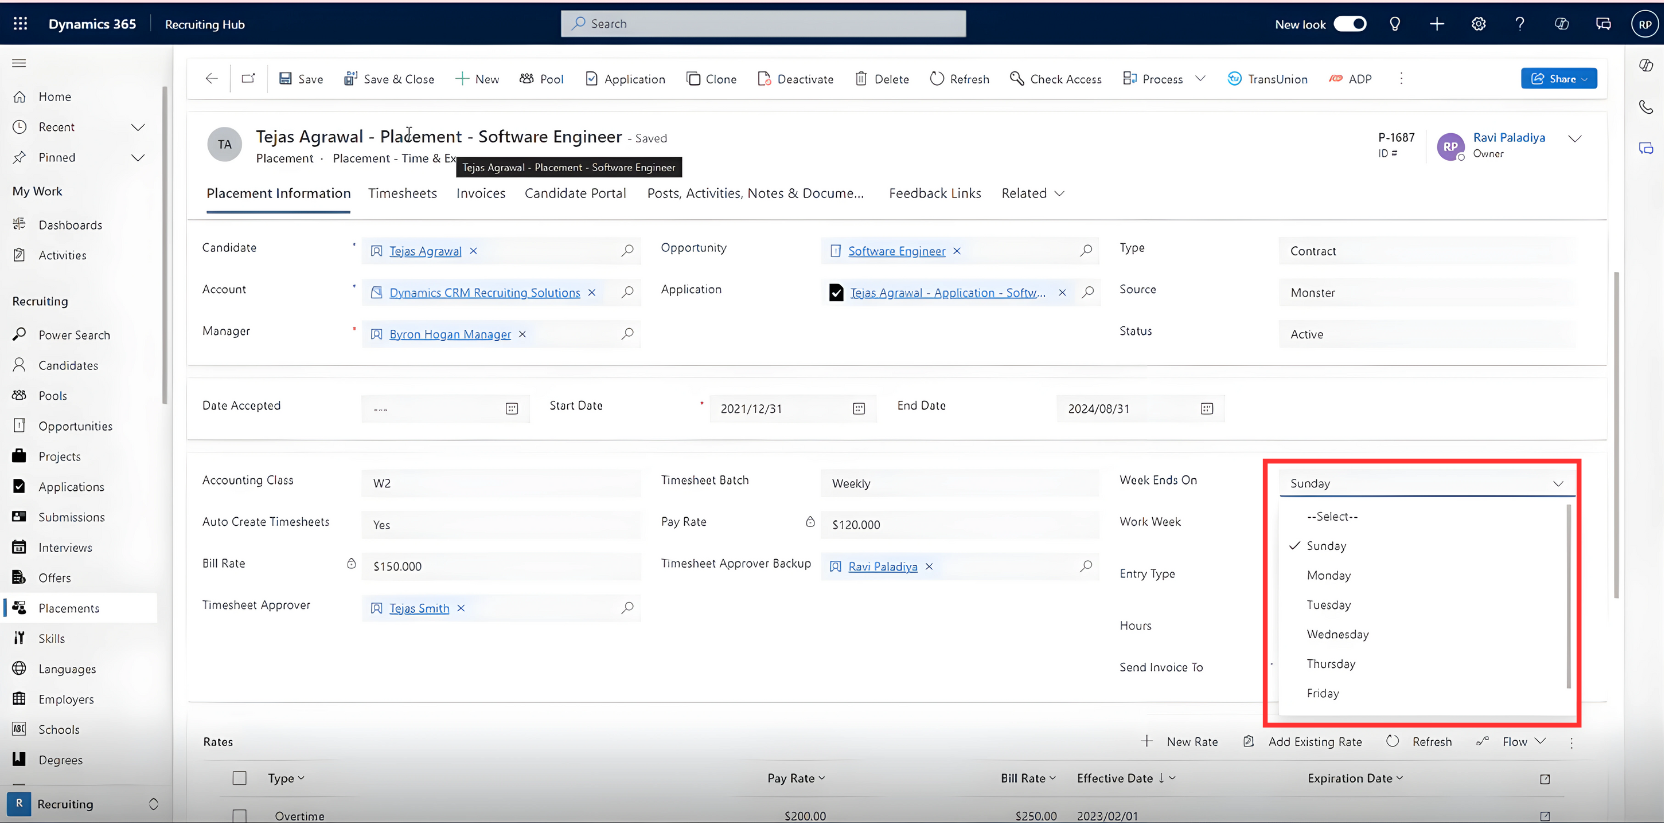
To choose the day to finish the week on the timesheet, go to the Placement Information Tab. There, find the Weeks Ends On field and select the day in the dropdown menu.
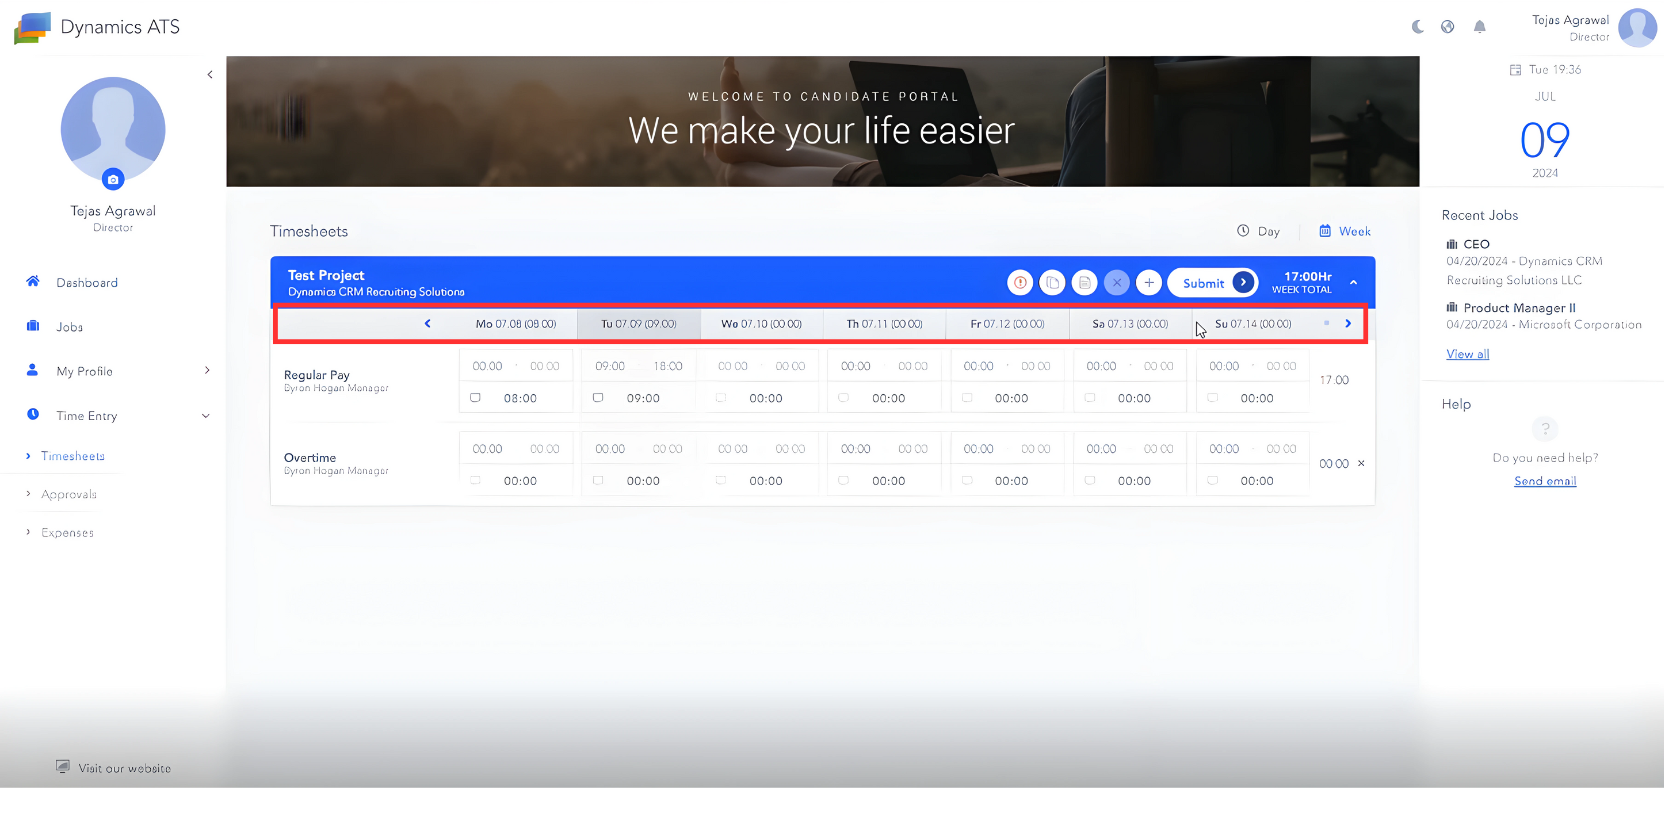
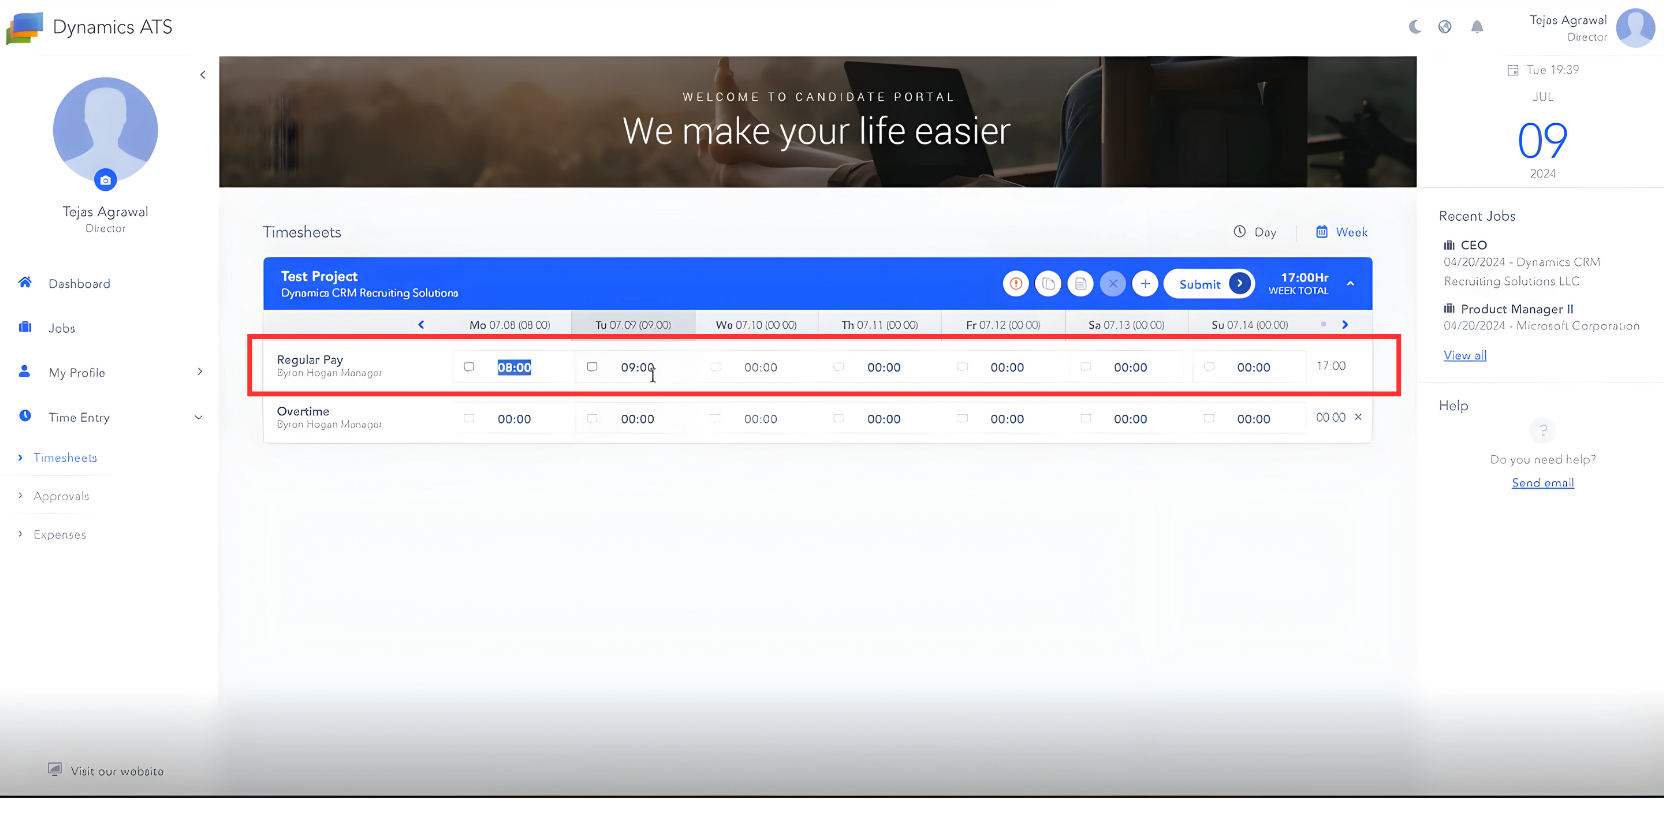
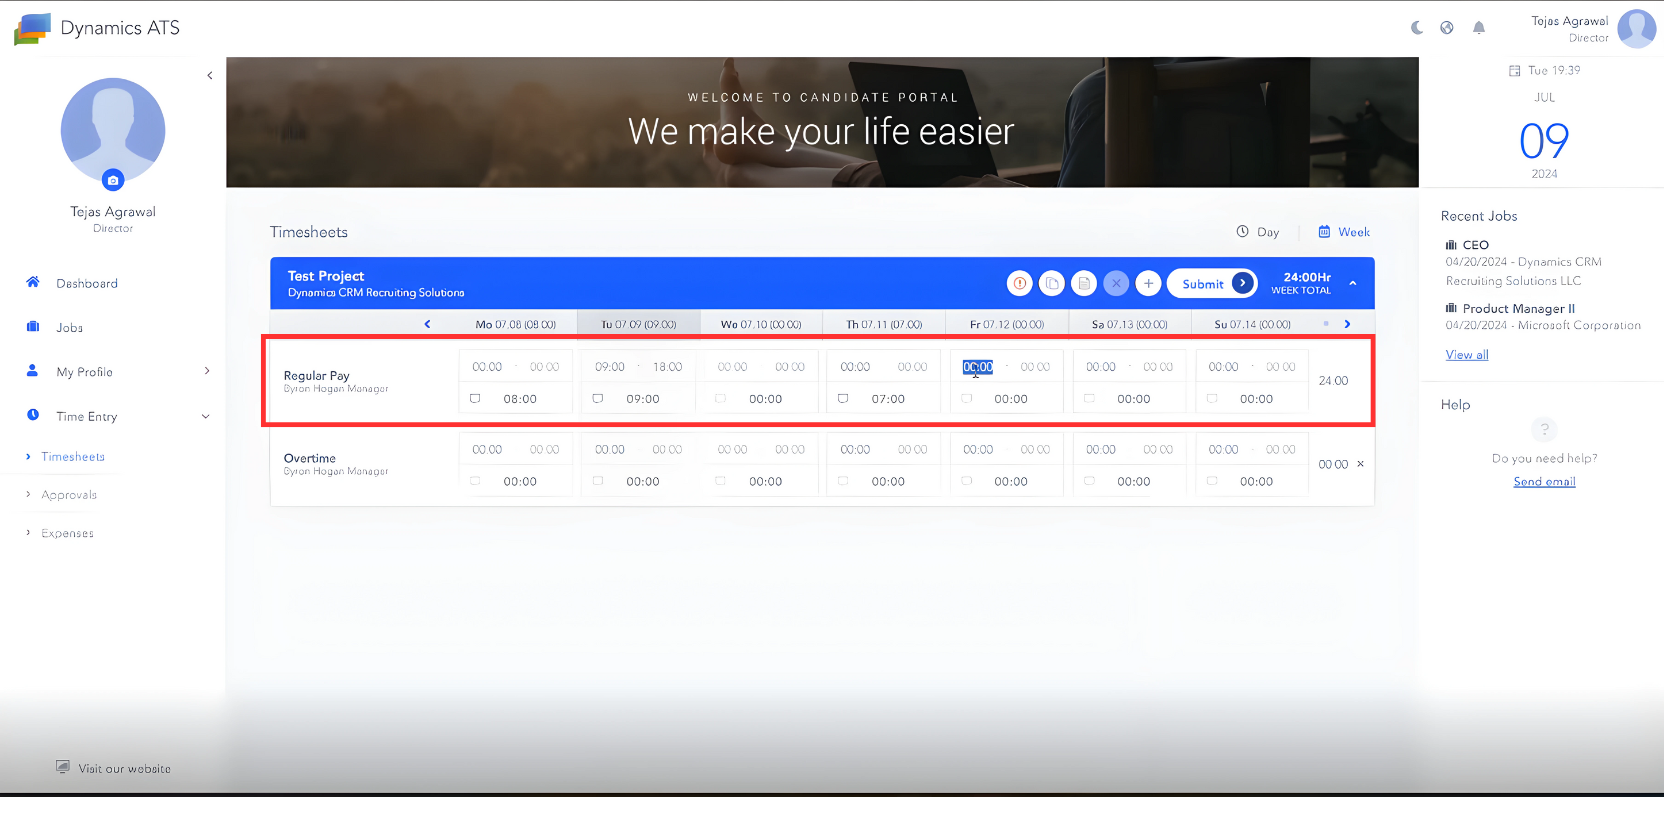
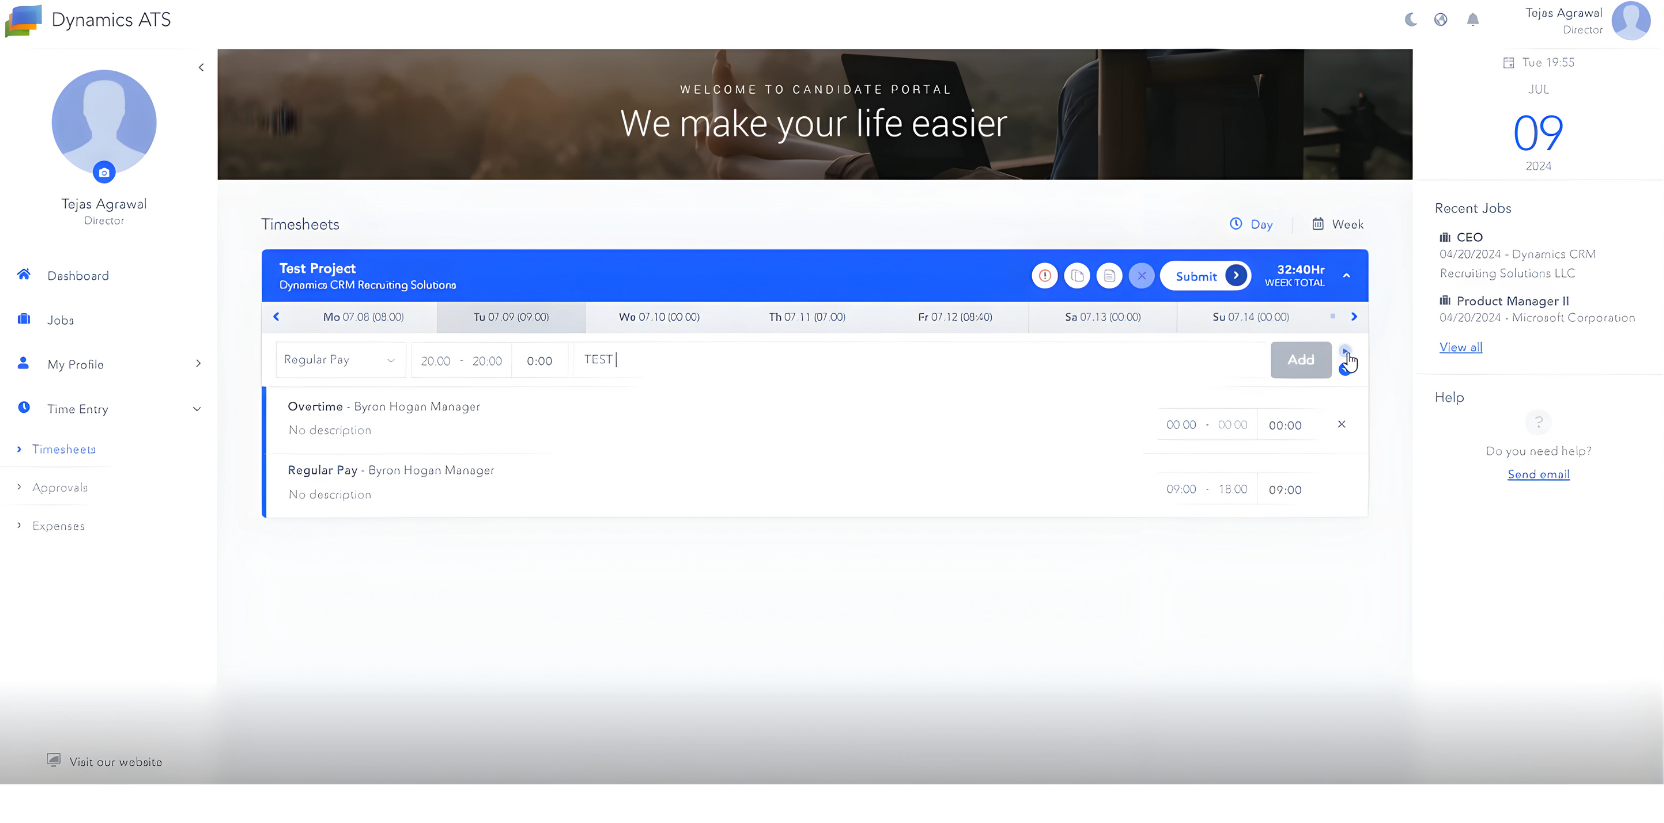
The candidate will see a timesheet like this.
You can customize the available days in the timesheet for a specific placement and restrict the candidate from submitting time entries for certain days of the week. To do this, navigate to the Work Week field on the placement page and deselect the days you don’t want to include in the timesheet.
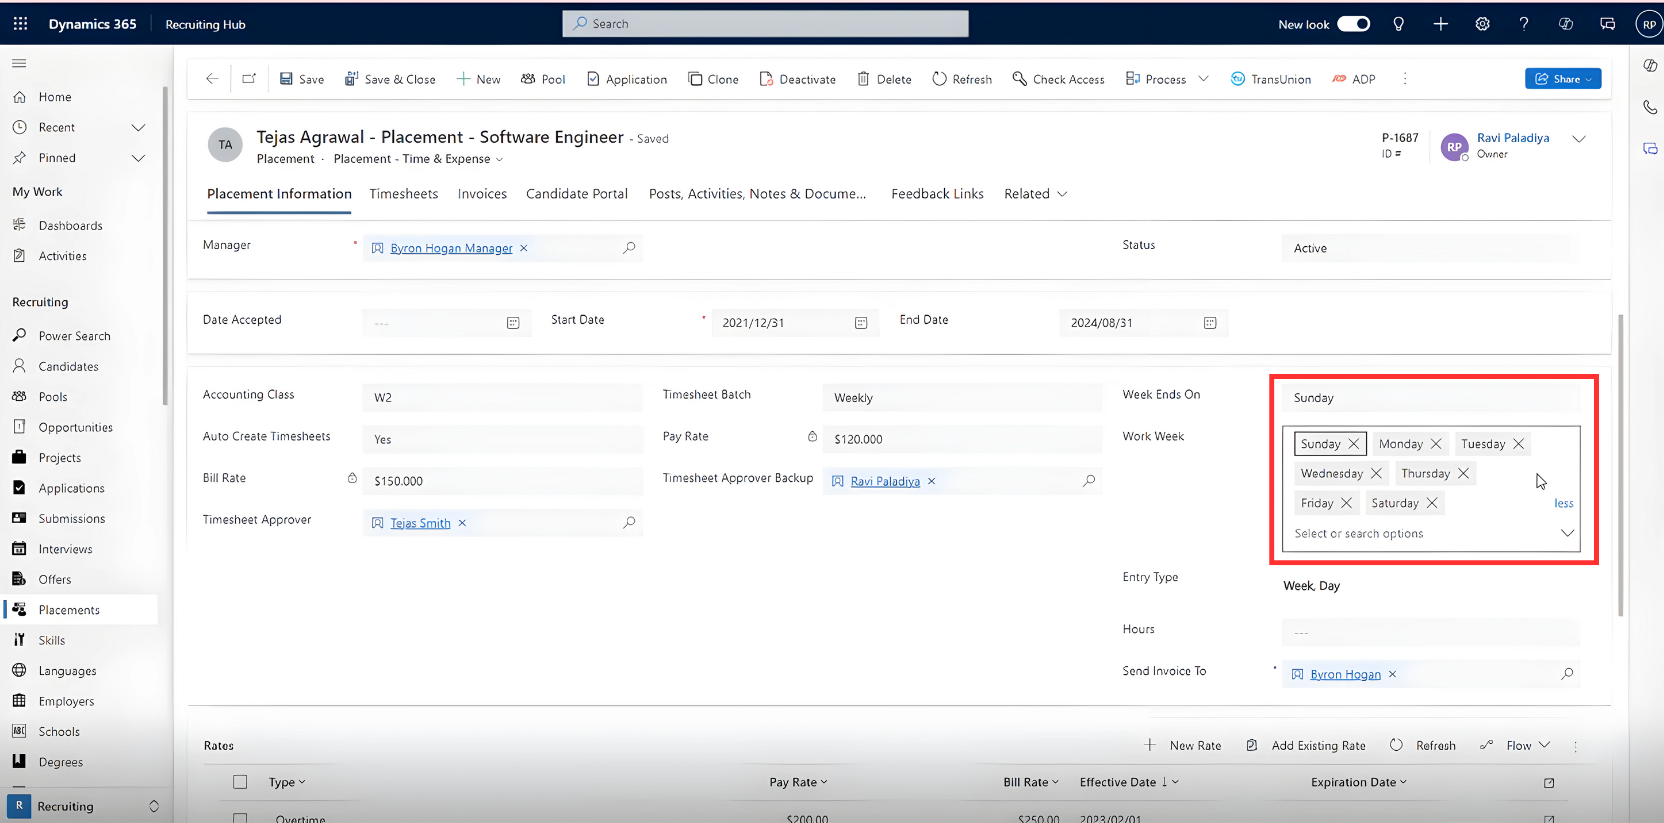
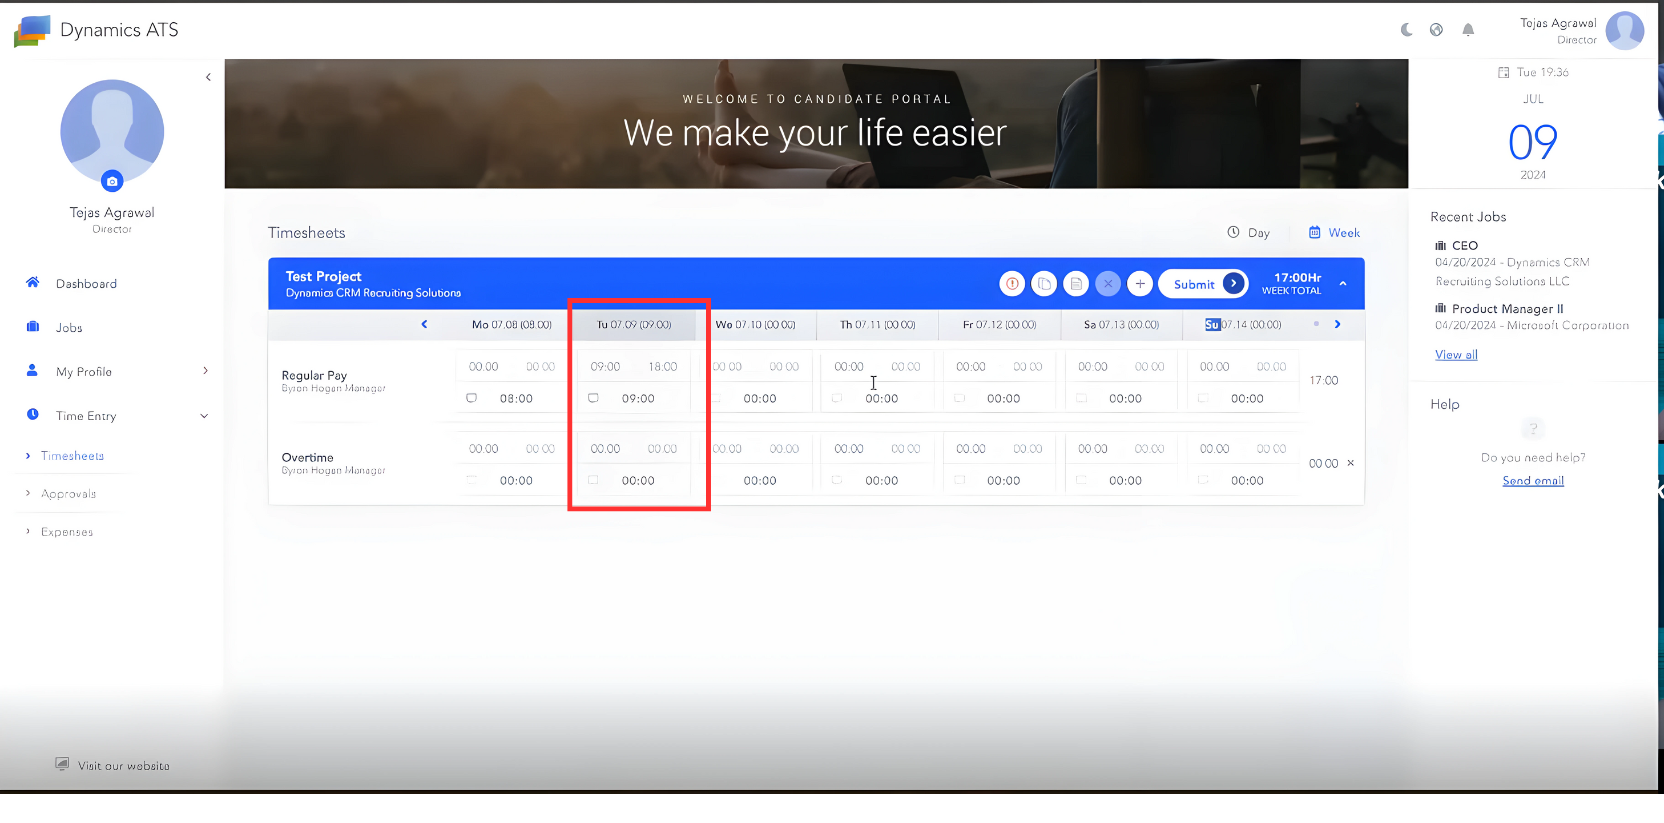
The candidate will see that day grayish.
You also have a setting called Entry Type, which determines what kind of behavior the candidate would see in order to add the time entries. You can select Week, Day, or Hour in the drop-down menu.
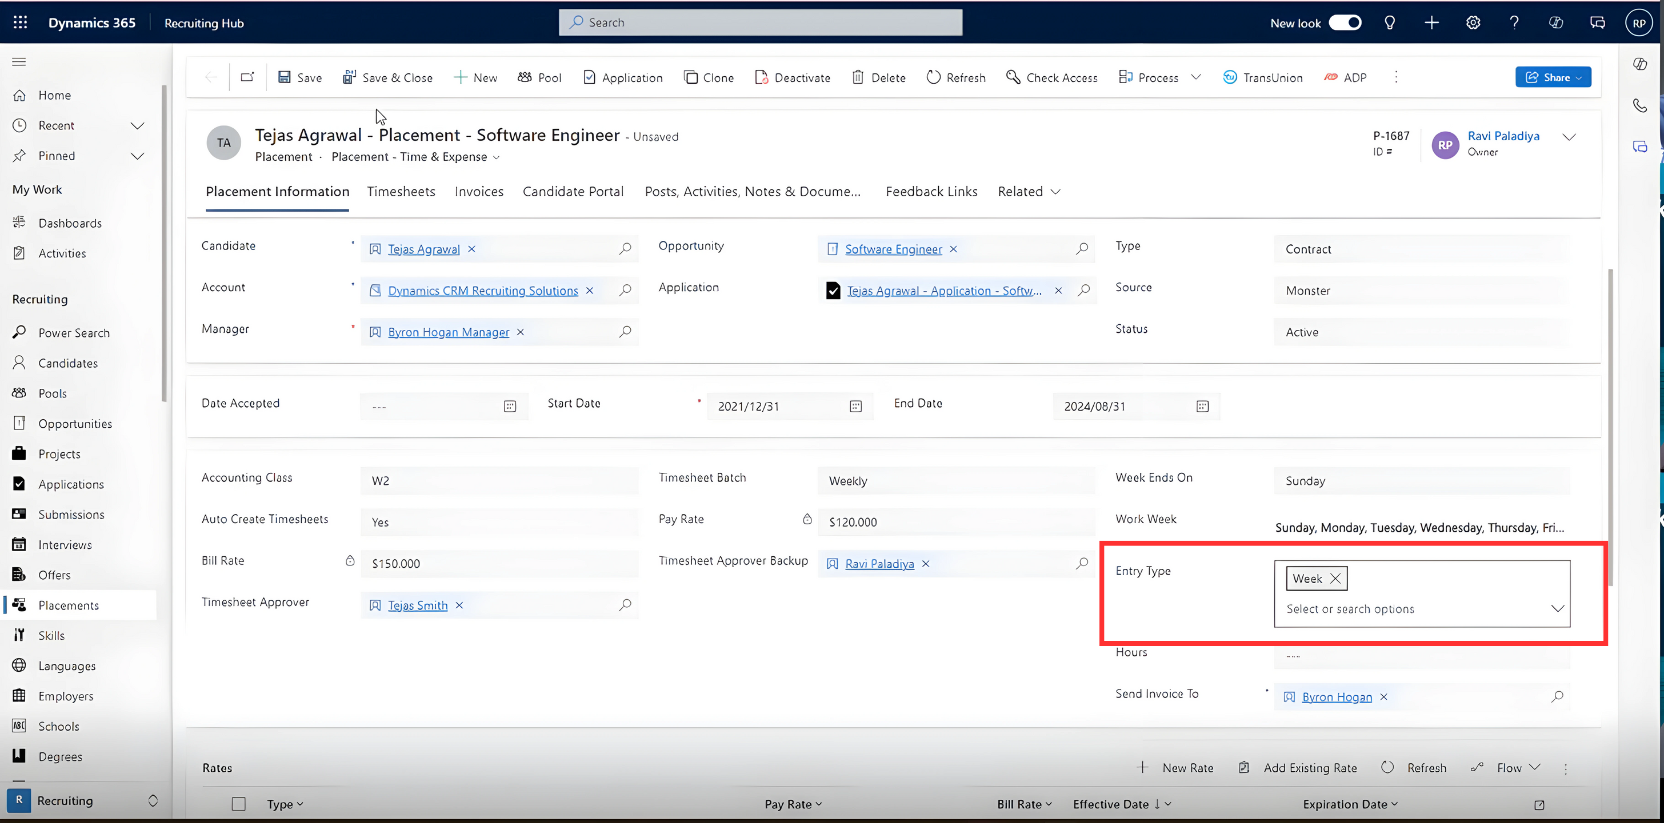
If you select the Weekly Entry Type, the candidate will only see a textbox to submit the total number of hours for that particular day.
If you select Week and Day as the Entry Types, the candidate will need to submit their start and finish work hours, and the system will automatically calculate the total working time.
If you select Week, Day, and Hour as the Entry Types, the candidate will need to start a clock at the beginning of their work and stop it when they finish.
Press Save to save the changes.
Post your comment on this topic.