
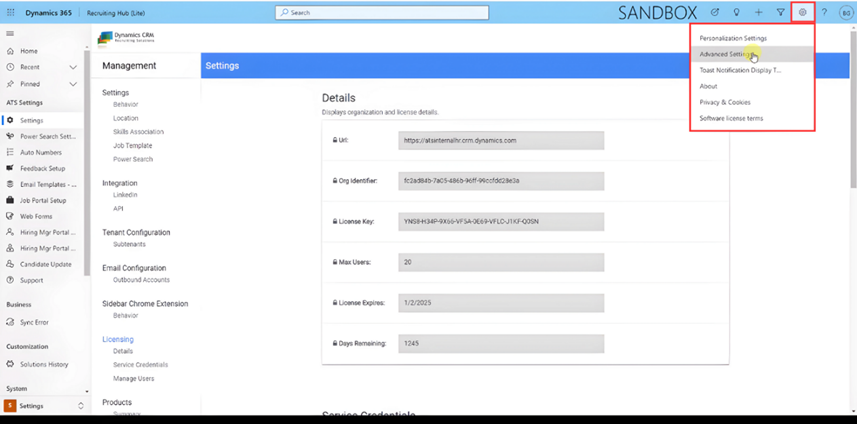
To create system dashboards, go to the configuration icon and select Advanced Settings.
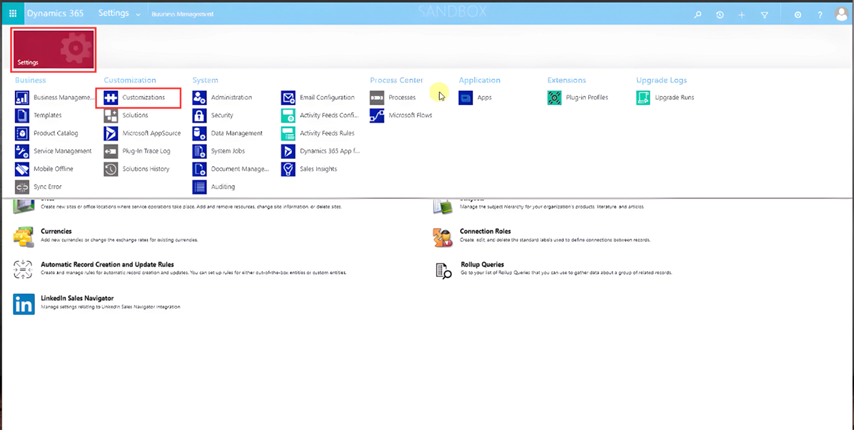
Go to Customizations and then Customize the System.
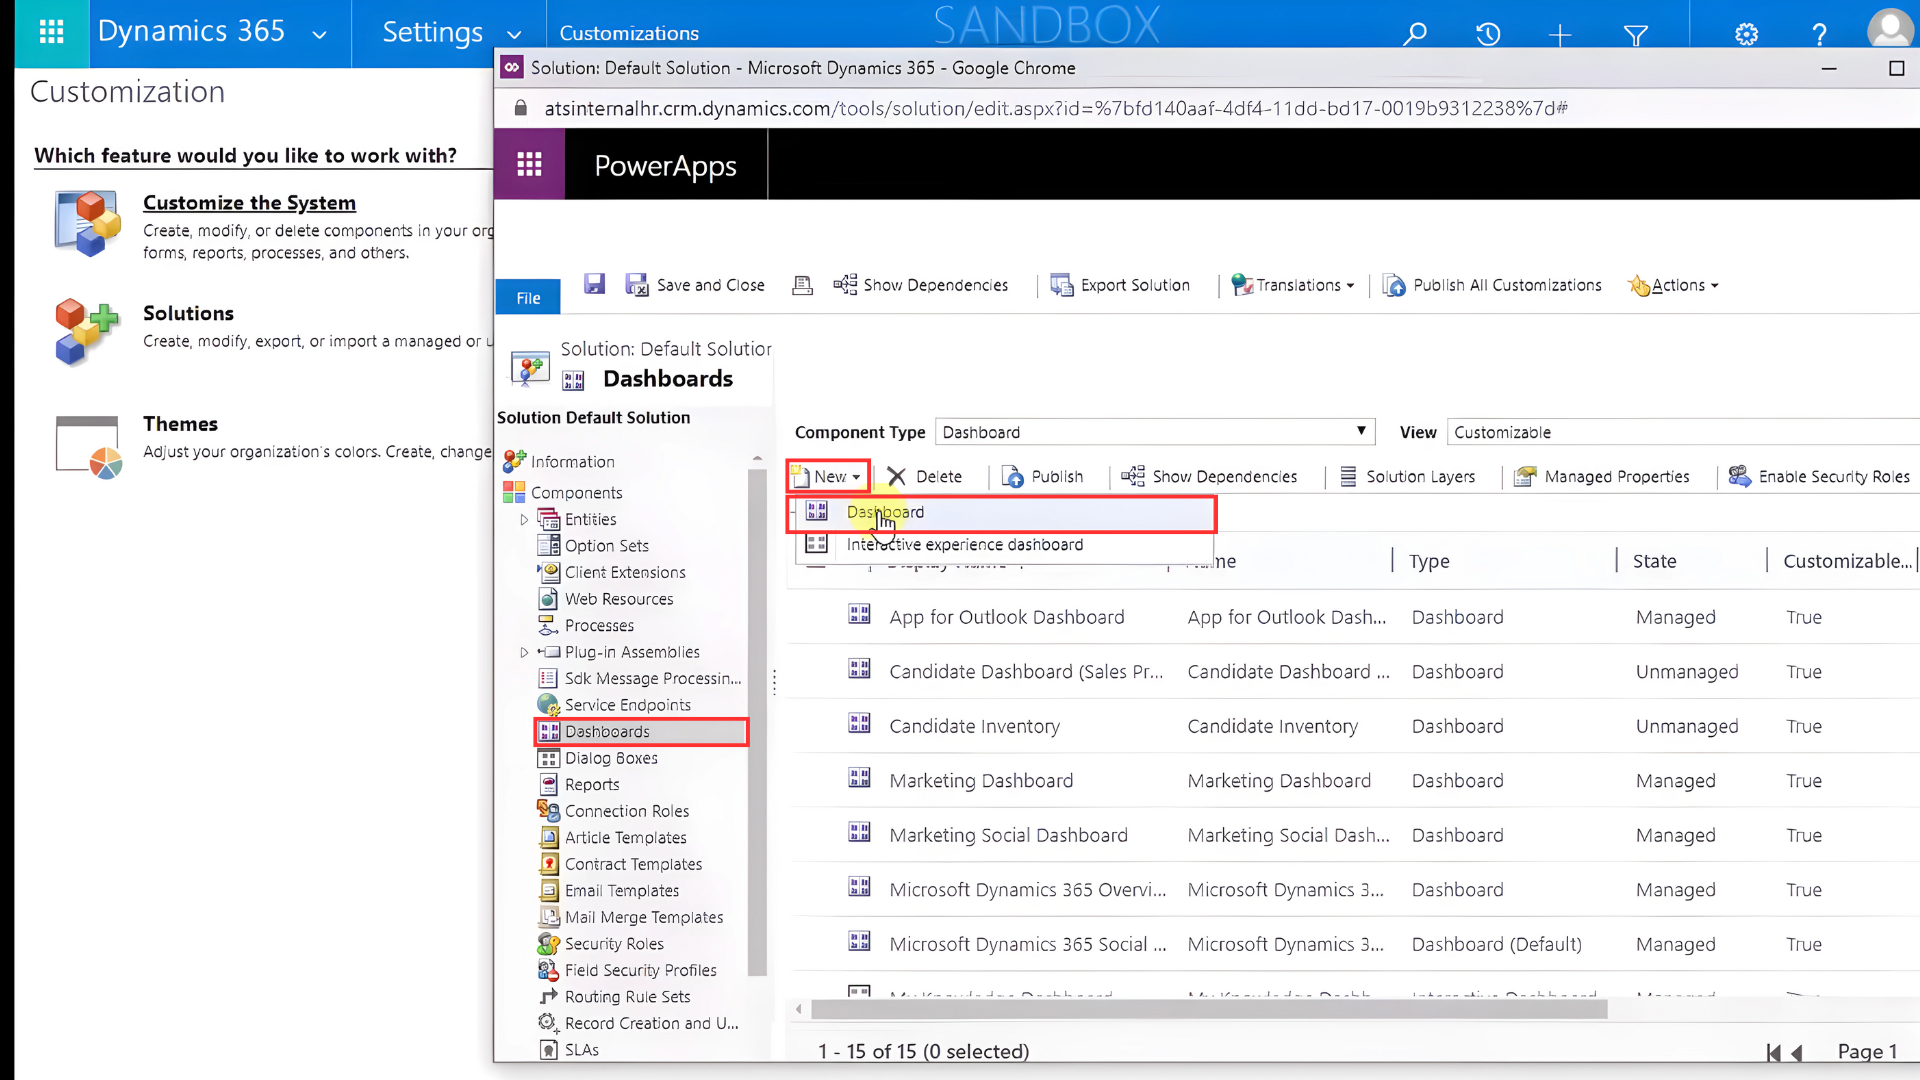
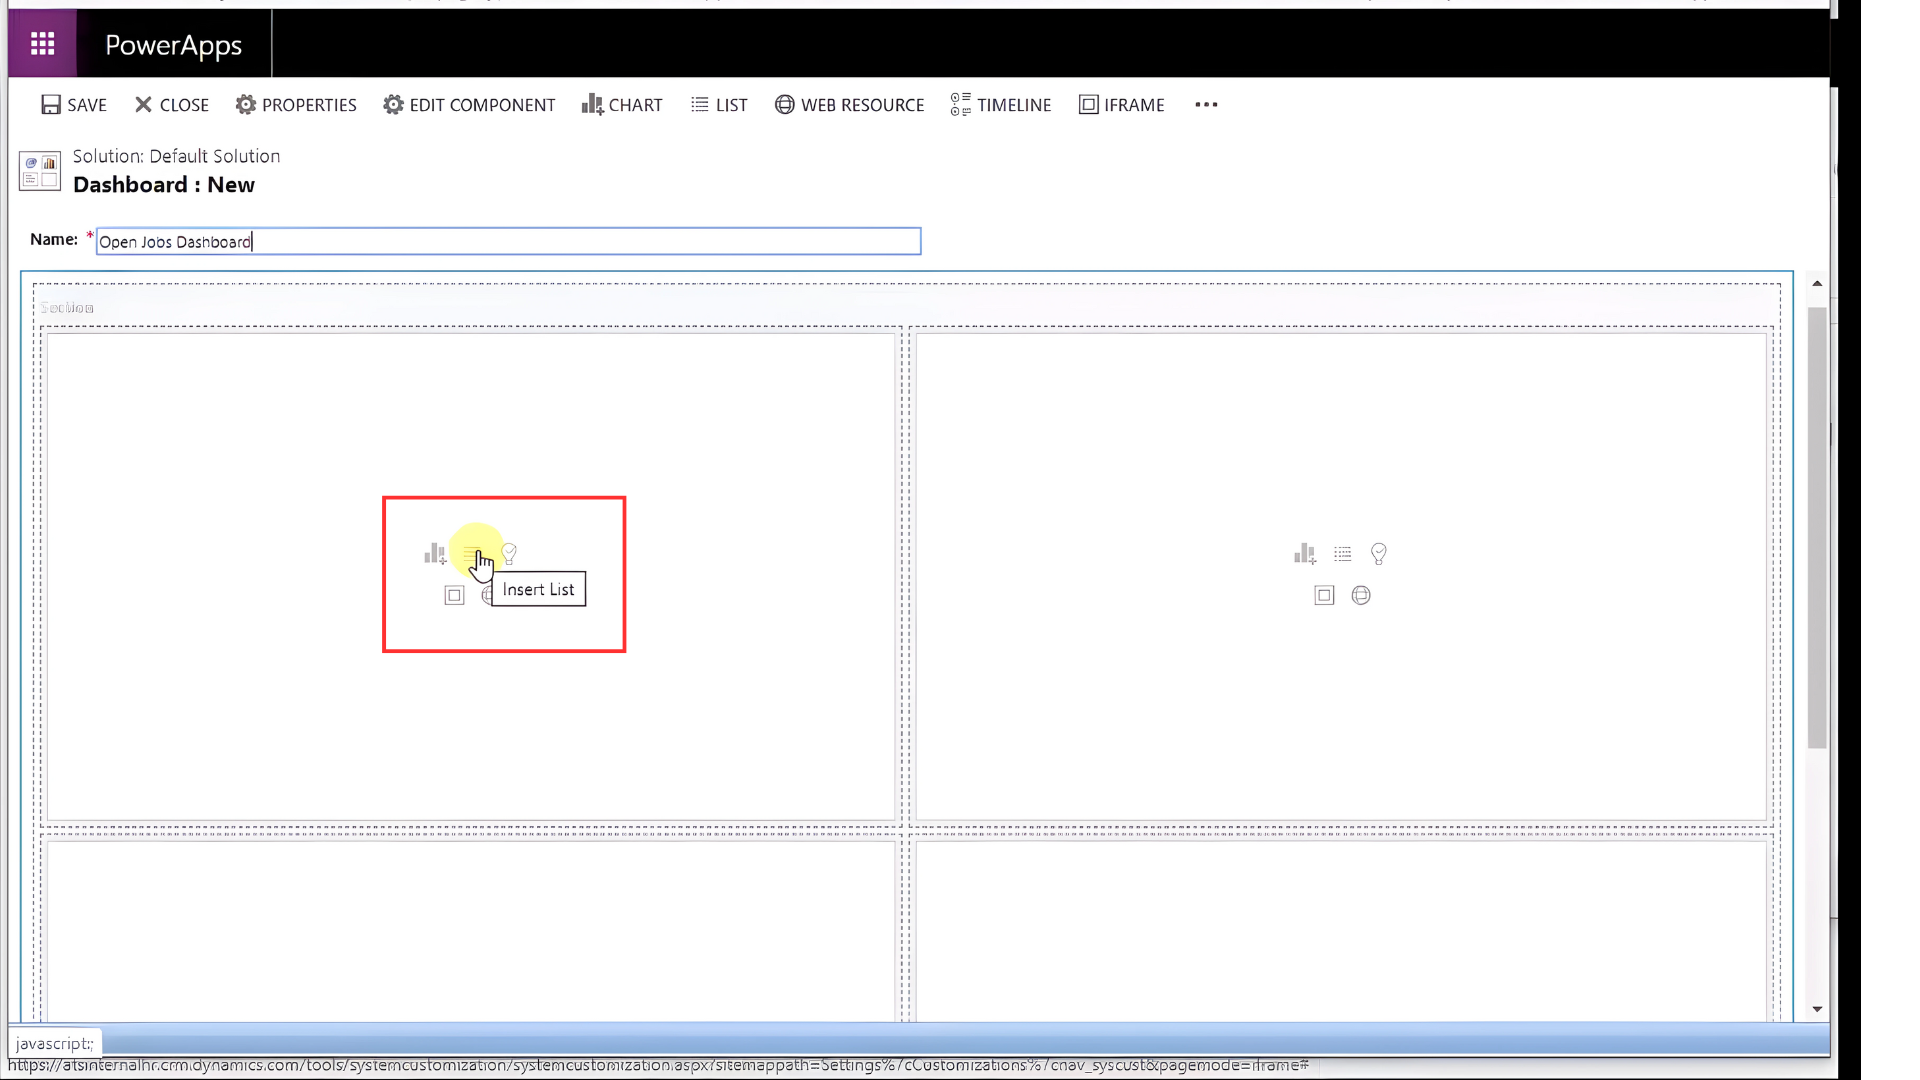
Select Dashboards and click New. Then select ‘Dashboard.*
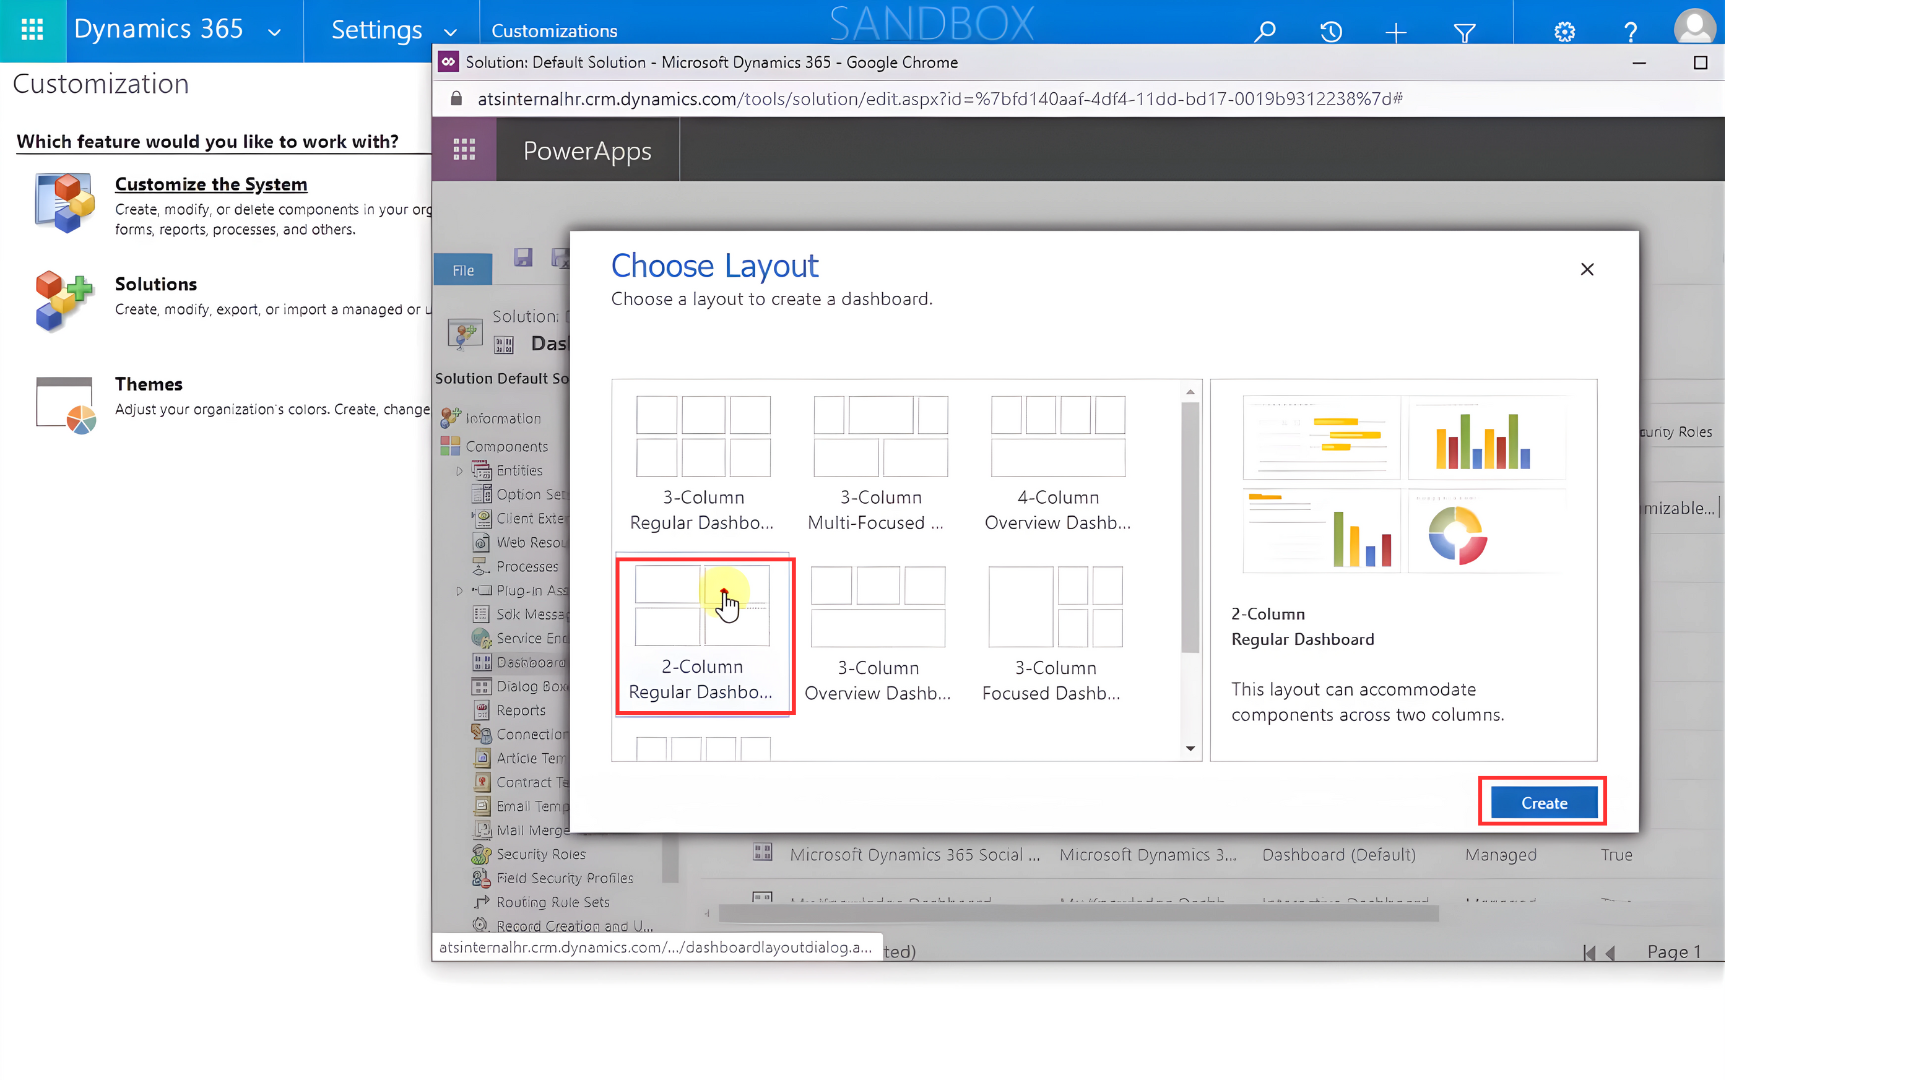
Then choose the layout to create a dashboard.
Name the dashboard and choose the component that you want to see. Could be a list, a chart, a web resource, a timeline, or an iframe. To do this, go to the section and click on the icon.
To add the component, select the record type, in this case, Jobs, and then select the view. Finally, click Add.
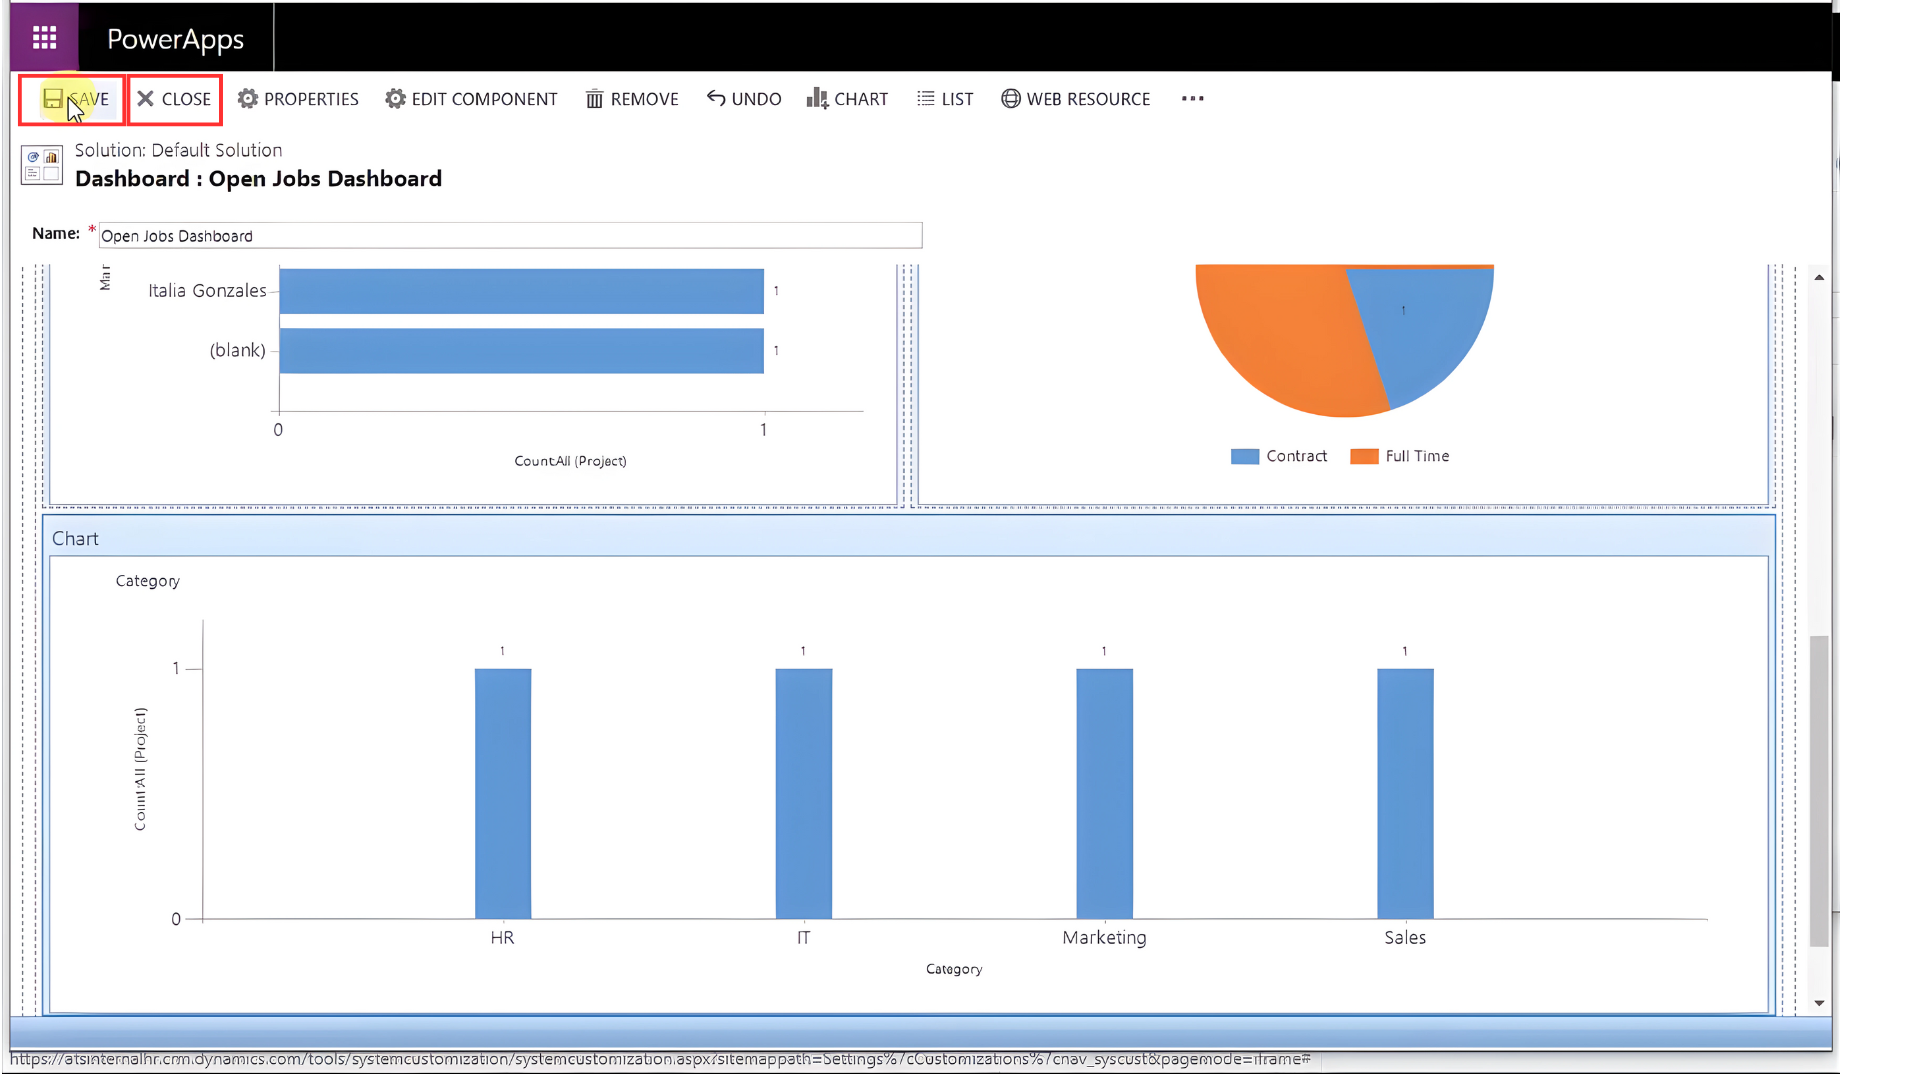
Repeat this step until all the sections are completed. Finally, press Save and Close.
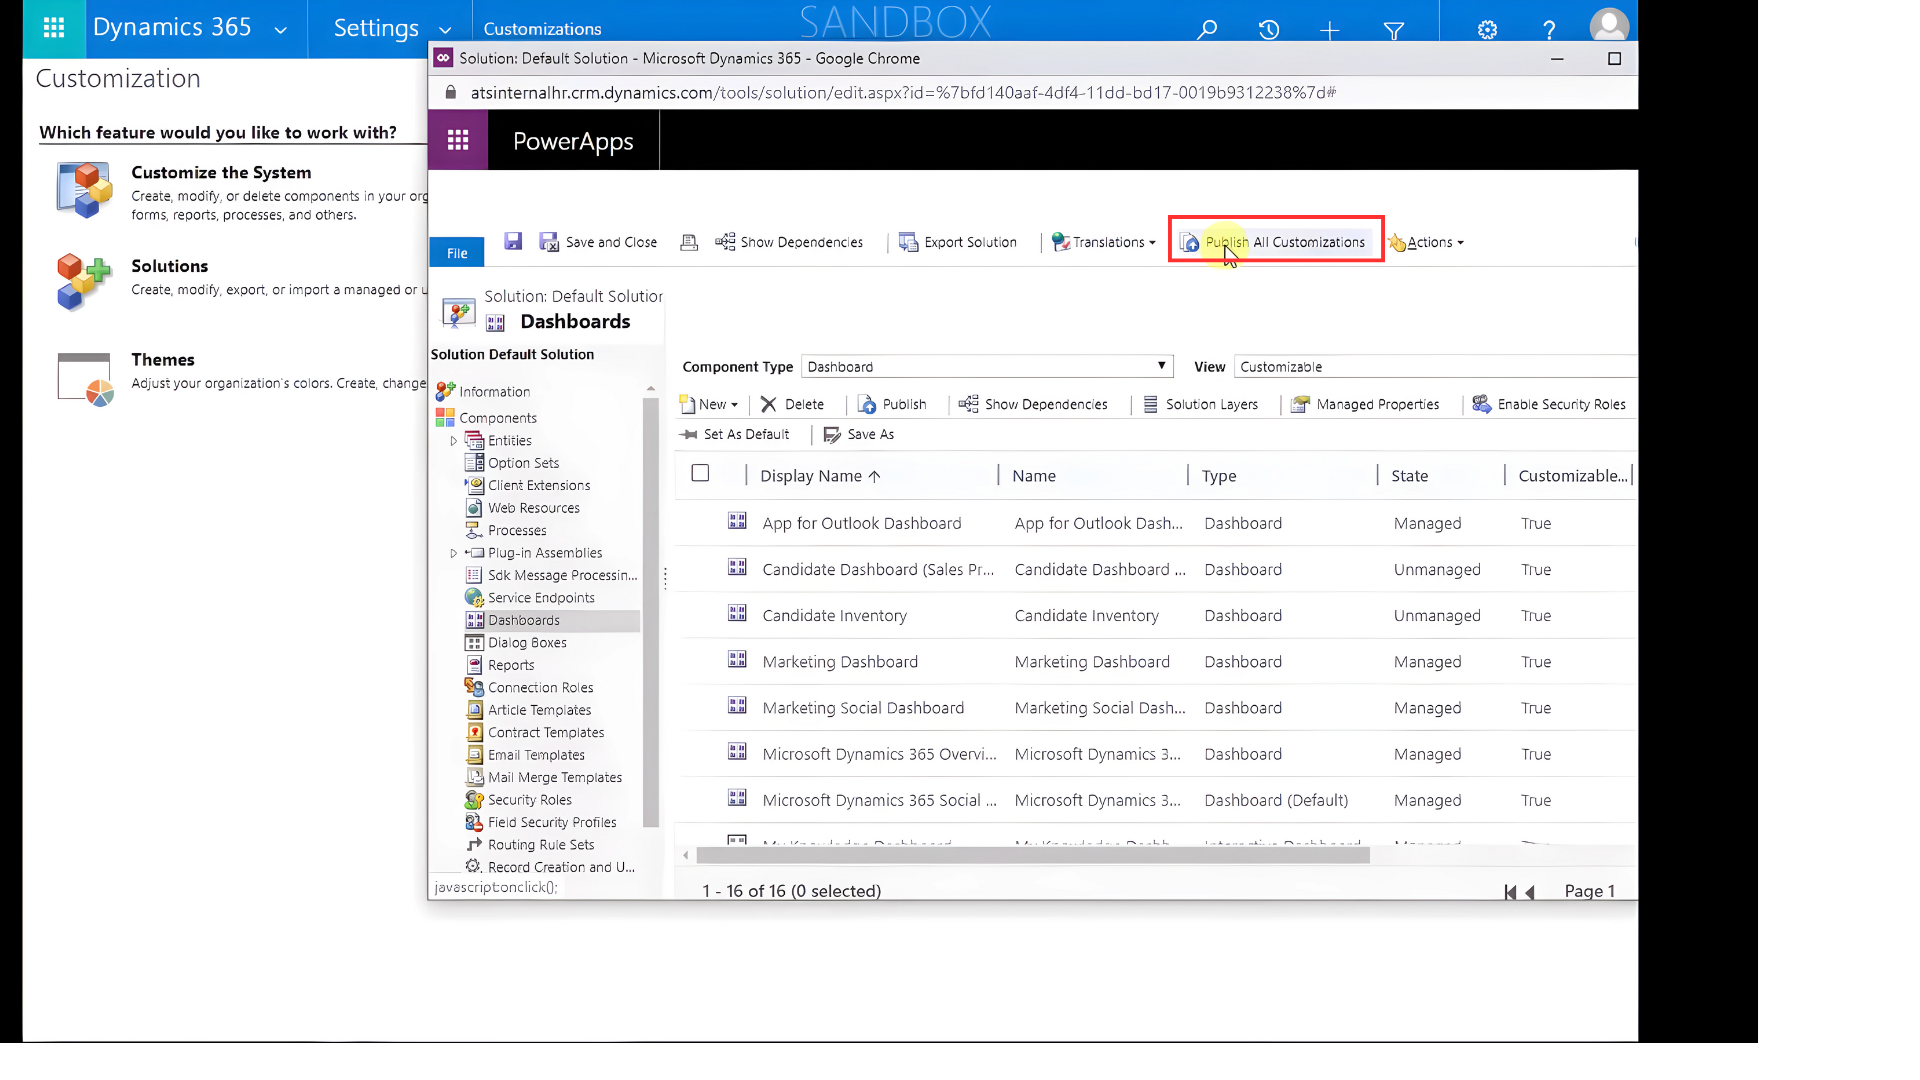
Then press Publish All Customizations.
Refresh the browser after publishing.
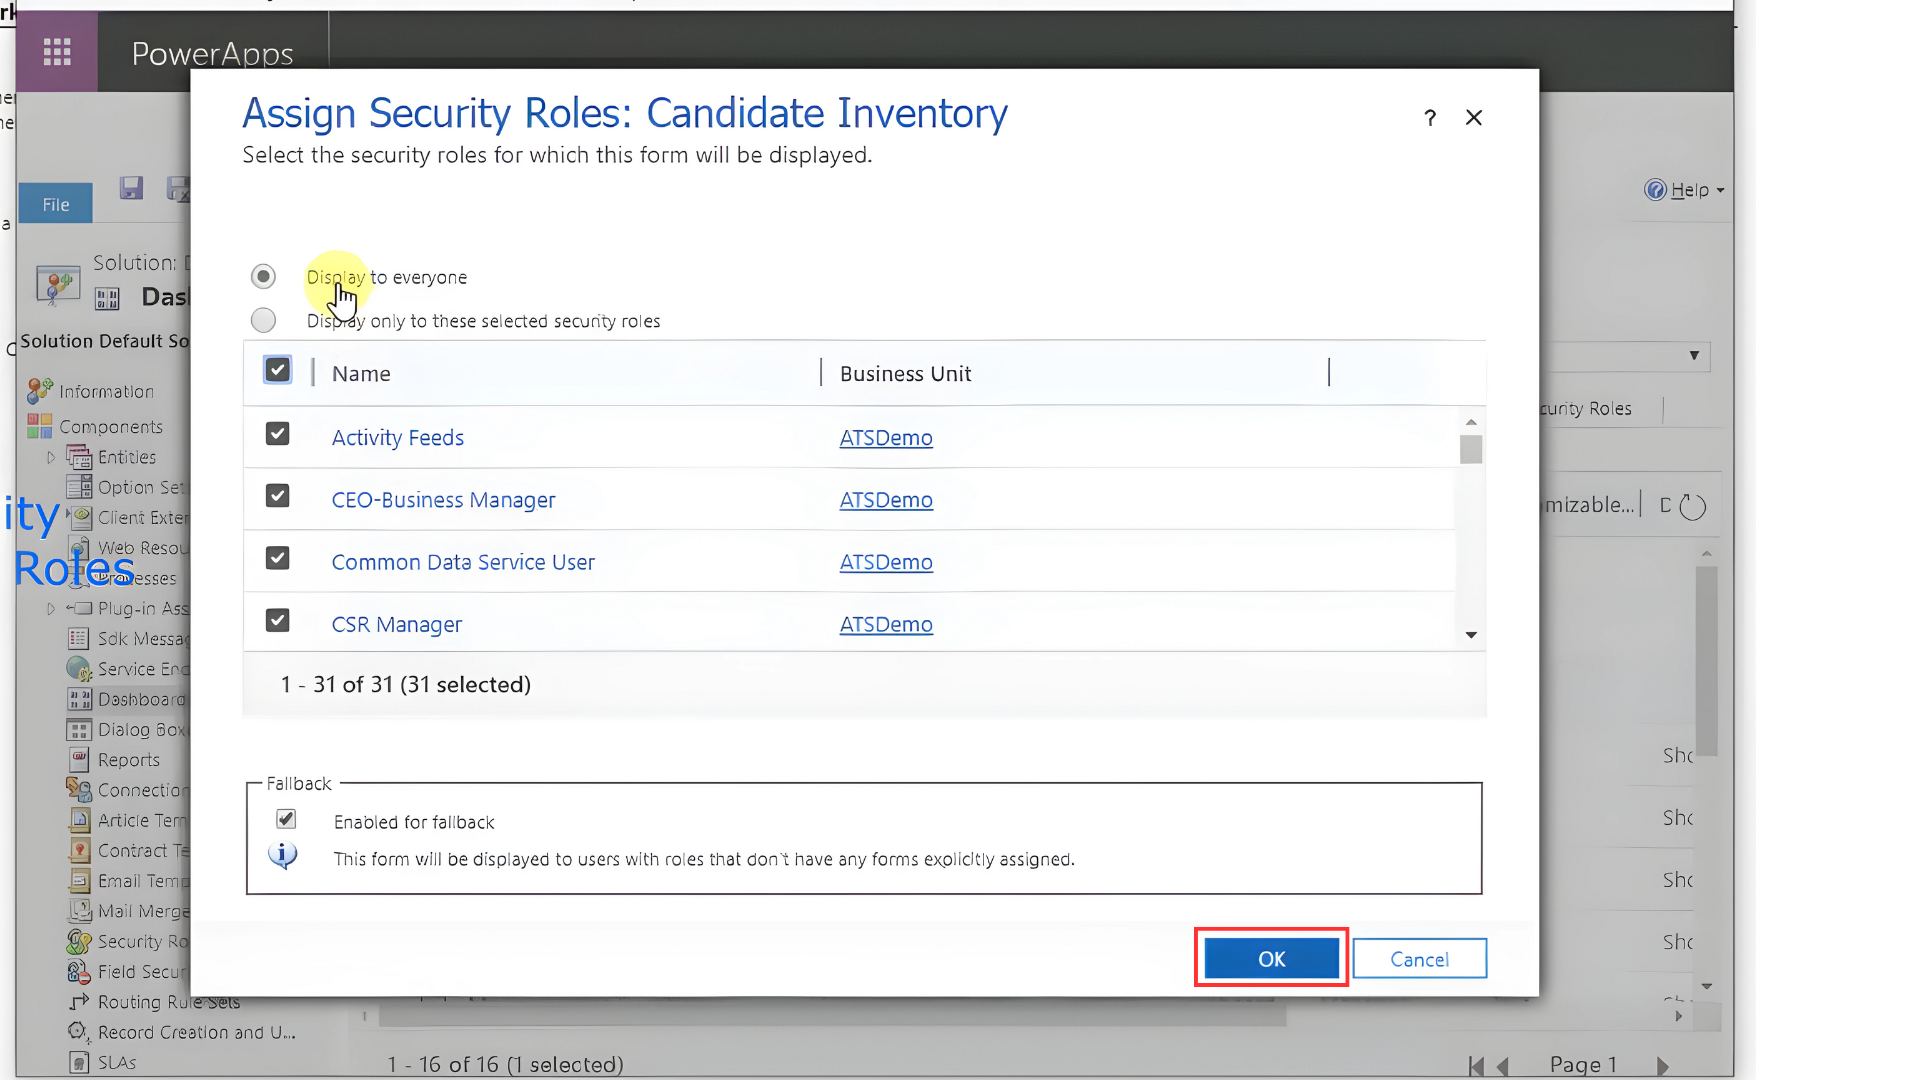
You can assign the security roles for which this form will be displayed. To do this, select the and press Enable Security Roles.
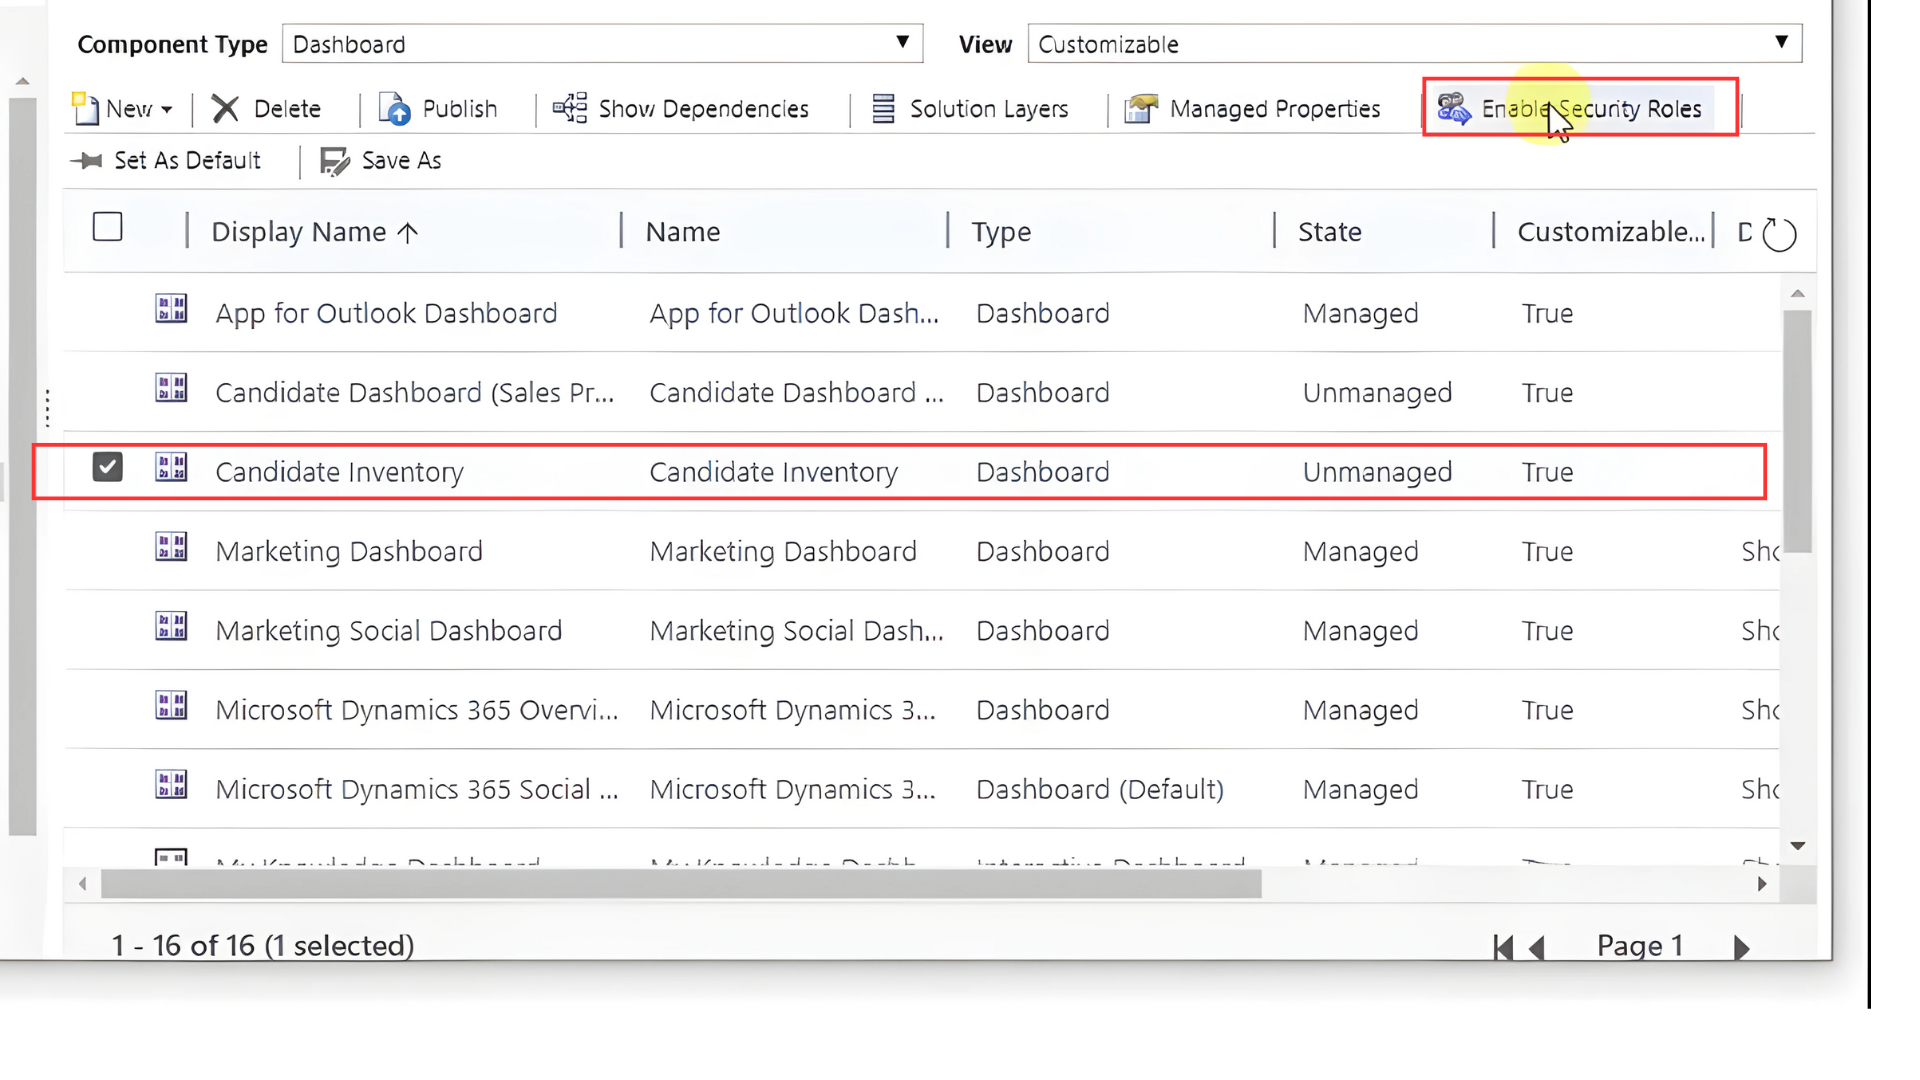
Then check the Enable security roles. Finally, click OK.
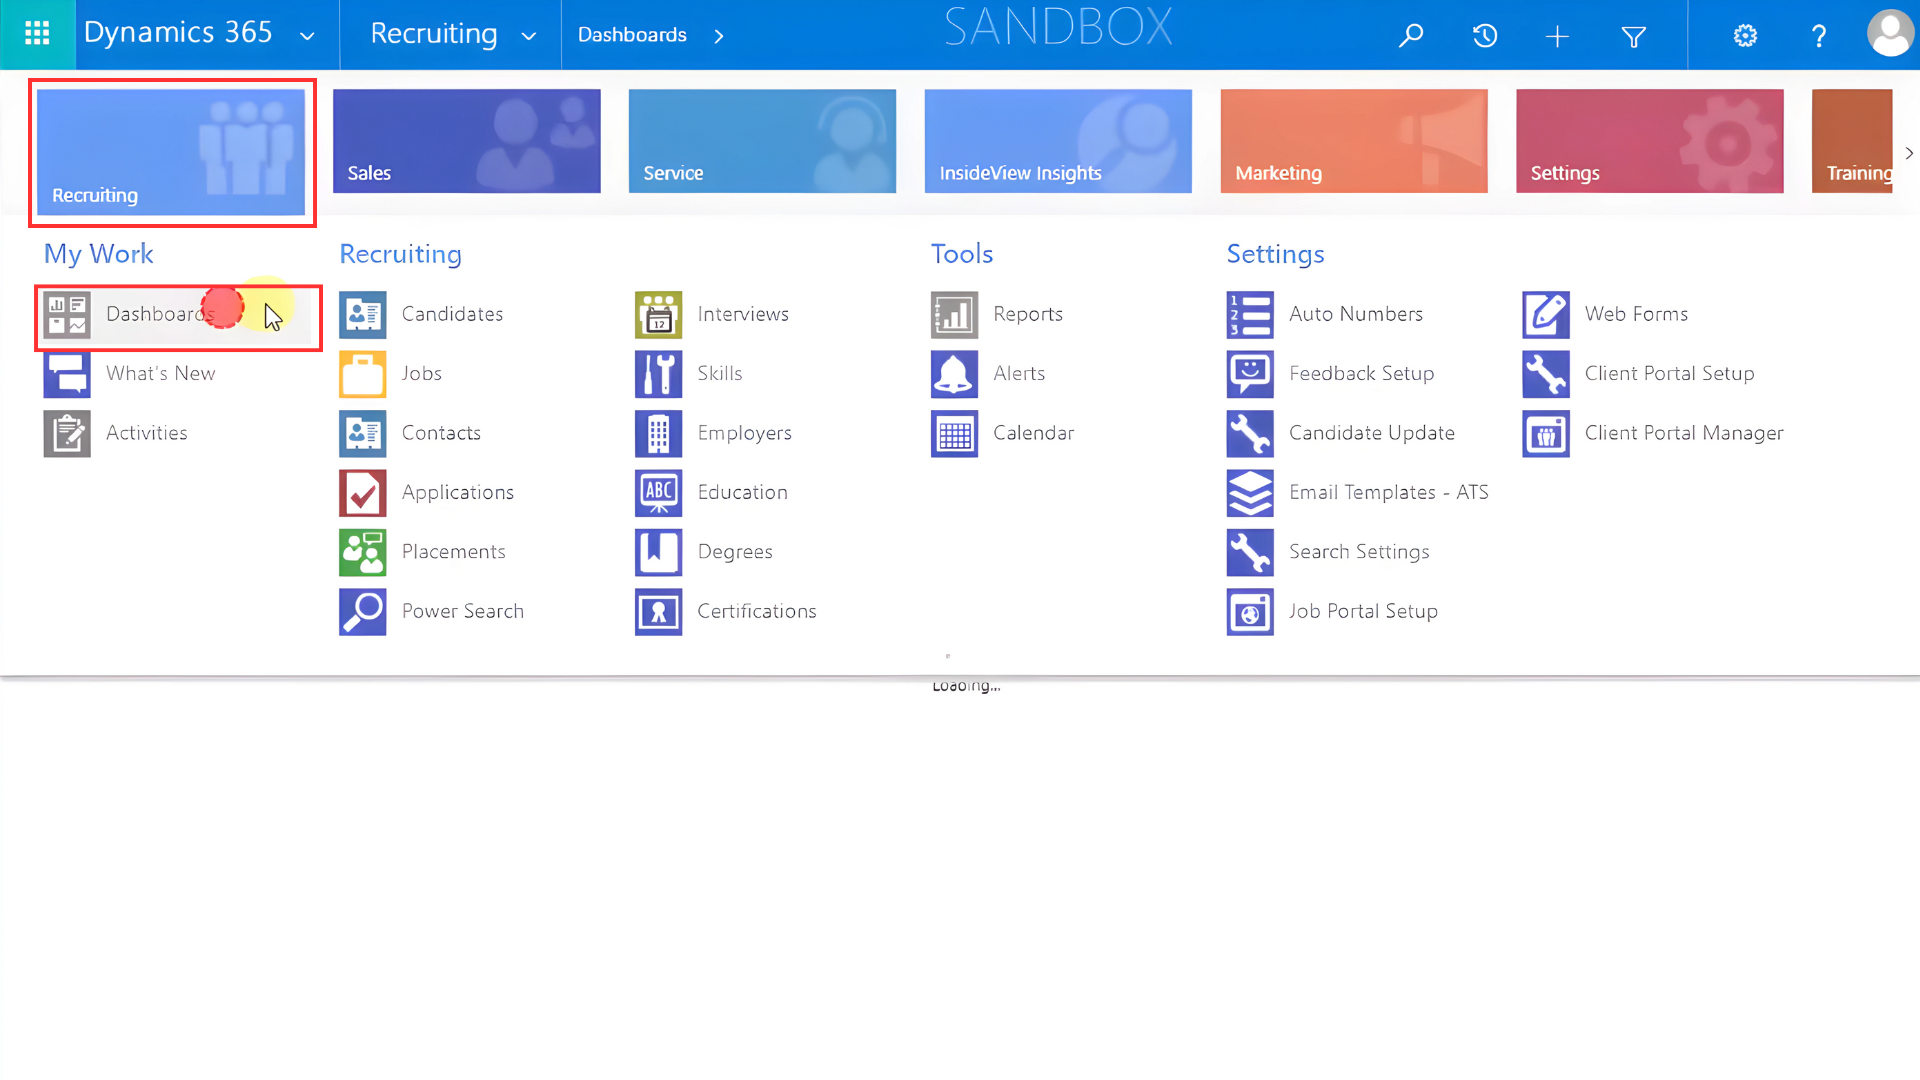
To find this new dashboard, go to Recruiting and select Dashboards.
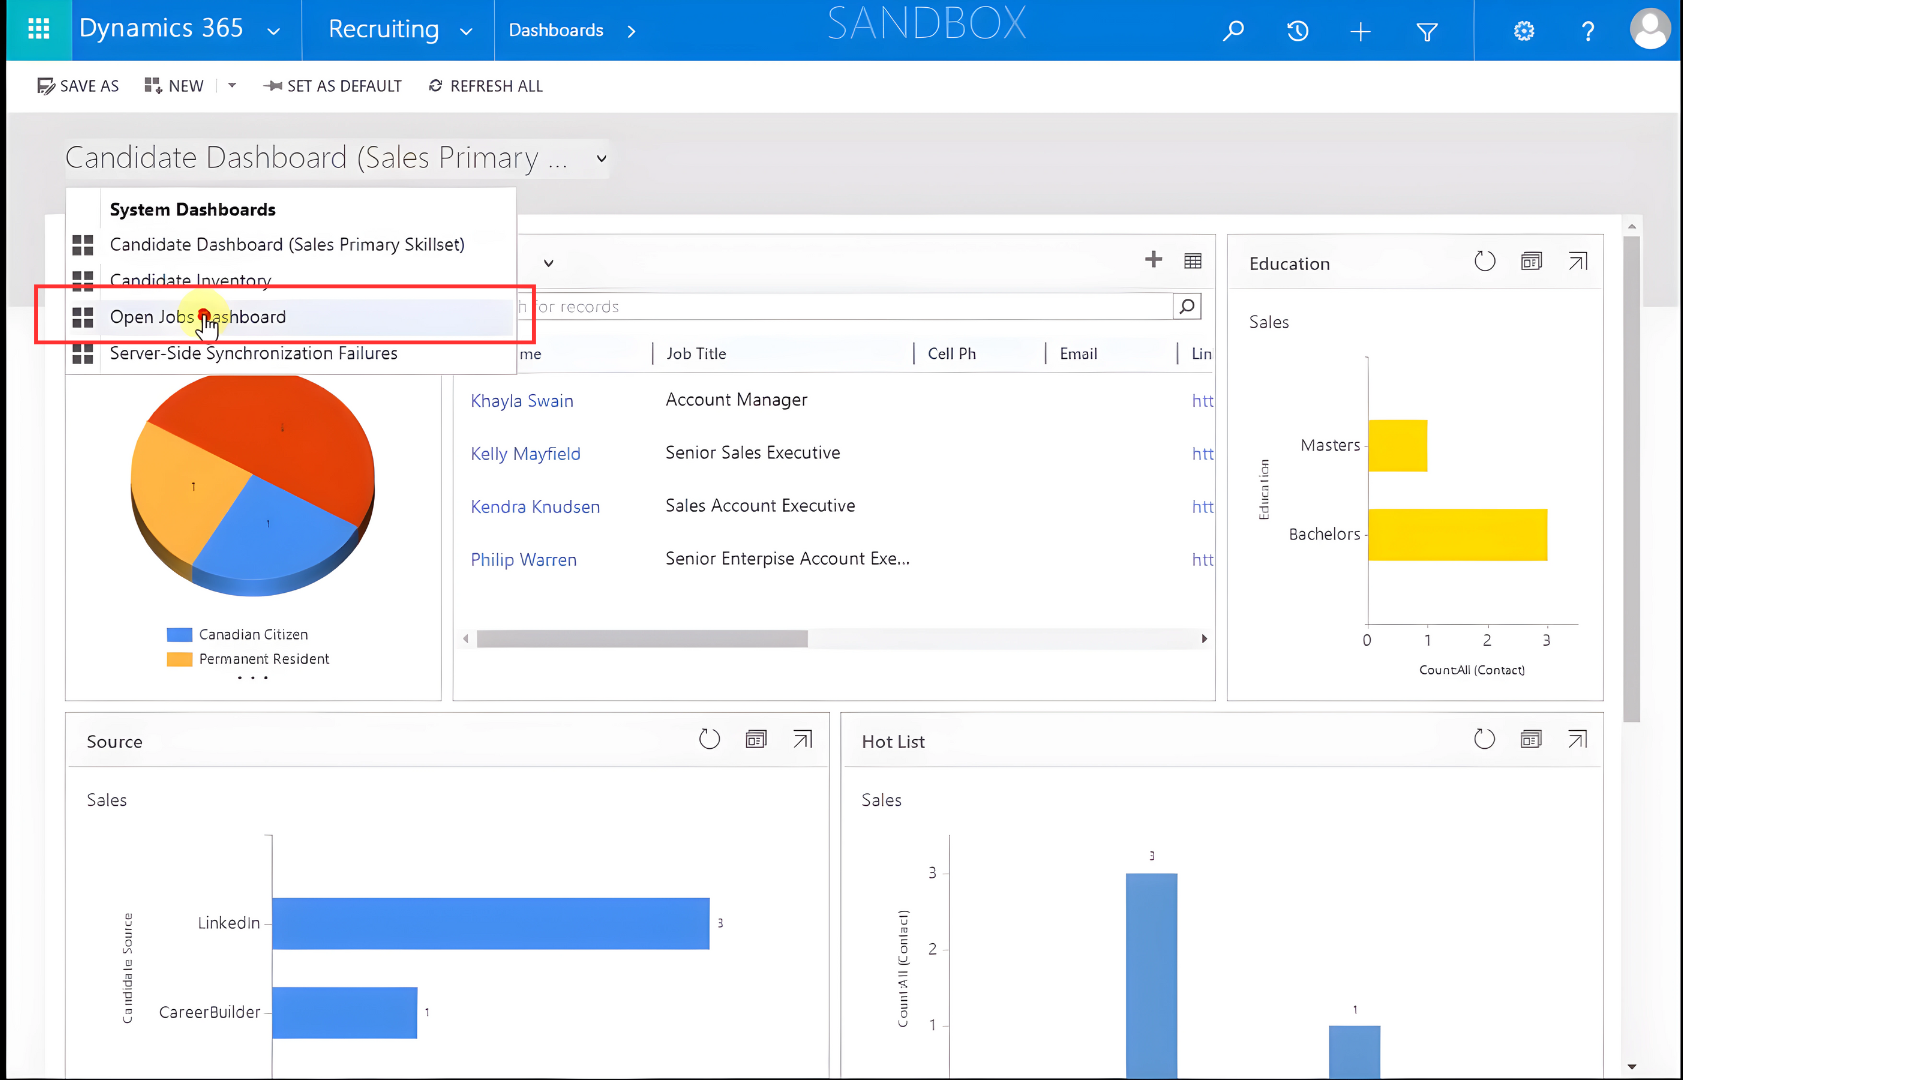
Then select the new dashboard from the dropdown menu.
If you don’t want to create a system dashboard, you can also create a personal dashboard and share it with other users.
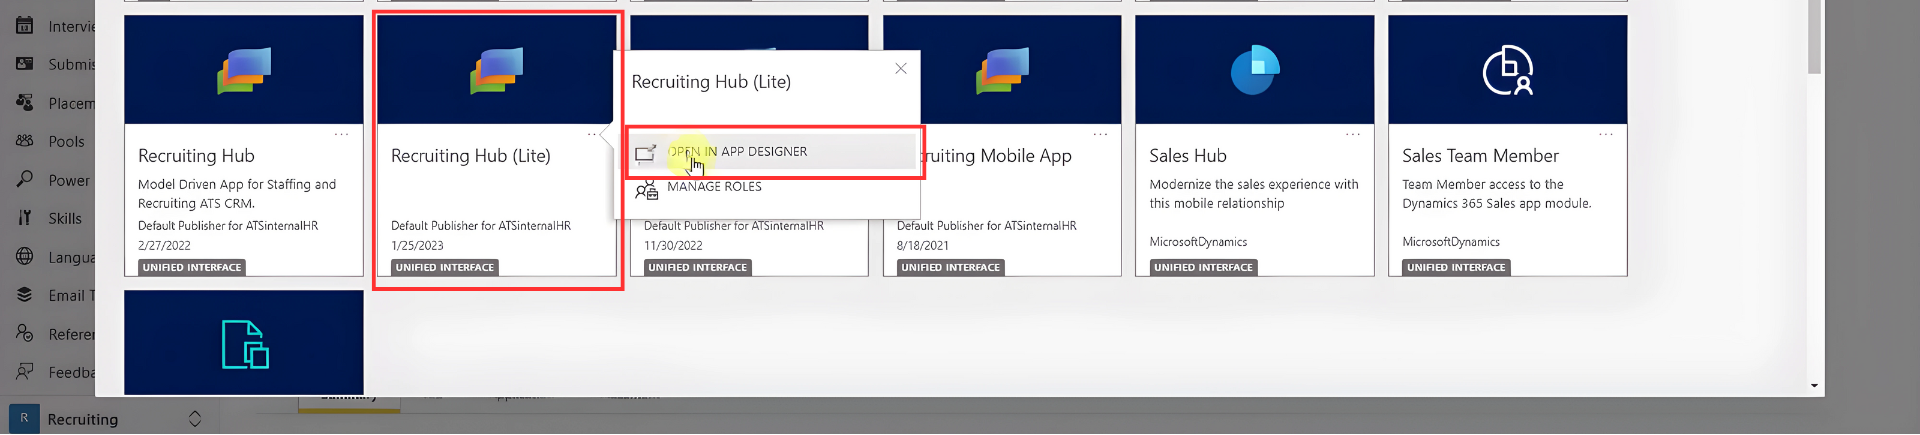
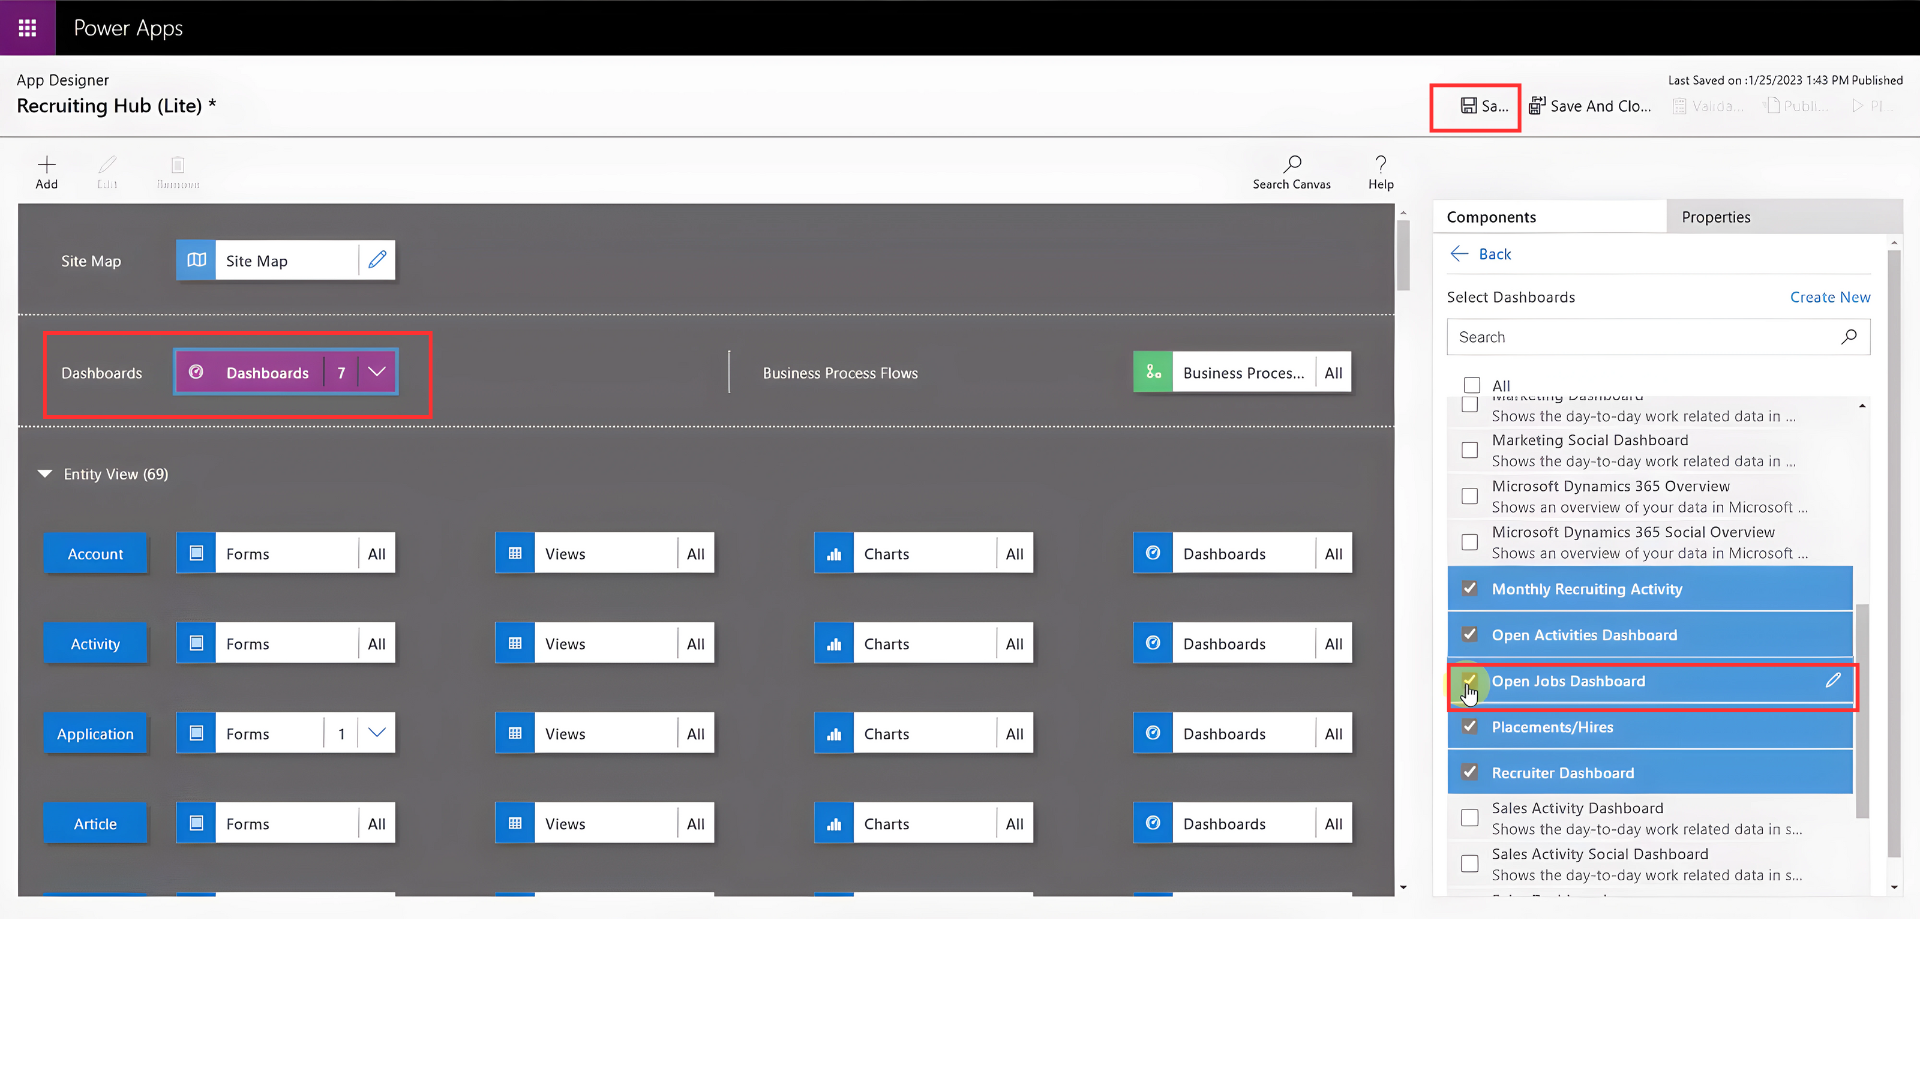
If the dashboard doesn*t show up after a couple of hard refreshes (ctrl R), you may have to add it to the site map. To do this, go to recruiting Hub Lite, press the three dots, and select open in app designer.
If you don’t see the classic view, press the three dots and select ‘Switch to classic.*

Then select Dashboard on the dropdown menu and mark the checkbox on the right. To finish press Save and Publish.
Post your comment on this topic.