
Go to ‘Settings’ in the sidebar and select Web forms.
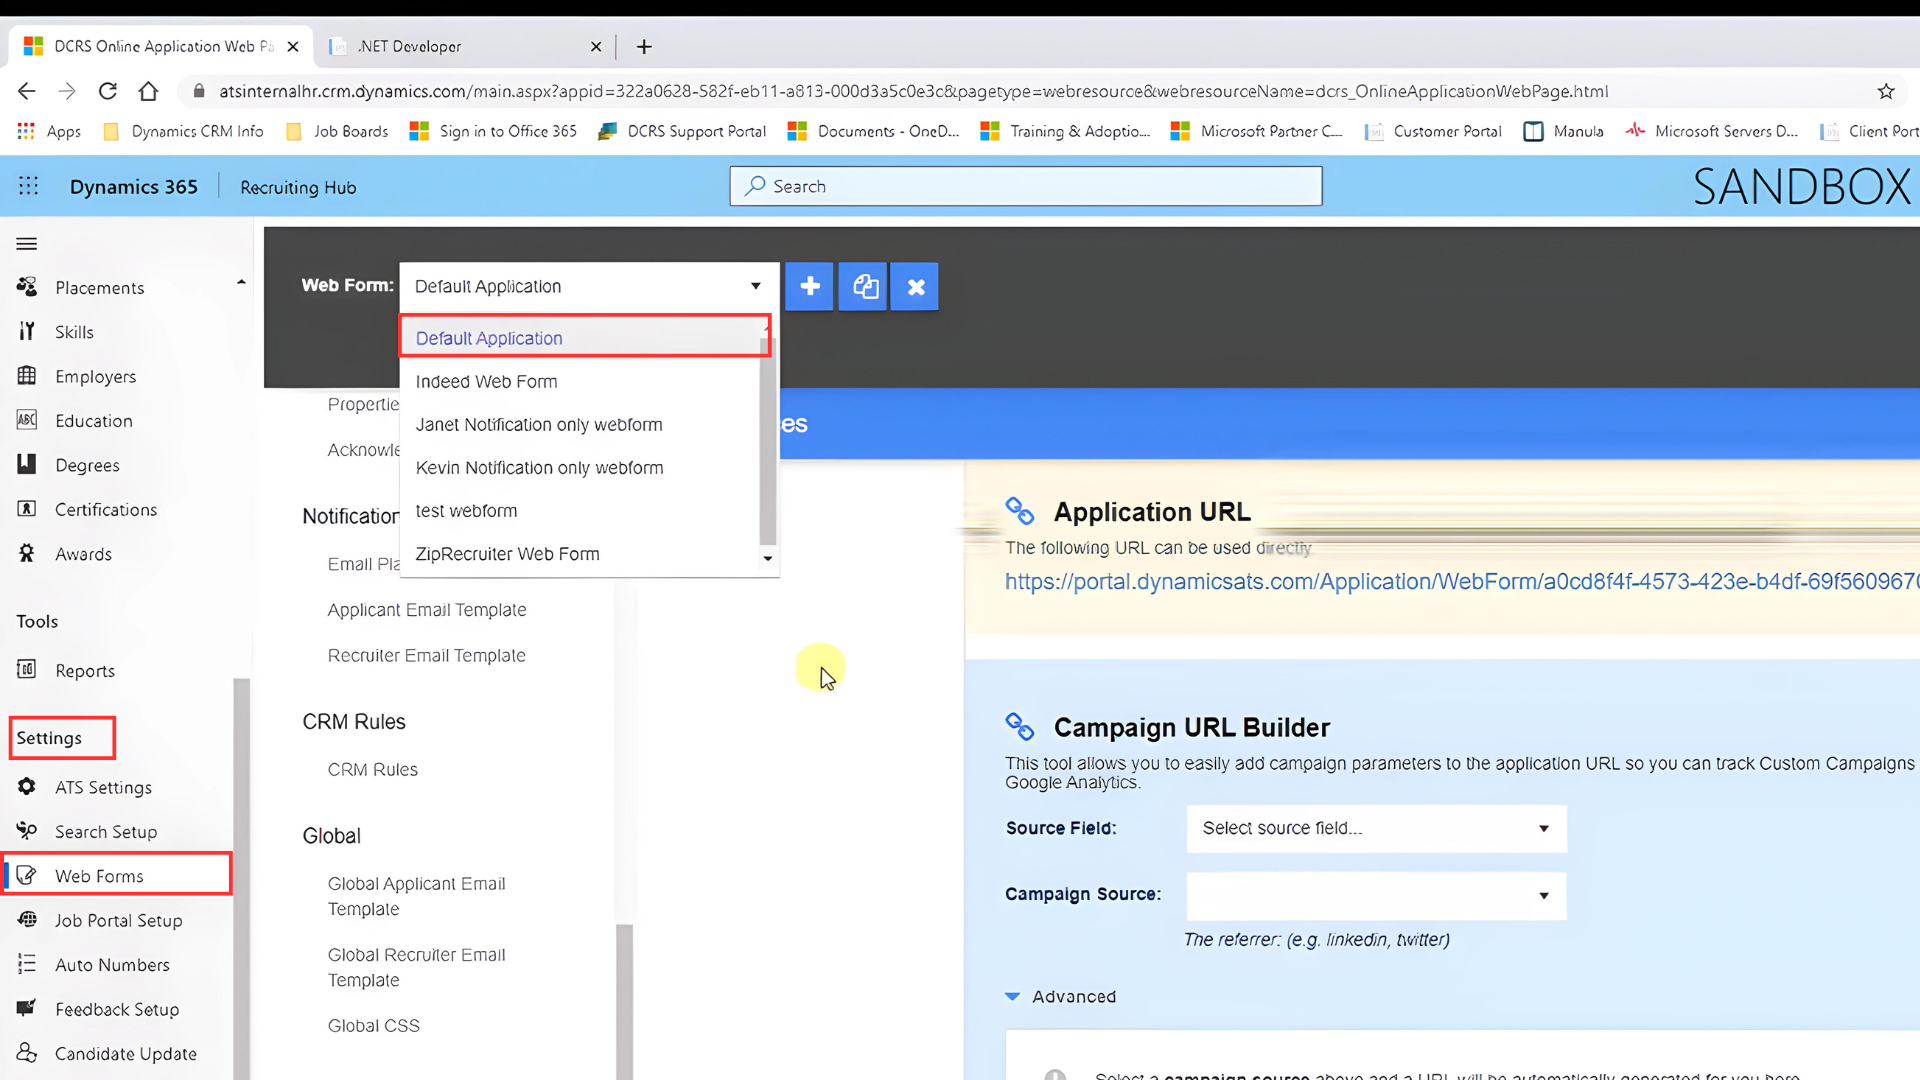
You can add a new web form by pressing plus (+) or edit a previously created web form. In this case, we are going to select the Default Application form to customize.
Select General Information in the settings section and then scroll down to Fields. You will see the current fields required in your web forms. You can add, change the order, remove, or modify them.
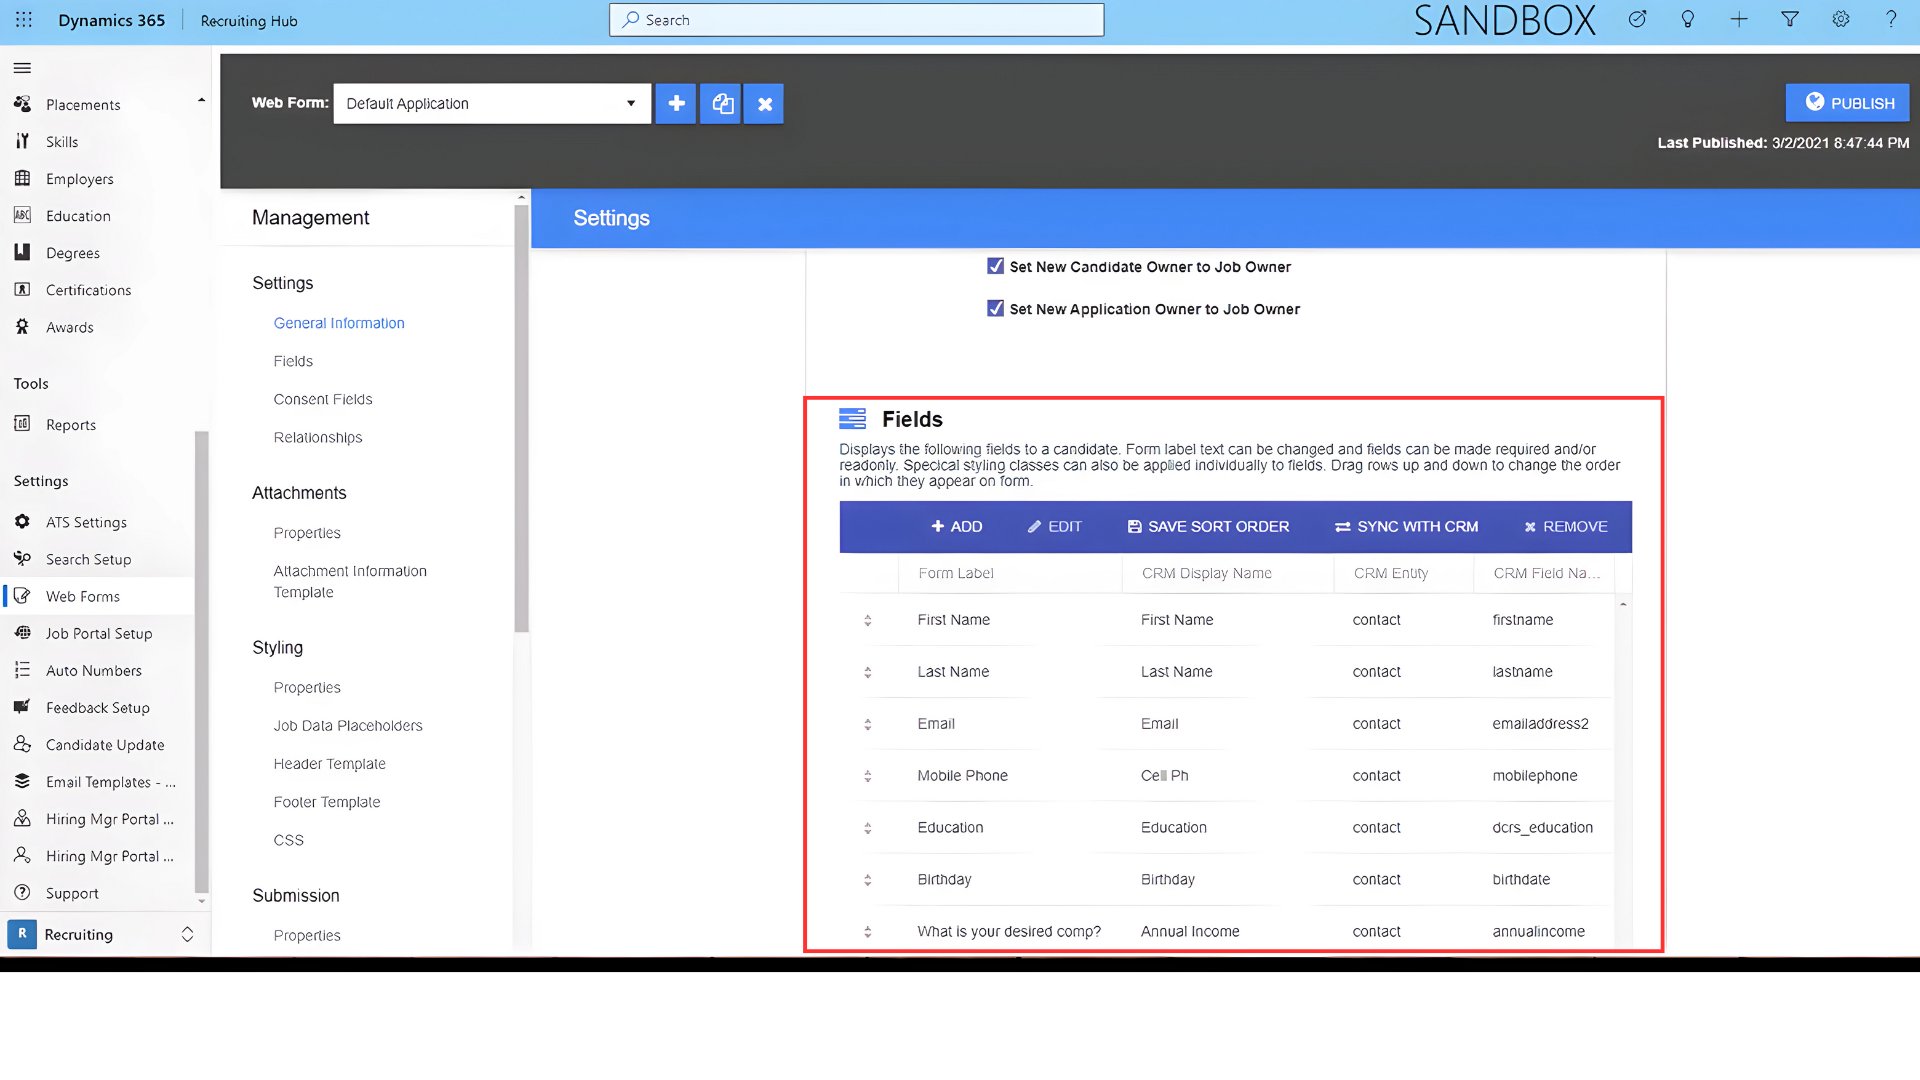
To change the order, you only need to drag and drop the field that you want to move. But if you want to remove it, you must select the field and click Remove.
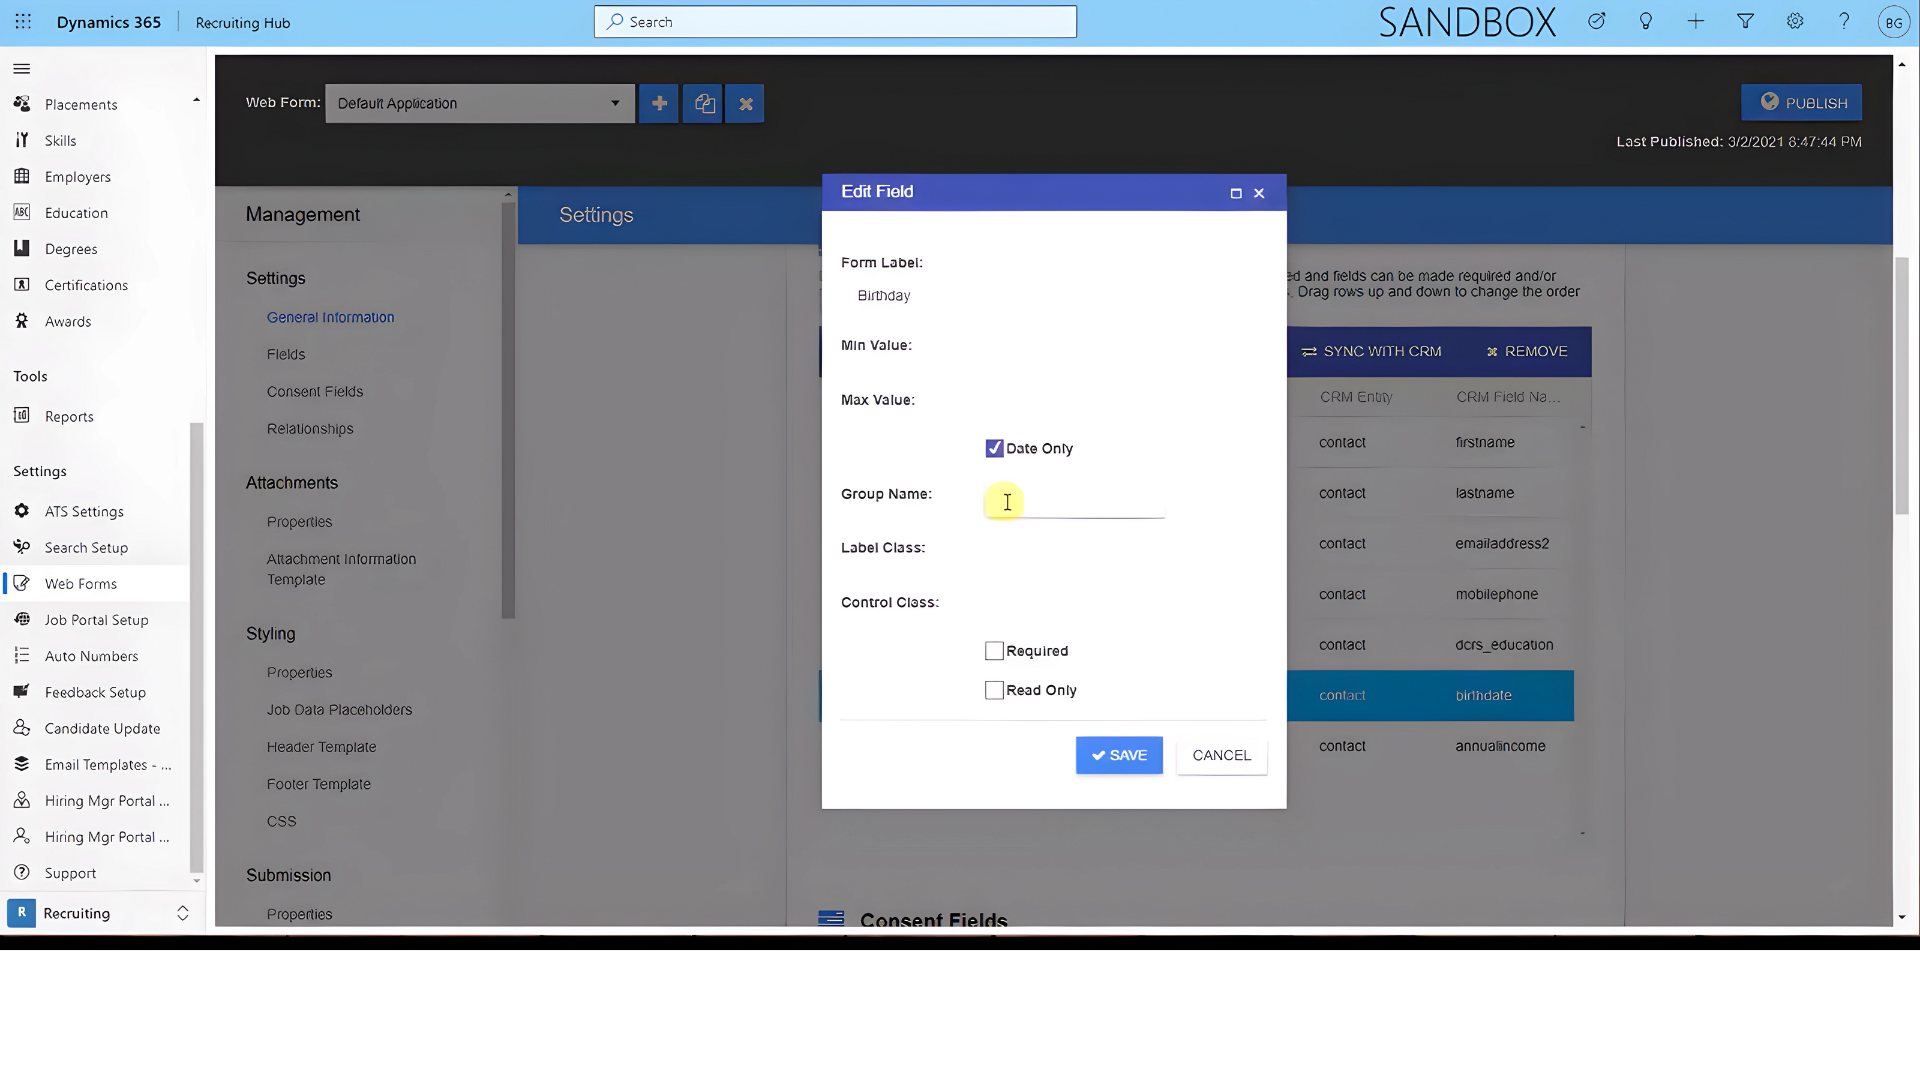
If you want to edit one field, you must select it and click Edit. You can choose if you want to be a required field or a read-only one. Press Save to change it.
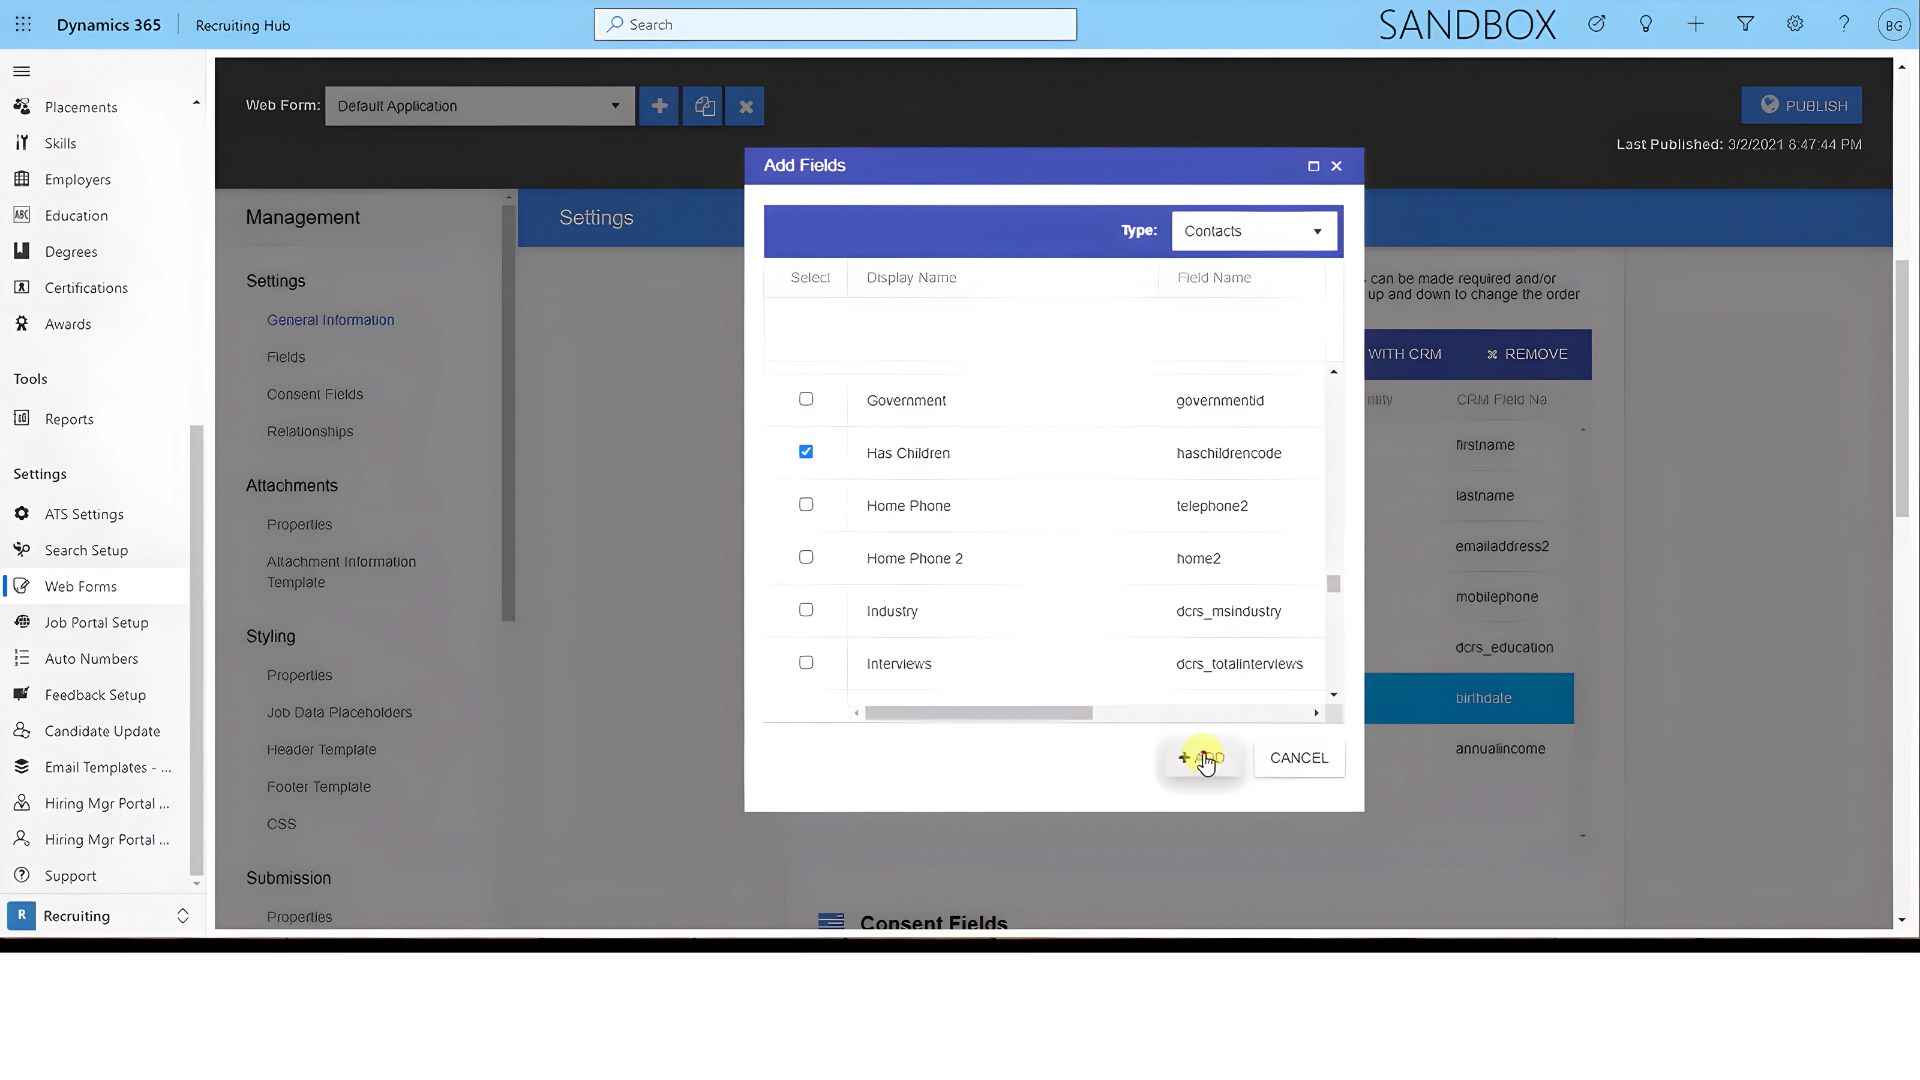
If you want to create new fields, you must select Add. You will find all the fields that currently exist in Microsoft Dynamics on the contact entity. To add any of them, select it and click Save.
Then click Save sort order on the fields section. Then press Save Changes and Publish.
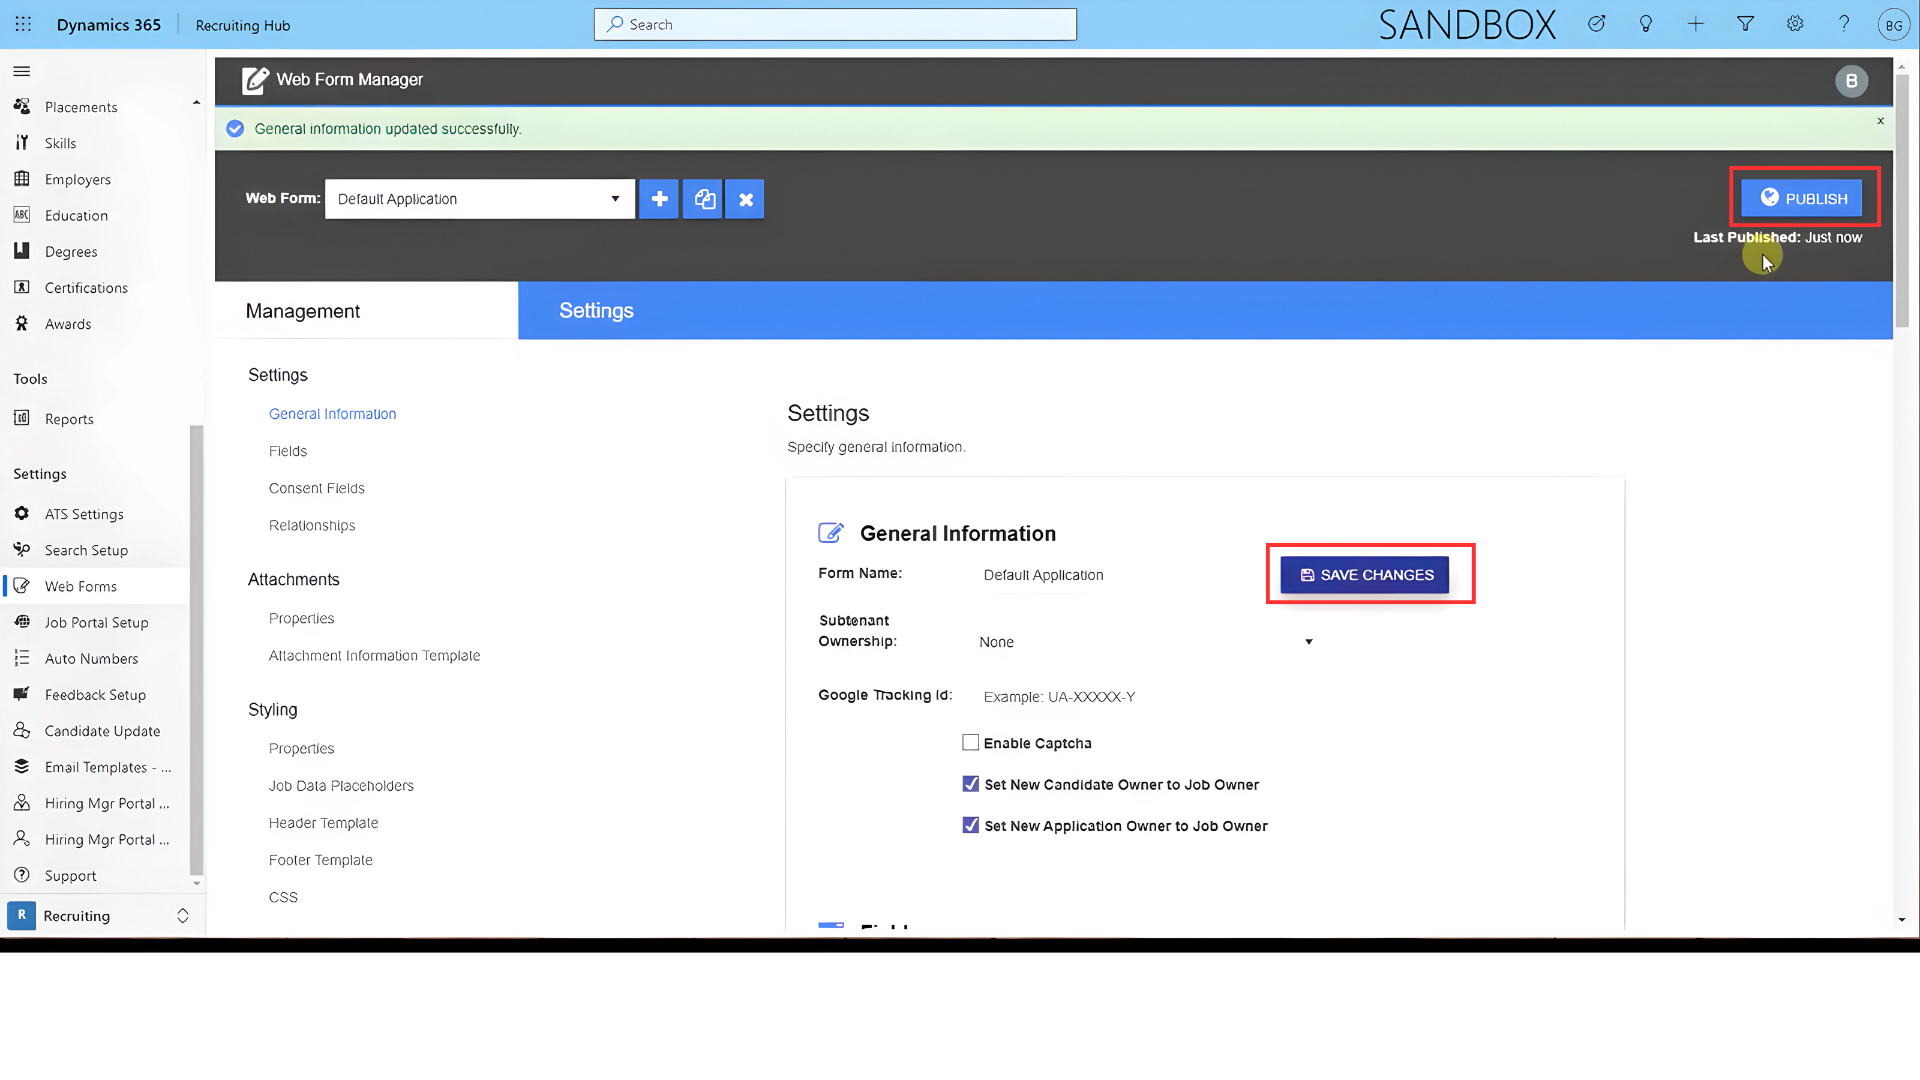
You can also enable Captcha by marking the checkbox.
Post your comment on this topic.