
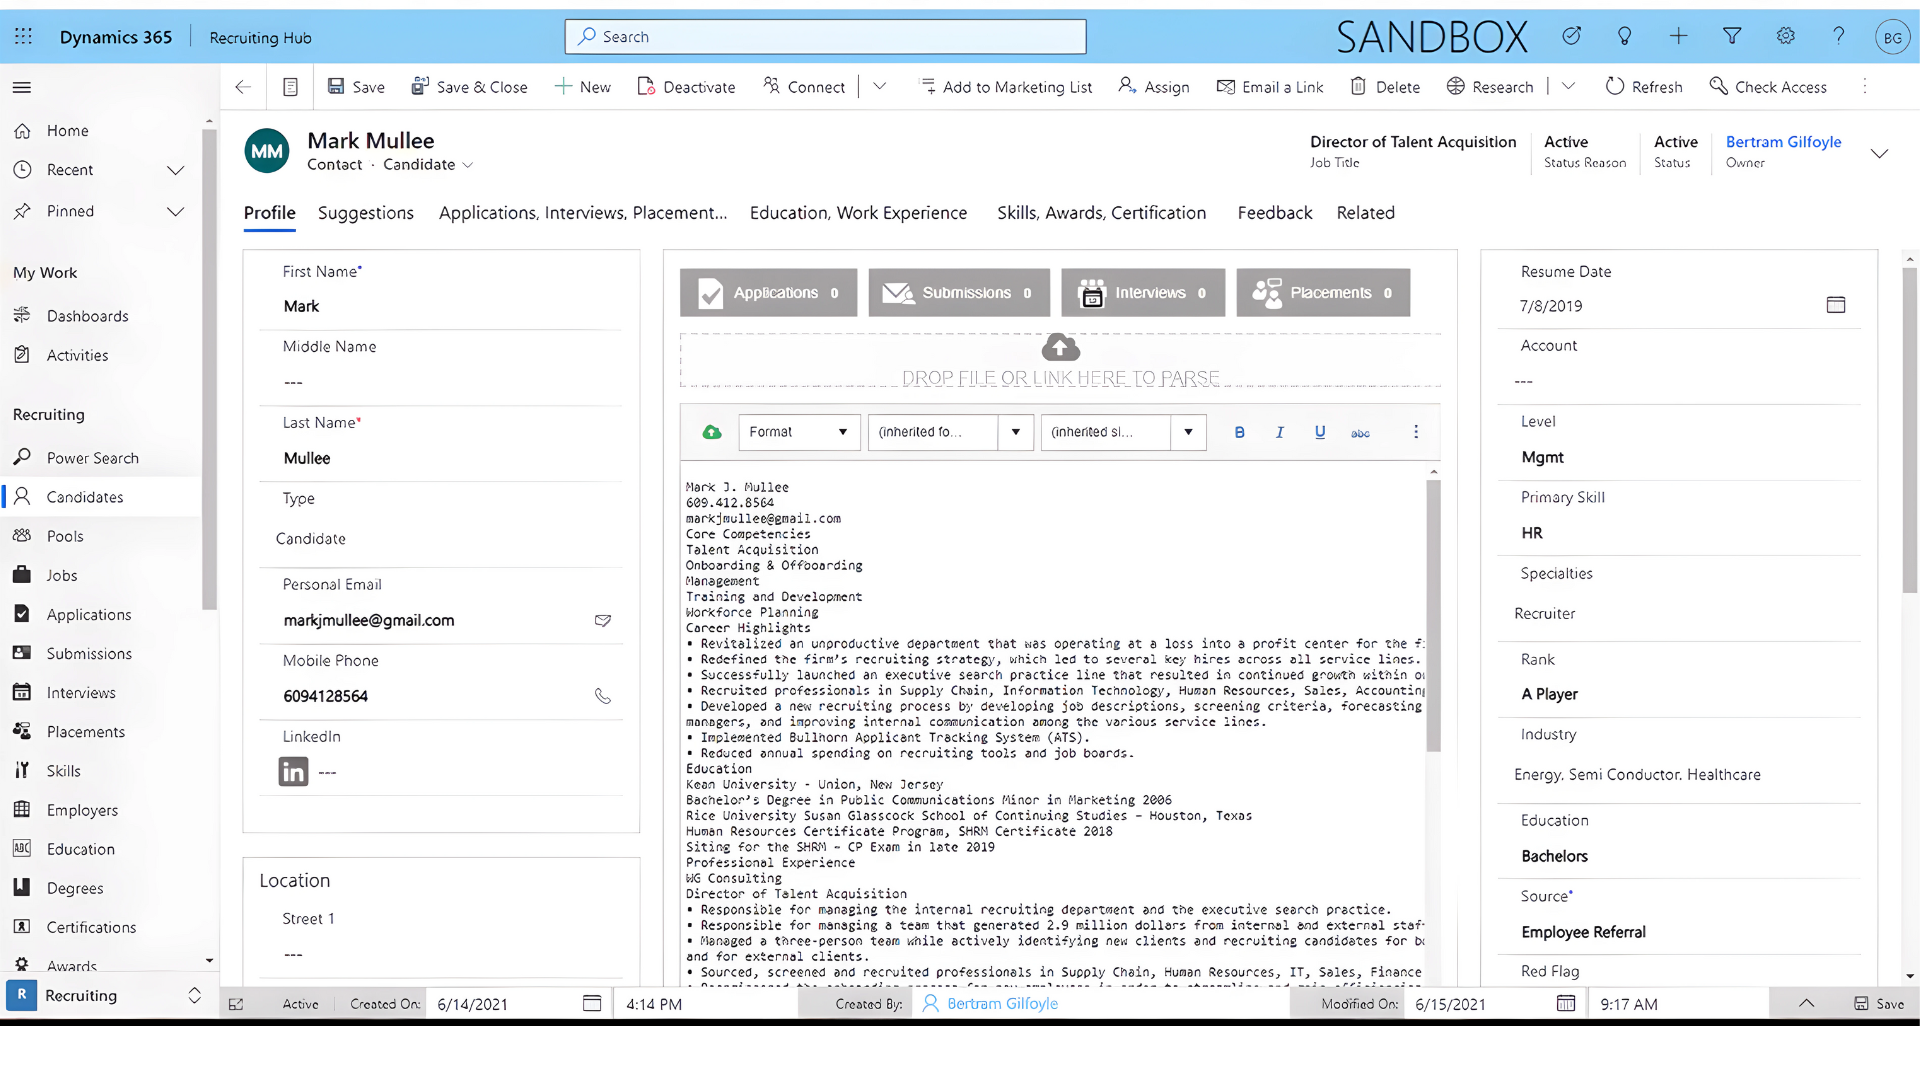
The candidate form contains the details that we want to know and save about candidates on Dynamics ATS. It looks like this:
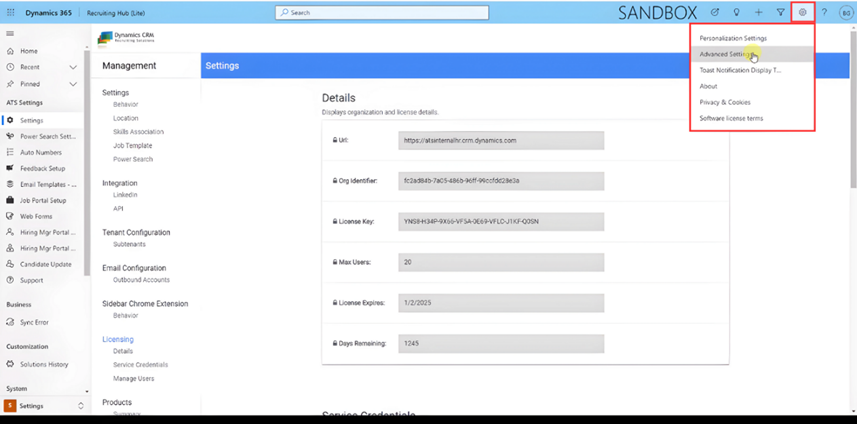
To customize that screen, go to the configuration icon and select Advanced Settings.
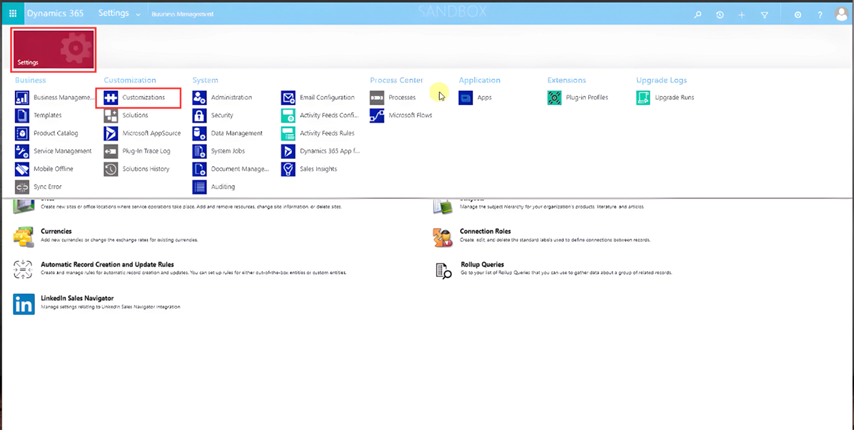
Go to Setting, select Customizations, and then press Customize the System.
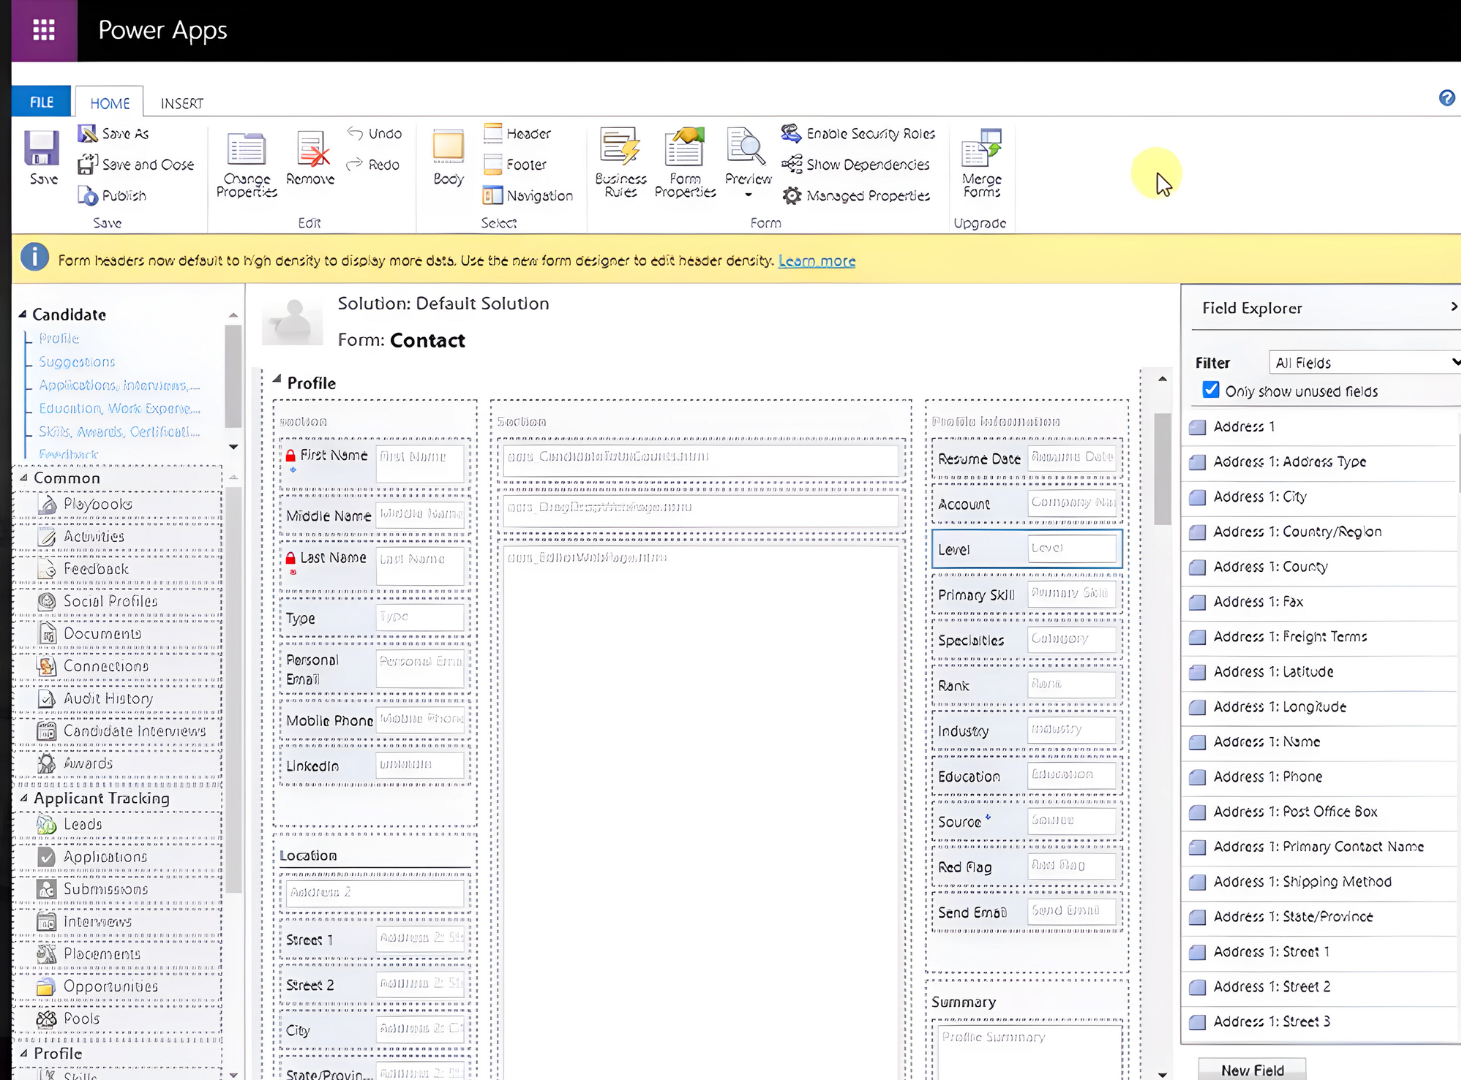
Press Entities and then locate the entity whose form you want to customize (in this case, Contact. Next, look for the Candidate form and click to open it.

On this screen, you can customize your Candidate Form.
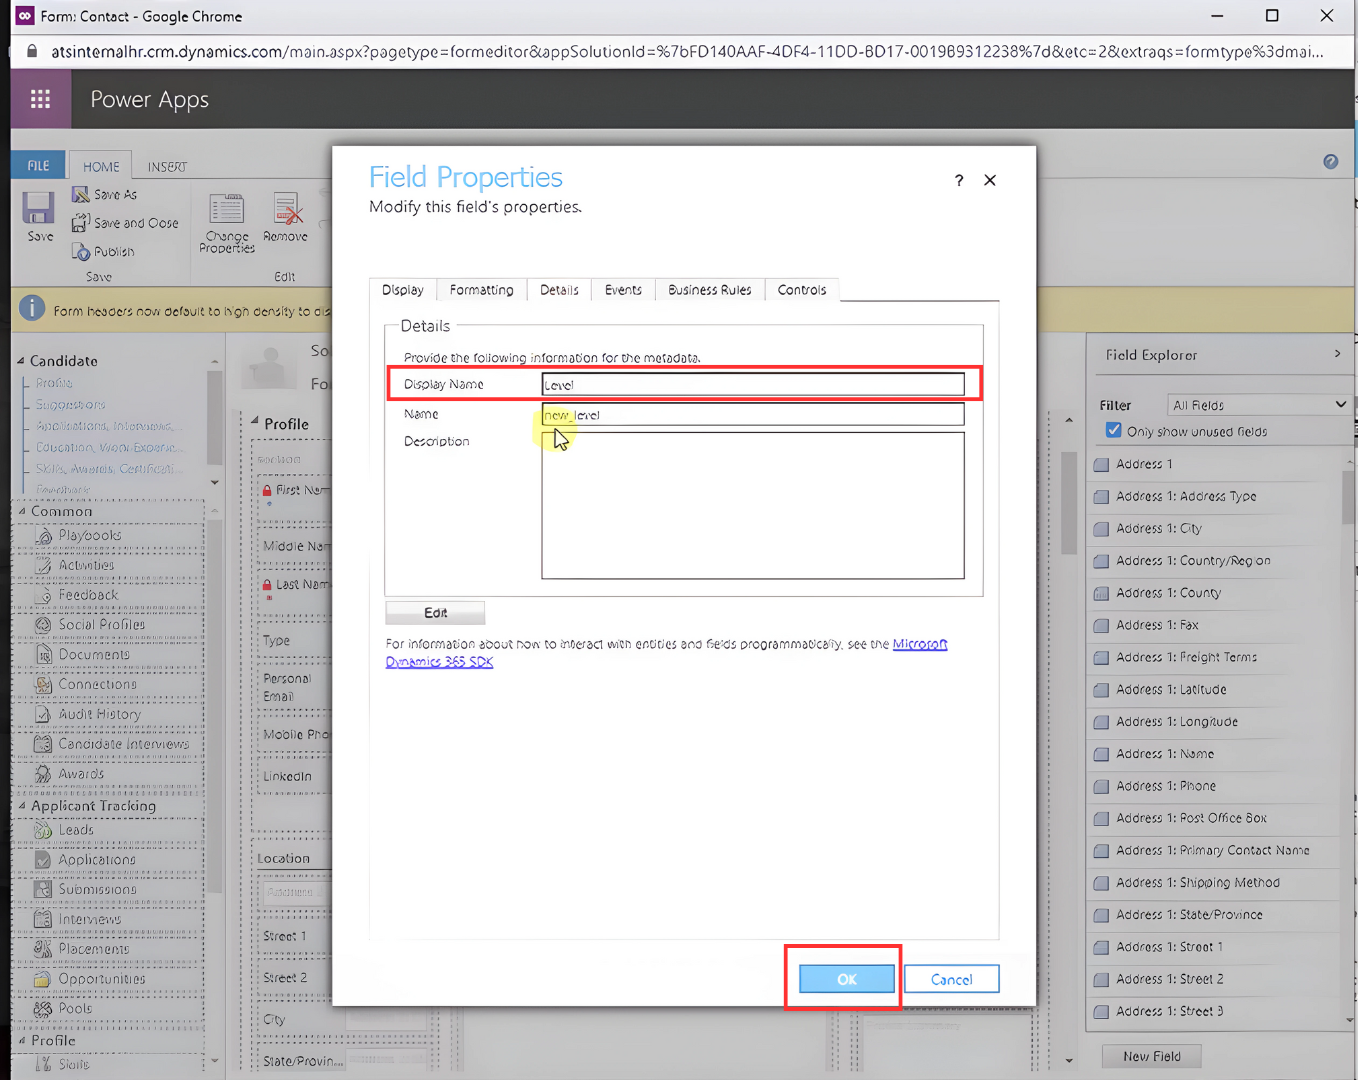
To change a field, you must click on it. Click on the Details tab and press Edit to change the field.

On the new screen, you can make the changes. When you finish, press Save and Close.
Before creating a field, we highly recommend checking all the fields already created. You may find a similar topic, and you can customize it accordingly.
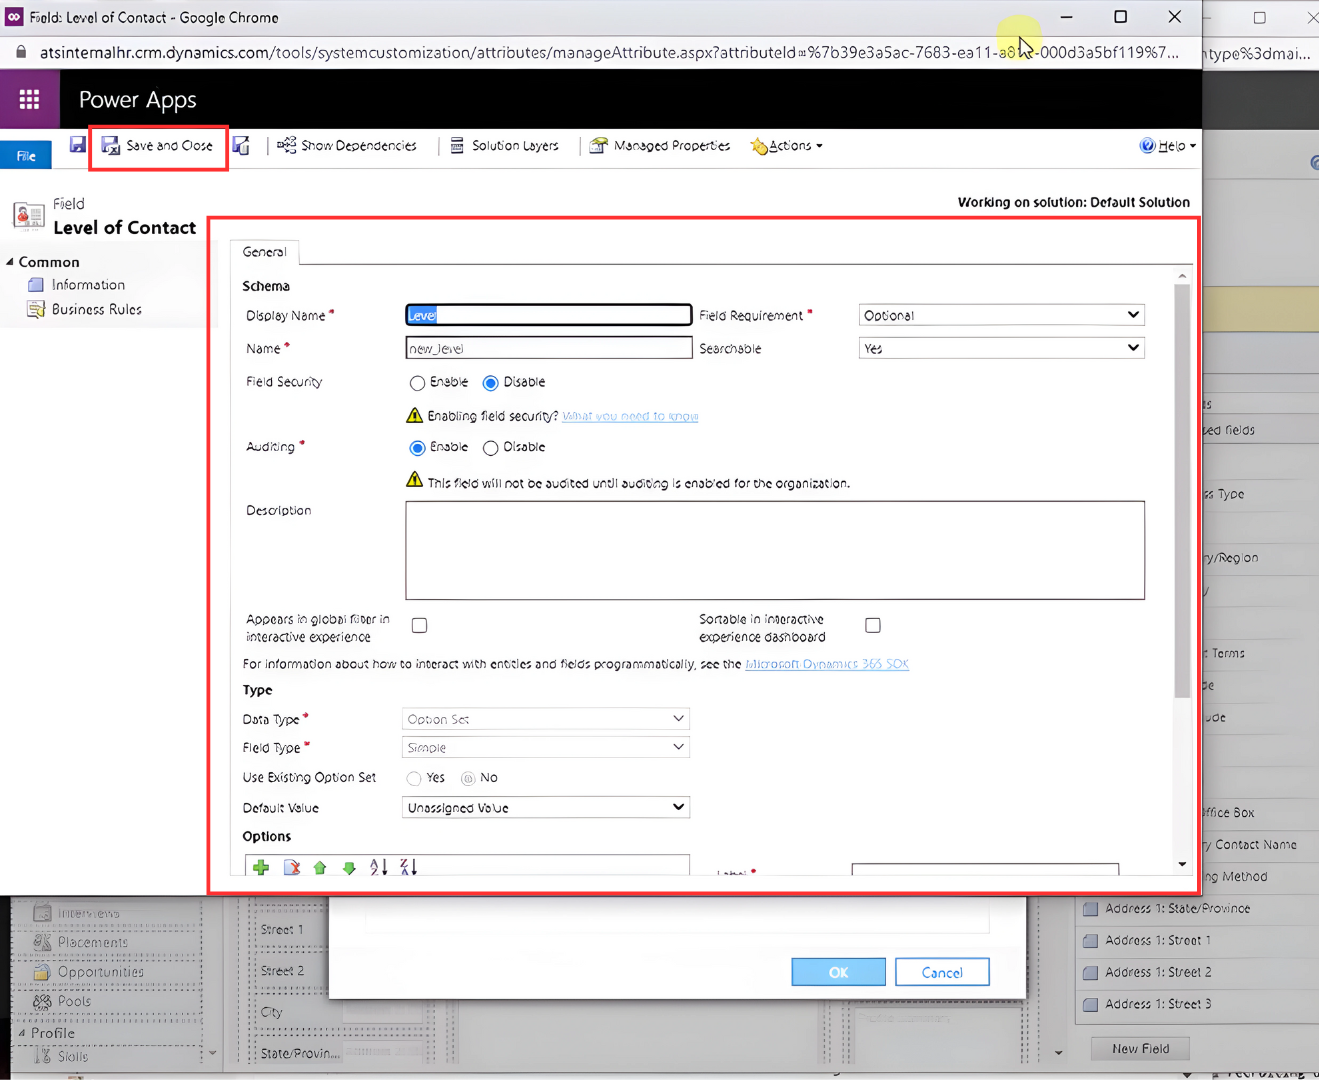
Finally, change the Display Name and press OK.
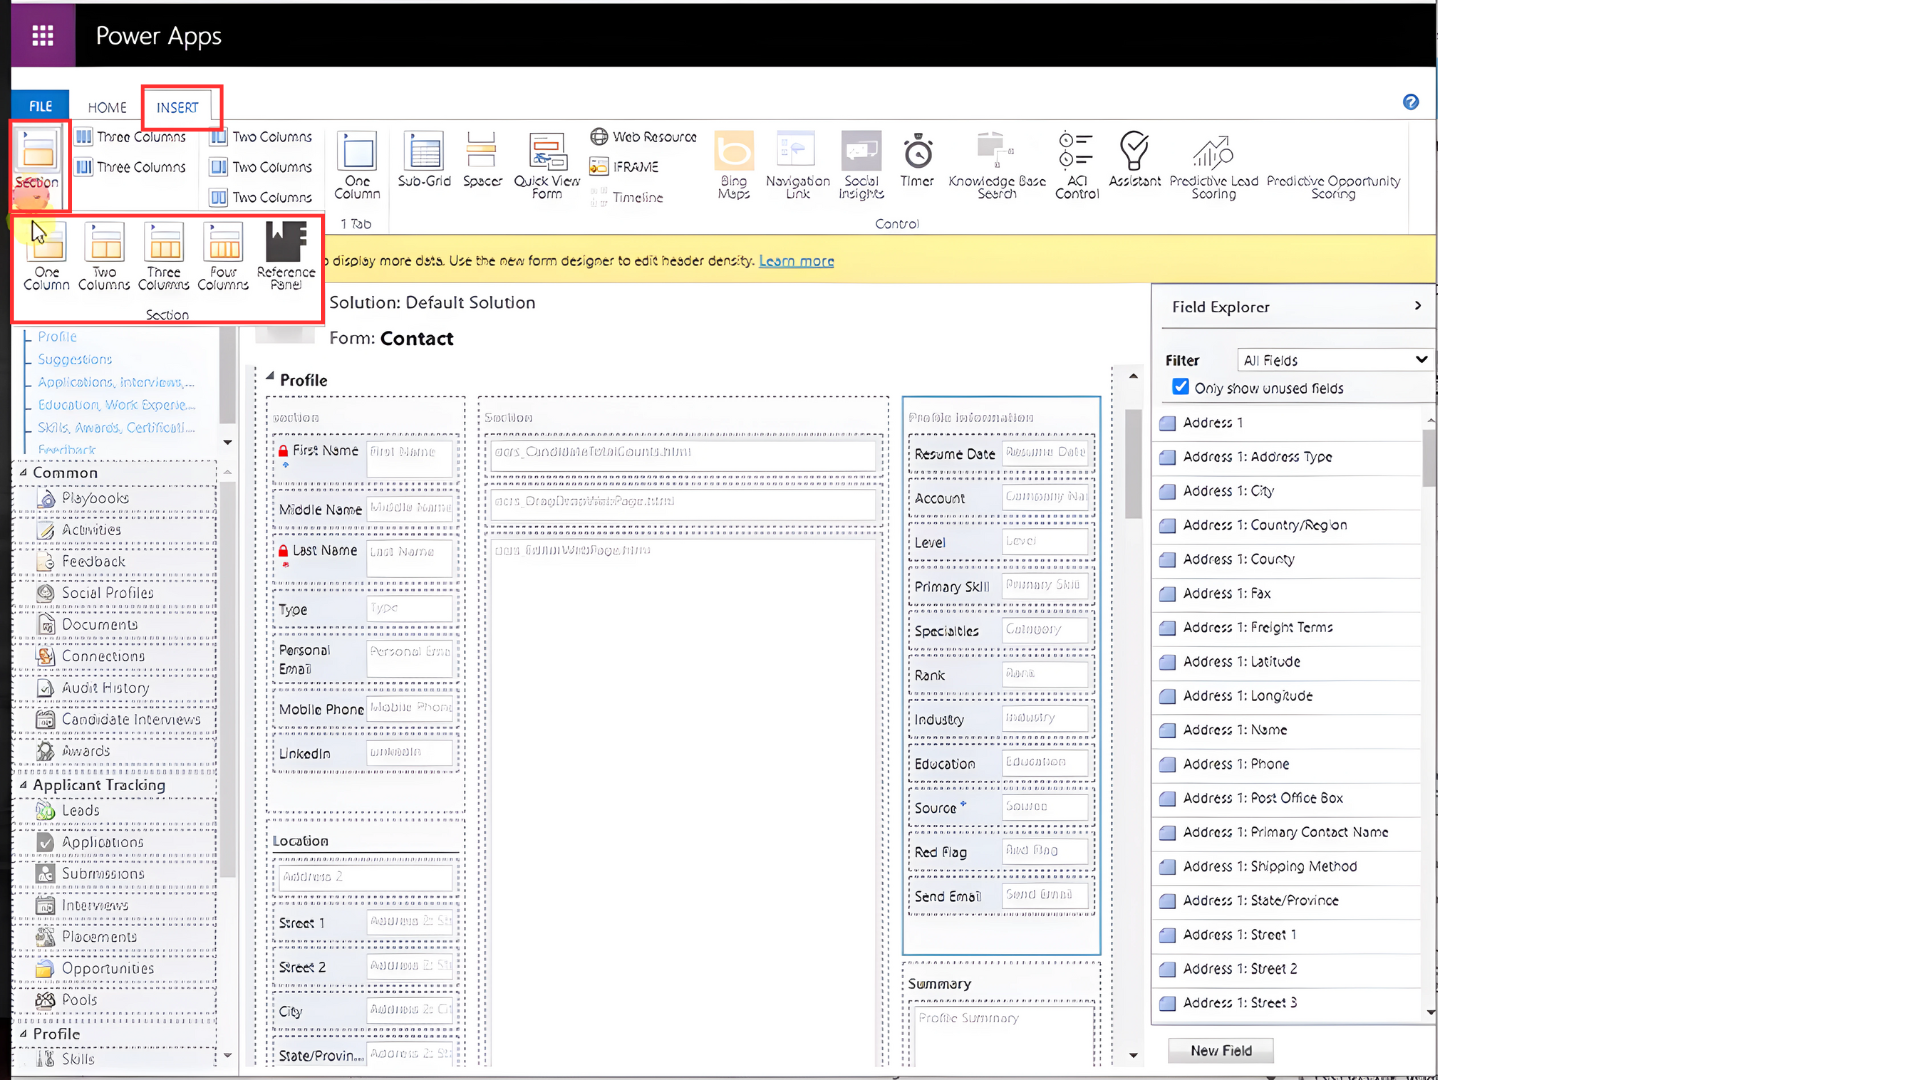
You also can change the order of the fields. To do this, drag and drop the fields from one column to the other. If you see a red border in the field, that means that you can drop it there.
To create a new section, you must go to the Insert tab and click New Section. You can choose how many columns you want to add.
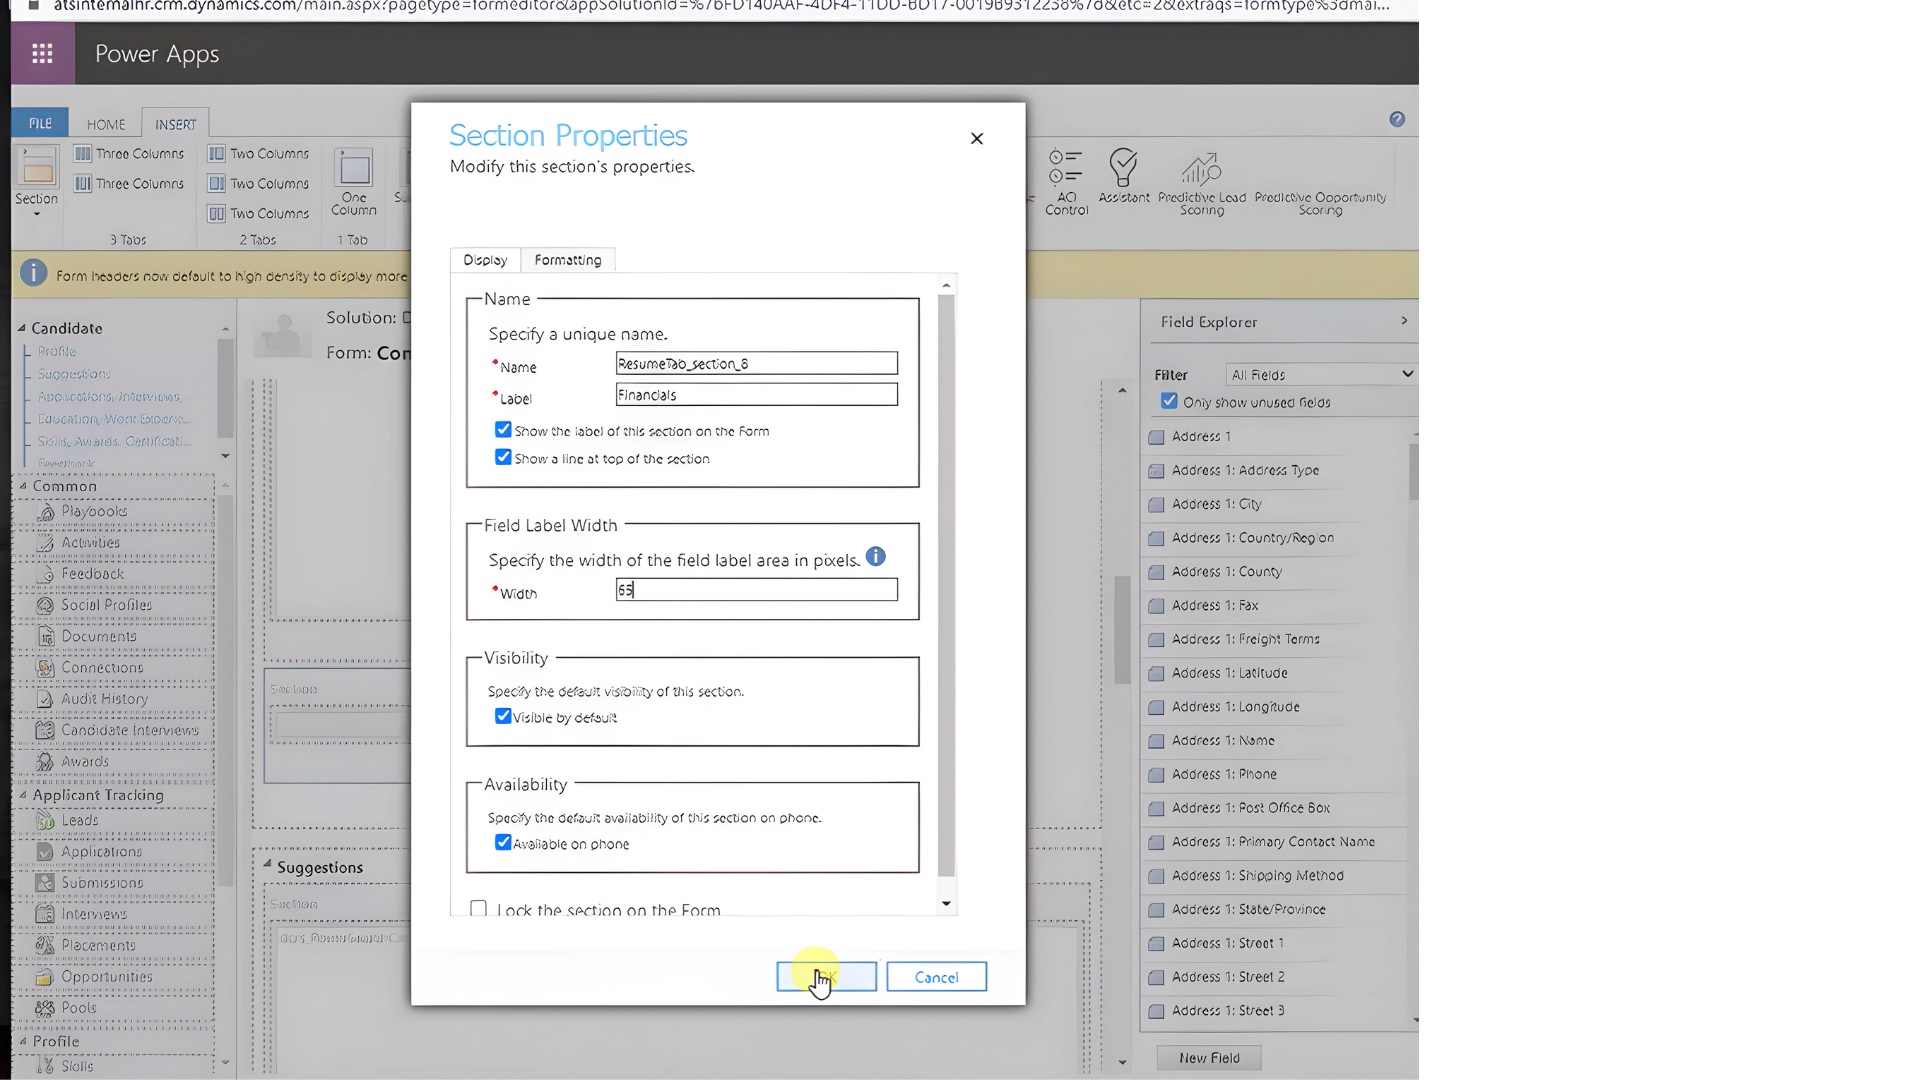
Then click on it to name it, change the width, or add/remove columns. When you finish, press Save.
You can drag and drop fields to that section or create new ones.
Also, you can remove fields, but we recommend don*t do it.
If you don*t want certain fields, you can hide them. To do this, click on the unwanted field and disable all the checkboxes.
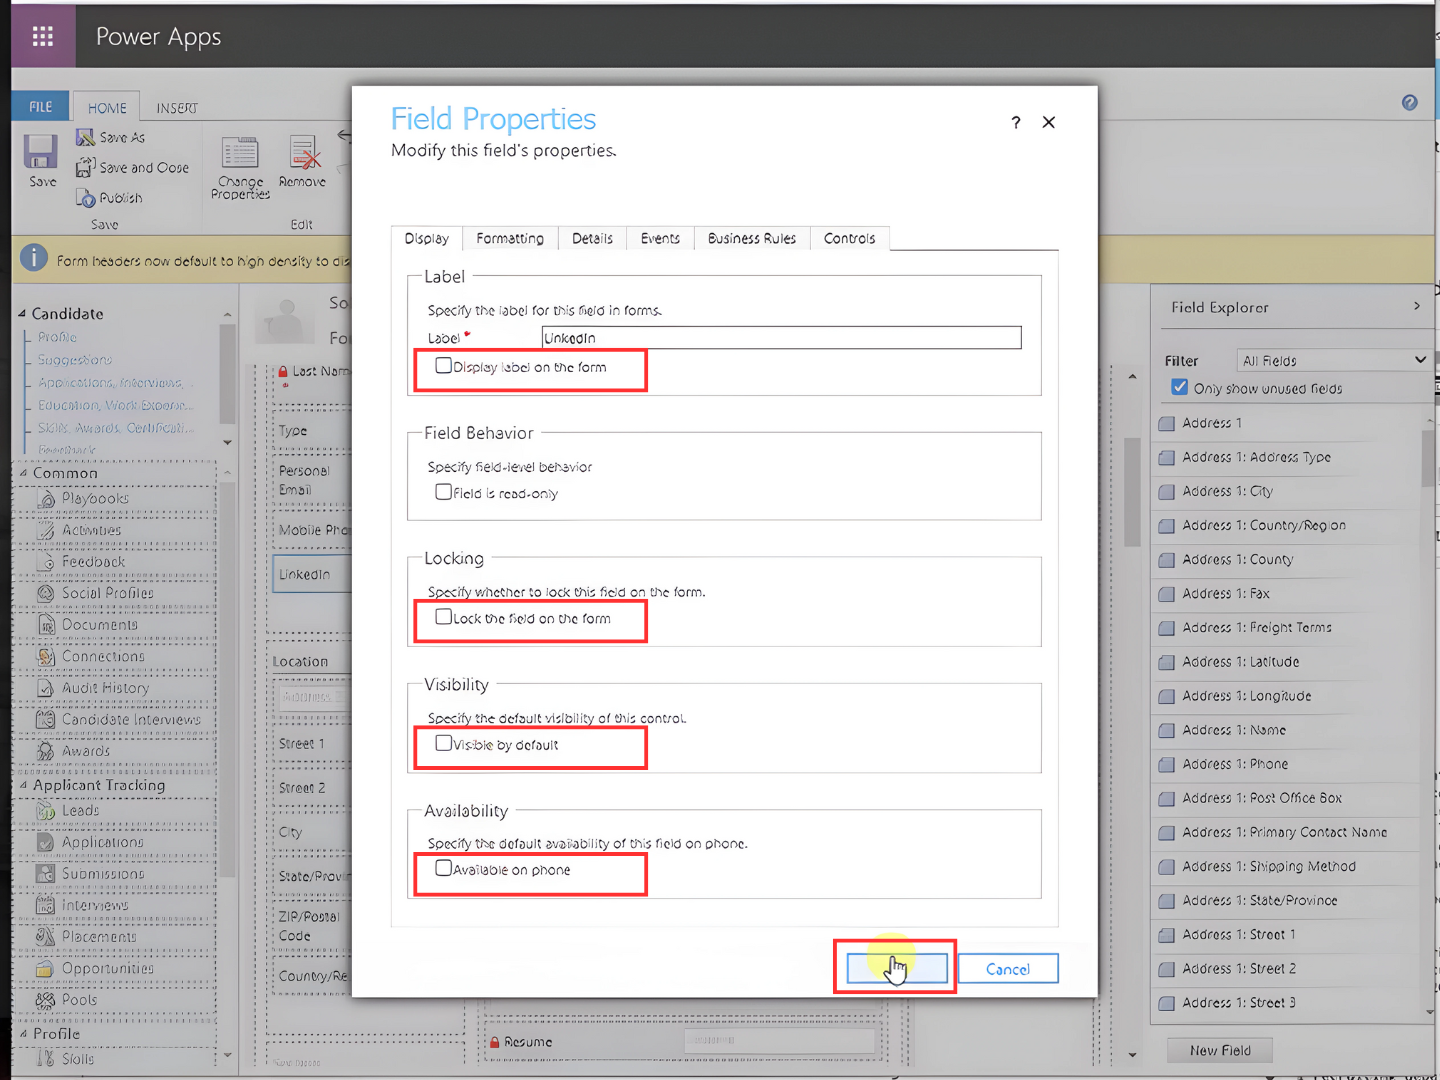
You can create a section with all the unwanted fields to hide it. Just group the fields, click on the section, and disable all the checkboxes.
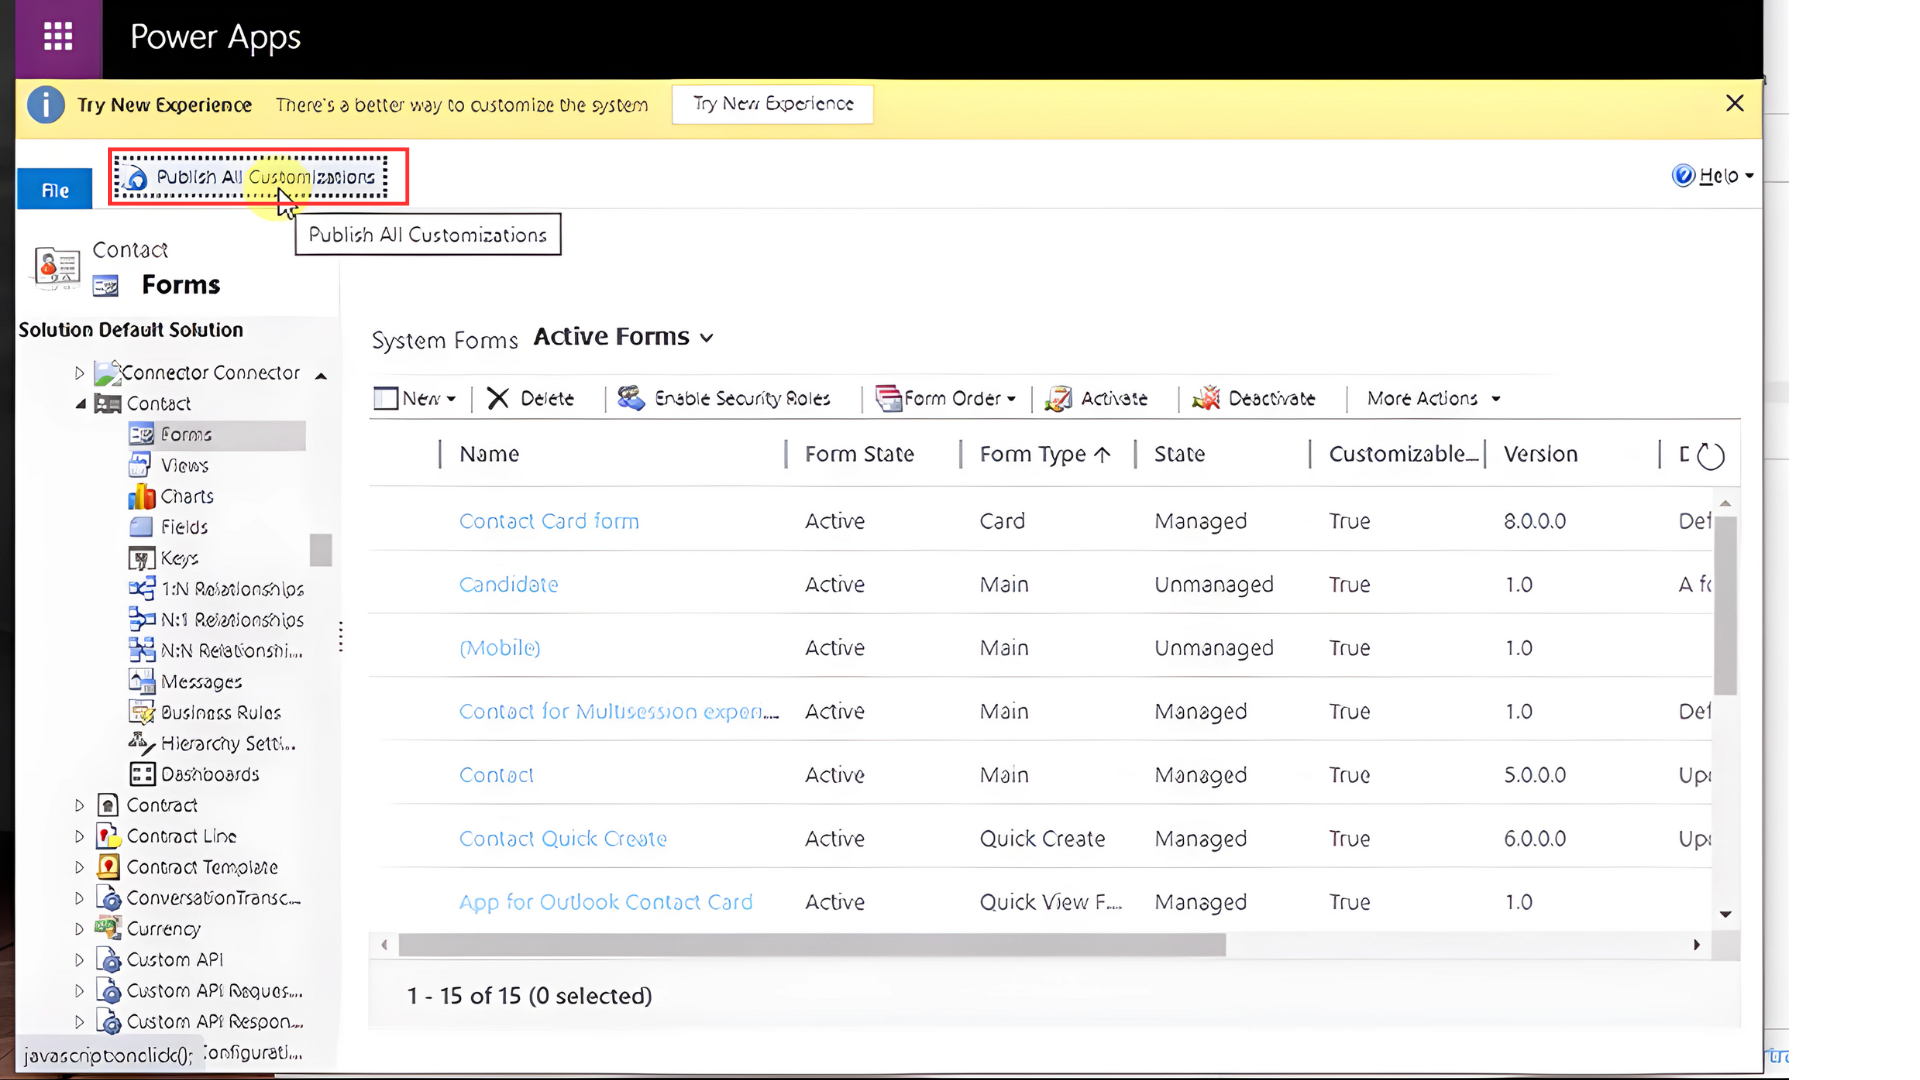
When finish your customizations, press Save and Publish.
Click on “Publish All Customizations” to ensure changes take effect.
Post your comment on this topic.