
To start updating job data, first bring up the “Import Wizard” (steps can be found here: Bringing up the Import Wizard) and click on the “Update Job Data” option. This should show you the following window:
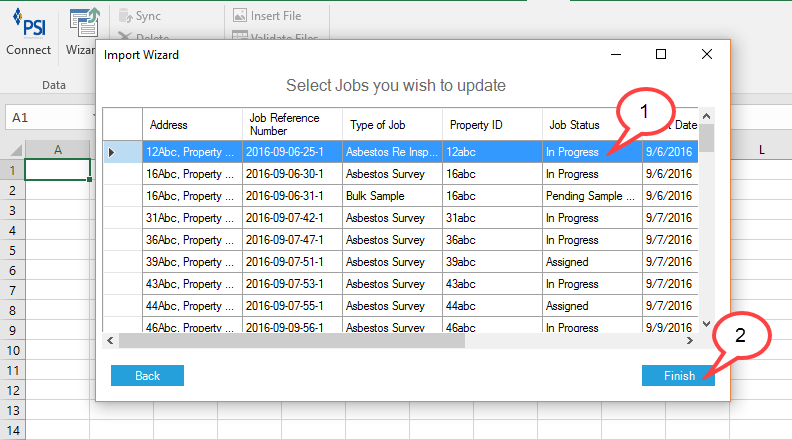
1) Job Grid – This grid shows all the jobs that are currently in progress on JMS
2) Finish Button – Button that confirms the user selection
Locate the job to update and click on the row. This should highlight the job blue as shown below:
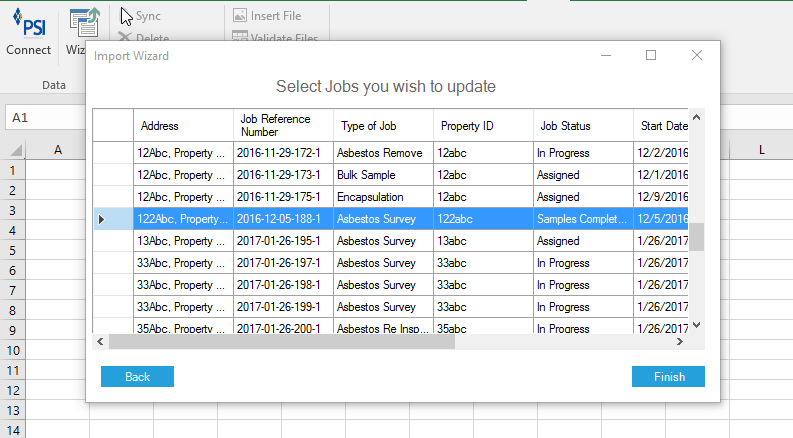
Now click on the “Finish” button. This will generate forms based on the current data for the job i.e. if the job only has 2 “Visual Inspections” data. Then a single “Visual Inspection Form” will be generated containing both the inspections. More forms will be generated if the job contains more than 1 type of inspection. However, the “To Do” and “Job Document” form is never generated.

The above image shows an example of the forms generated after clicking “Finish”.
1) Types of Forms – For each type of inspection a form is generated
2) The Table for Data Entry – For each inspection of that type a new row will be added
You can add or edit data as required (For more information see (Link to Data Entry Topic)). Once completed click on the “Sync” button located under the “PSI” tab as shown below:
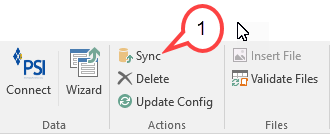
1) Sync Button
When clicked you will have to wait a few seconds. If the sync fails to import the job data into the system, the user will be notified with an error message indicating the problem. Otherwise all the sheets will be synced and the header at the top of the page will turn green, indicating that the sync was a success.

Post your comment on this topic.