
During a Removal job it is possible to come across a location where there is no previous inspection information recorded and user would like to attach only a document to the job. The steps below explains how to attach the document:
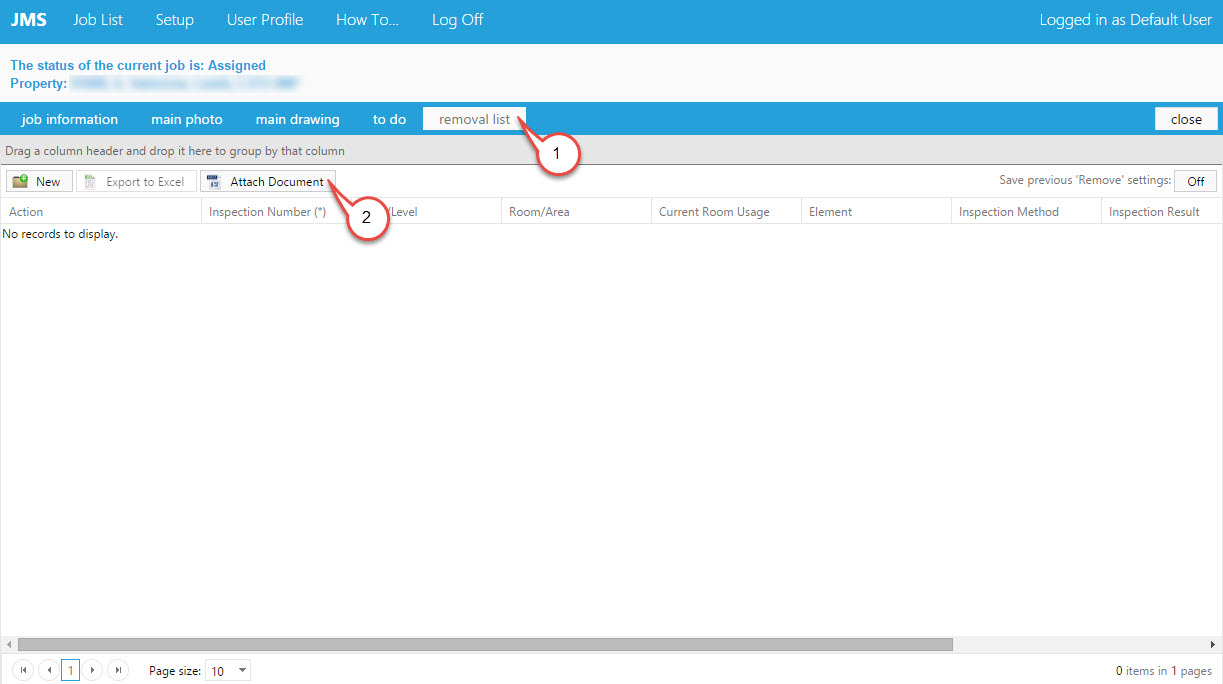
1. Make sure the Removal List is selected.
2. Click on the Attach Document icon. The Upload Document window appears:
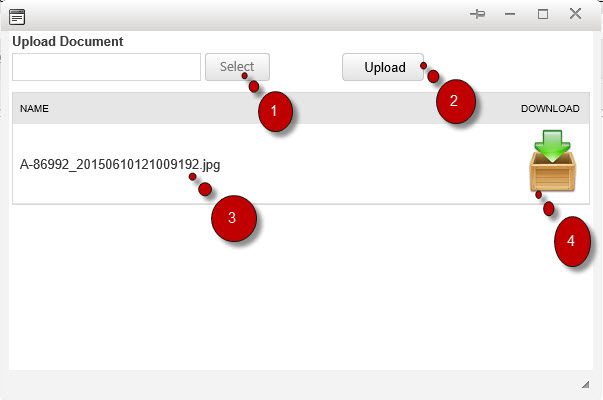
1. Click on the select button to select the document from the directory.
2. Once selected click on the Upload button.
3. The uploaded document will be shown on the grid below.
4. Click on the icon to view the document.
After the document is attached user needs to click on the Close button to return to the My Job list. At this stage the job status will be In Progress. User then need to Complete and Submit the job. Once the job is submitted the status goes to Report Approved. Please Note that for document only removal job there will be no reports to QC. User can view the document by selecting Open from the action menu of the job. Once the job is opened on the ‘Remove Inspection List’ tab user needs to click on Attach Document button to see the attached document.
To be able to make the document available in AWT user needs to Release Approve the job.
Post your comment on this topic.