
To start importing jobs, first bring up the “Import Wizard” (steps can be found here: Bringing up the Import Wizard) and click on the “Import Jobs” option. This should show you the following window:
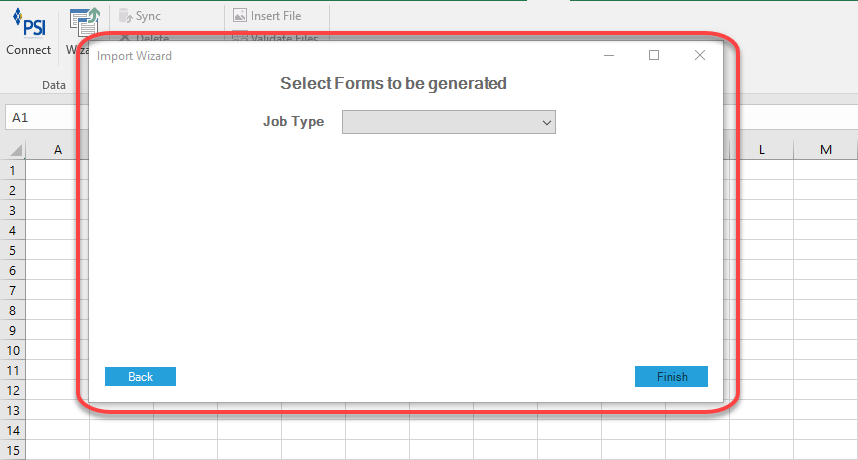
Now click on the drop-down list next to the “Job Type” label (Indicated by the number 1 in the picture below). This will show you the different job types you can import.

You can now select one of the job types shown in the list. Once you have selected the job type, click on the “Finish” button (Indicated by the number 2 in the picture above). This will bring up a loading screen. Once the loading finishes, you will have a new sheet added onto Excel.
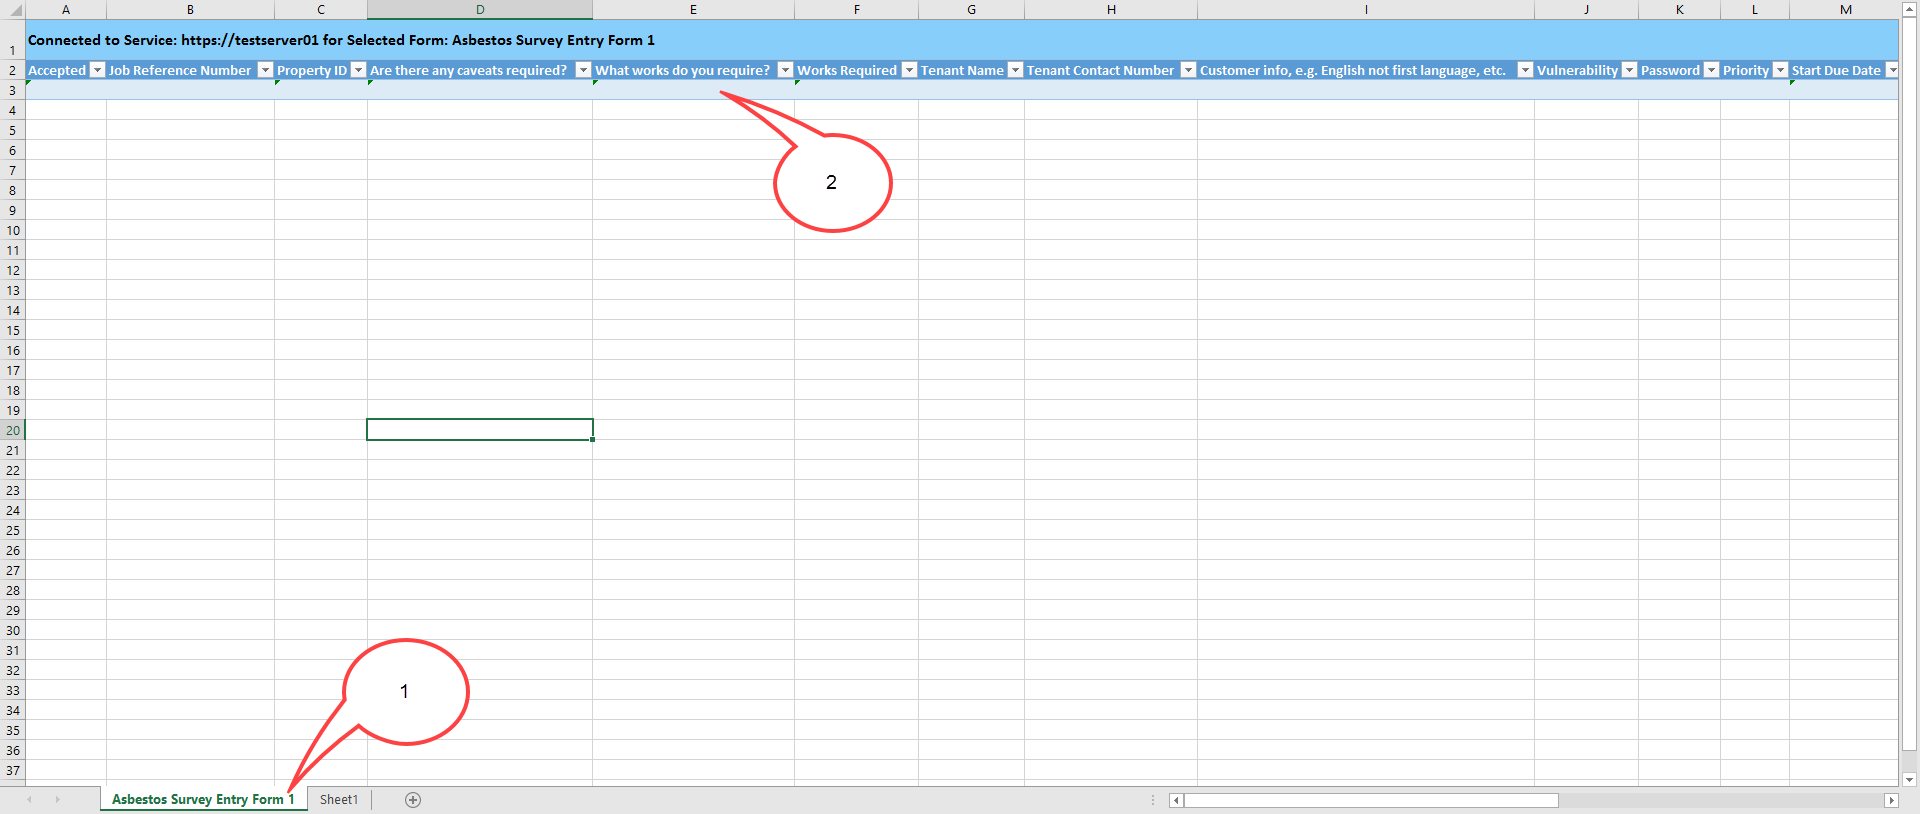
1) Your new sheet will be created and can be found here e.g. if you selected the “Asbestos Removal” job type a new sheet called “Asbestos Removal Entry Form 1” will be created
2) This is the first row for data entry highlighted blue
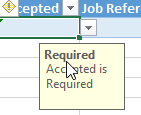
Now fill in the columns with relevant information. Required fields are indicated by a green arrow head at the top left corner of a required cell. Clicking on an empty requried cell will show the user a text indicating that it is required. This can be seen in the picture below:
Once all the information is entered find and click on the “Sync” button located with the other options on the “PSI” tab as shown below:
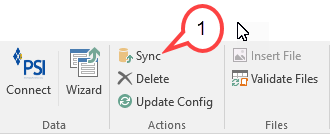
1) The Sync Button
When clicked you will have to wait a few seconds. If the sync fails to import the job into the system, the user will be notified with an error message indicating the problem. Otherwise the header at the top of the page will turn green, indicating that the sync was a success.

The job will now appear in the JMS system with the information you have entered.
Post your comment on this topic.