
Using the Manager, you can store a unique set of images such as business logos and customized interface elements for each project. Uploading a unique set of images to a particular project keeps your other projects from being flooded with unused images. You can also upload your own theme that includes backgrounds, navigation, and cursor images to provide a completely customized experience for the end user of each Project.
This article tells how to upload and manage images within a project.
Opening the Image Manager Window
- Login to the Manager.
- From the left pane, select the relevant project.
- From the center pane, click the Menu Options icon and select Manage images from the dropdown menu.
The Image Manager window opens.
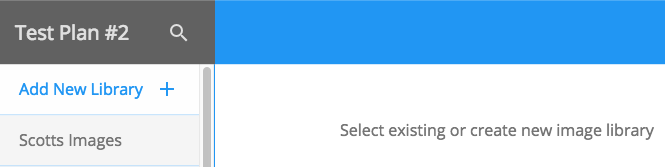
Adding a New Image Library
- In the left pane of the Image Manager window, click the blue +
A new library is created at the bottom of the library list. - Select the new library.
- Select the name of the new library in the center pane, and type your new name for the library
Uploading New Images
- In the center pane of the Image Manager window, click the Add New Images icon.
A popup window opens. - Click the choose file option in the popup window.
An explorer window opens. - Navigate to and select the image folder or single image to be uploaded.
You can view the number of images to be uploaded next to the Choose Files button. - Click Choose Files.
- Click OK to upload the images.

Removing a Library
- From the Manage Image Library window, select the relevant library from the left pane.
- Click the menu icon on top of the center pane.
- Choose the option to delete library
The Library is removed from the Project.
Removing an Image
- From the Manage Image Library window, select the relevant library from the left pane.
- Select the relevant image in the center pane.
- Click the Trash Can icon on top of the left pane.
The image file is removed from the Project.
Deleting a group will remove all states of the image that have been uploaded

Removing a State of an Image
- Select the relevant image from the center pane
- On the right pane, click the X next to the relevant image.
The image state file is removed from the Project.
Exiting the Image Manager Window
- Press the Escape key on your computer keyboard.
- Click an area outside of the popup window.
Revision:
9
Last modified:
19 May 2017
Réaction
Copyright © 2025 Kramer
—
Powered by 
Laissez votre avis sur ce sujet.