The control aspect of Kramer Control is when the user picks up his handset and opens the Kramer Control application or the user remotely accesses the controlled space via the dashboard. The control is the finished version of the programming that enables the user to turn a system on/off, control the volume and switch sources in the controlled space.
This article explains the steps necessary to open the published Kramer Control interface on the handset to begin controlling the installed system.
Application
The Kramer control application is available in the App Store on iOS devices and in Google Play on Android devices. If you do not have access to these stores and are using Android you can side load apk files. The side loading process is covered in a separate article.
- Download the application from the store.
- Open the application.
- Sign in with Kramer. Enter the same credentials used to access the Manager.
- Select the Project from the left pane. This is the project that includes the controlled space you are working on.
- Select the Sub Space.
- Repeat the above steps until you reach the controlled space.
- Select the Provision option.
- Select the Control option.
- Select the Interface.
- A syncing screen appears on the interface.
- When the syncing screen disappears, the new interface appears and is able to start controlling your system.

Remote Access
Before performing this procedure, make sure you Provision the Brain.
Manager
- Login to the Manager.
- Select the project from the left pane.
- Select the controlled space.
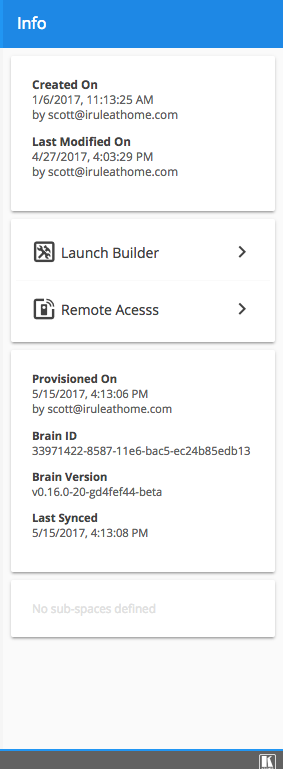
- In the right pane, choose the option for Remote Access

Dashboard
- Login to the Dashboard.
- Select the project from the left pane.
- Select the space option from the toolbar
- Select the space in the center pane
- Click the Remote Access icon in the right pane


Laissez votre avis sur ce sujet.