
Repositioning Flexijet is achieved by defining a minimum of 2 points, then moving the Flexijet and re-measuring 2 of those points. This can be done from FlexiCAD/Flexijet Stone or directly from the Flexijet touchscreen.
To reposition Flexijet: (from Flexijet)
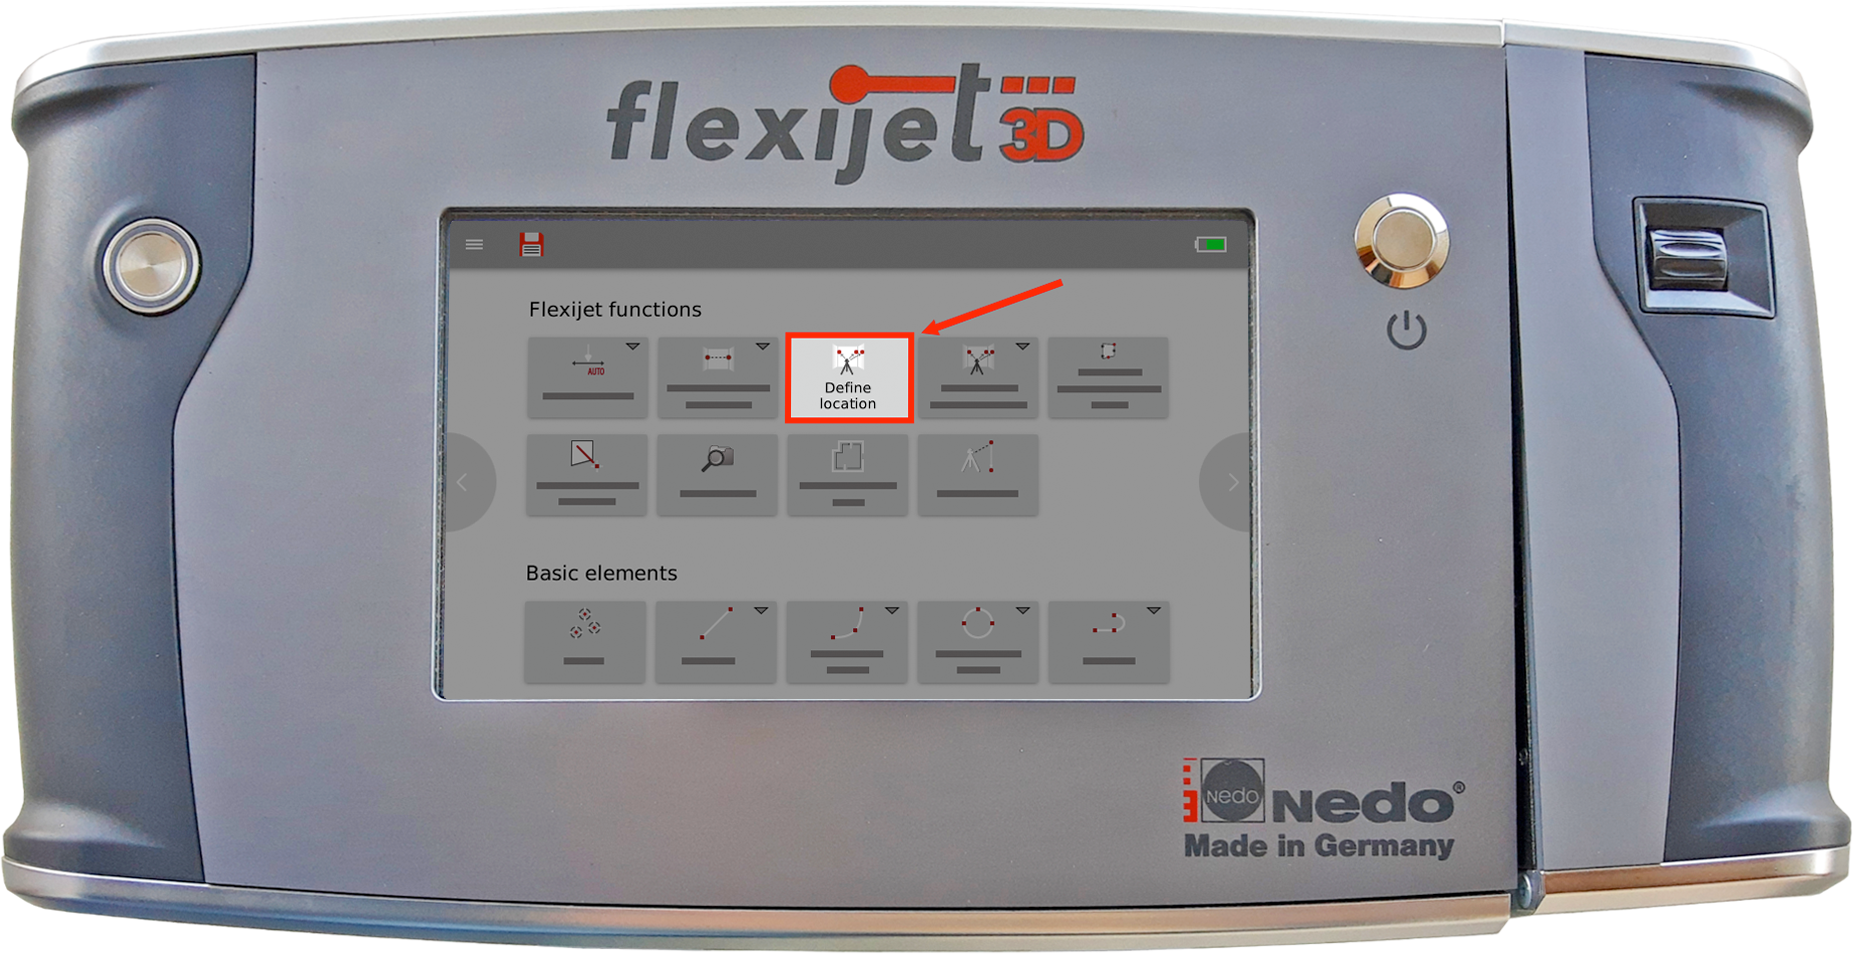
Define location (Set location before moving Flexijet)
- Click on the ‘define location’ function on the Flexijet screen.
![]()
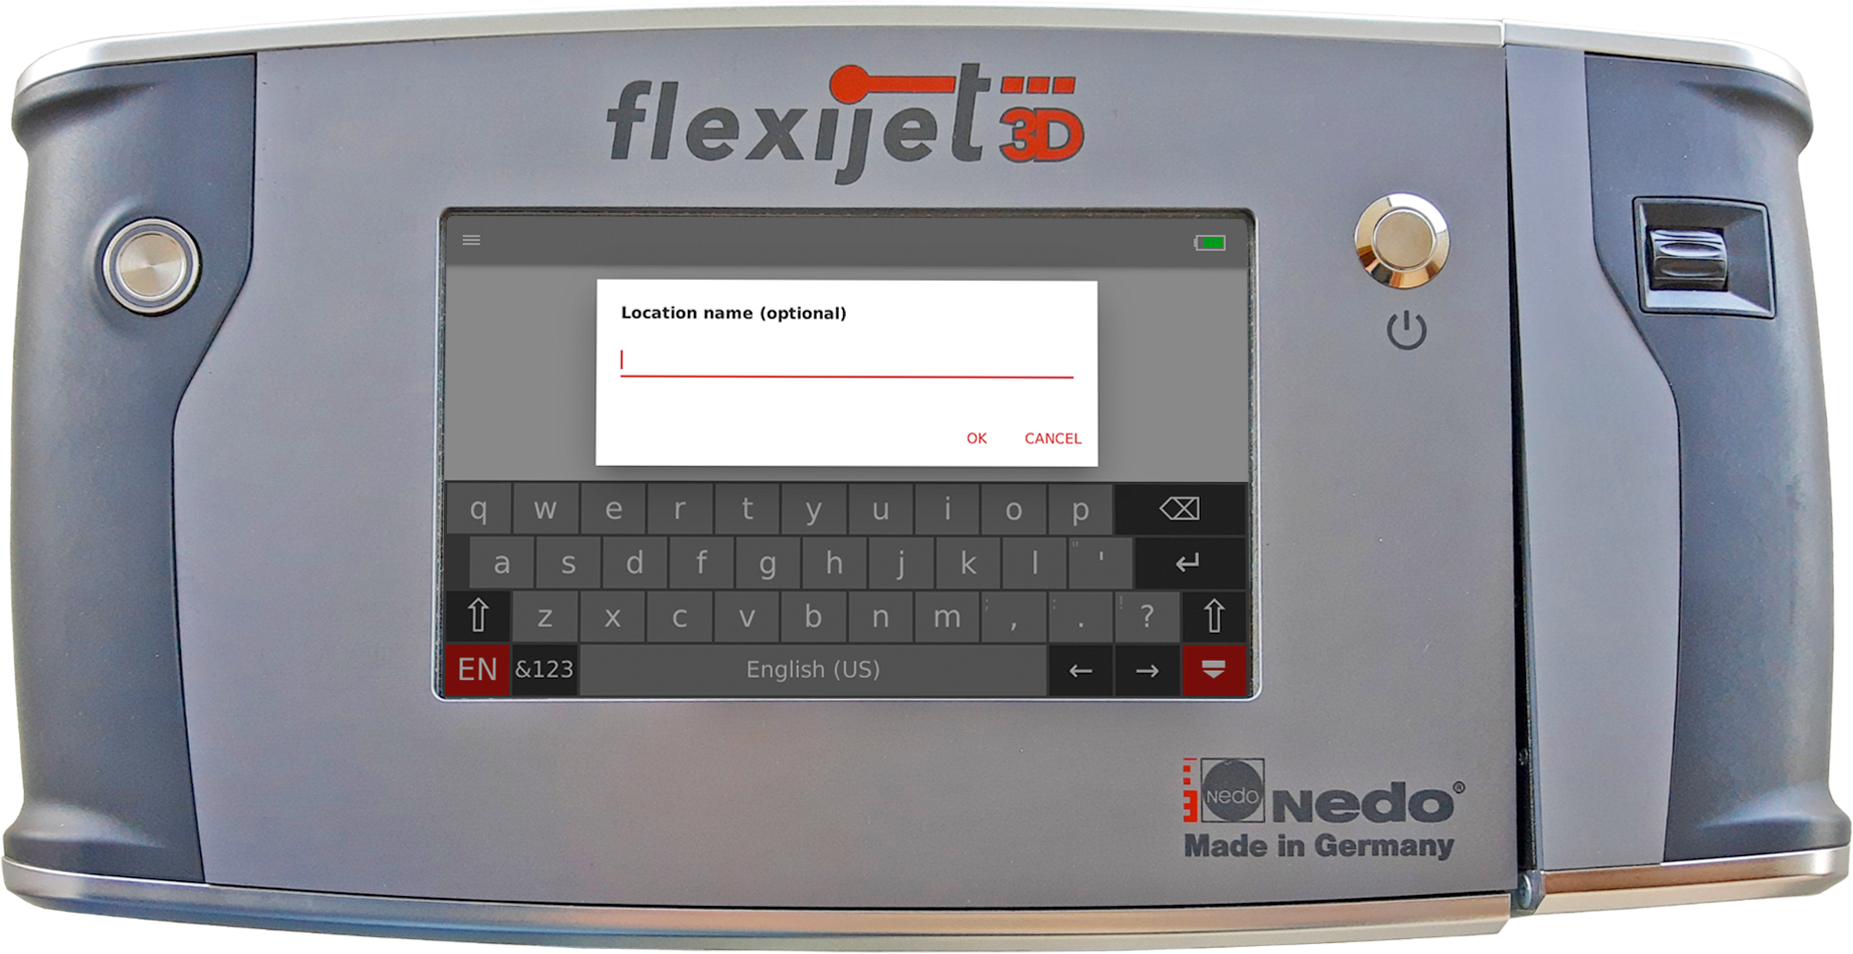
- A window will prompt asking you to set a name to your location. This is optional.
![]()
- Measure to define location points using a remote control. The points should be at approximately the height of the Flexijet but at slightly different heights. The points should have the largest horizontal distance between them as possible. A minimum of 2 points is needed, but more points can be defined as desired.
![Repositioning diagram]()

- After measuring the desired amount of relocation points, press the ‘Esc’ button on the Flexijet or the ‘Confirm’ button to end the command.
- Now, you can move the Flexijet to a new position, where the Flexijet is able to measure at least 2 of the defined location points. The ‘Shock Sensor’ warning message will appear on the Flexijet and in Flexijet Stone, warning that the Flexijet has been moved.
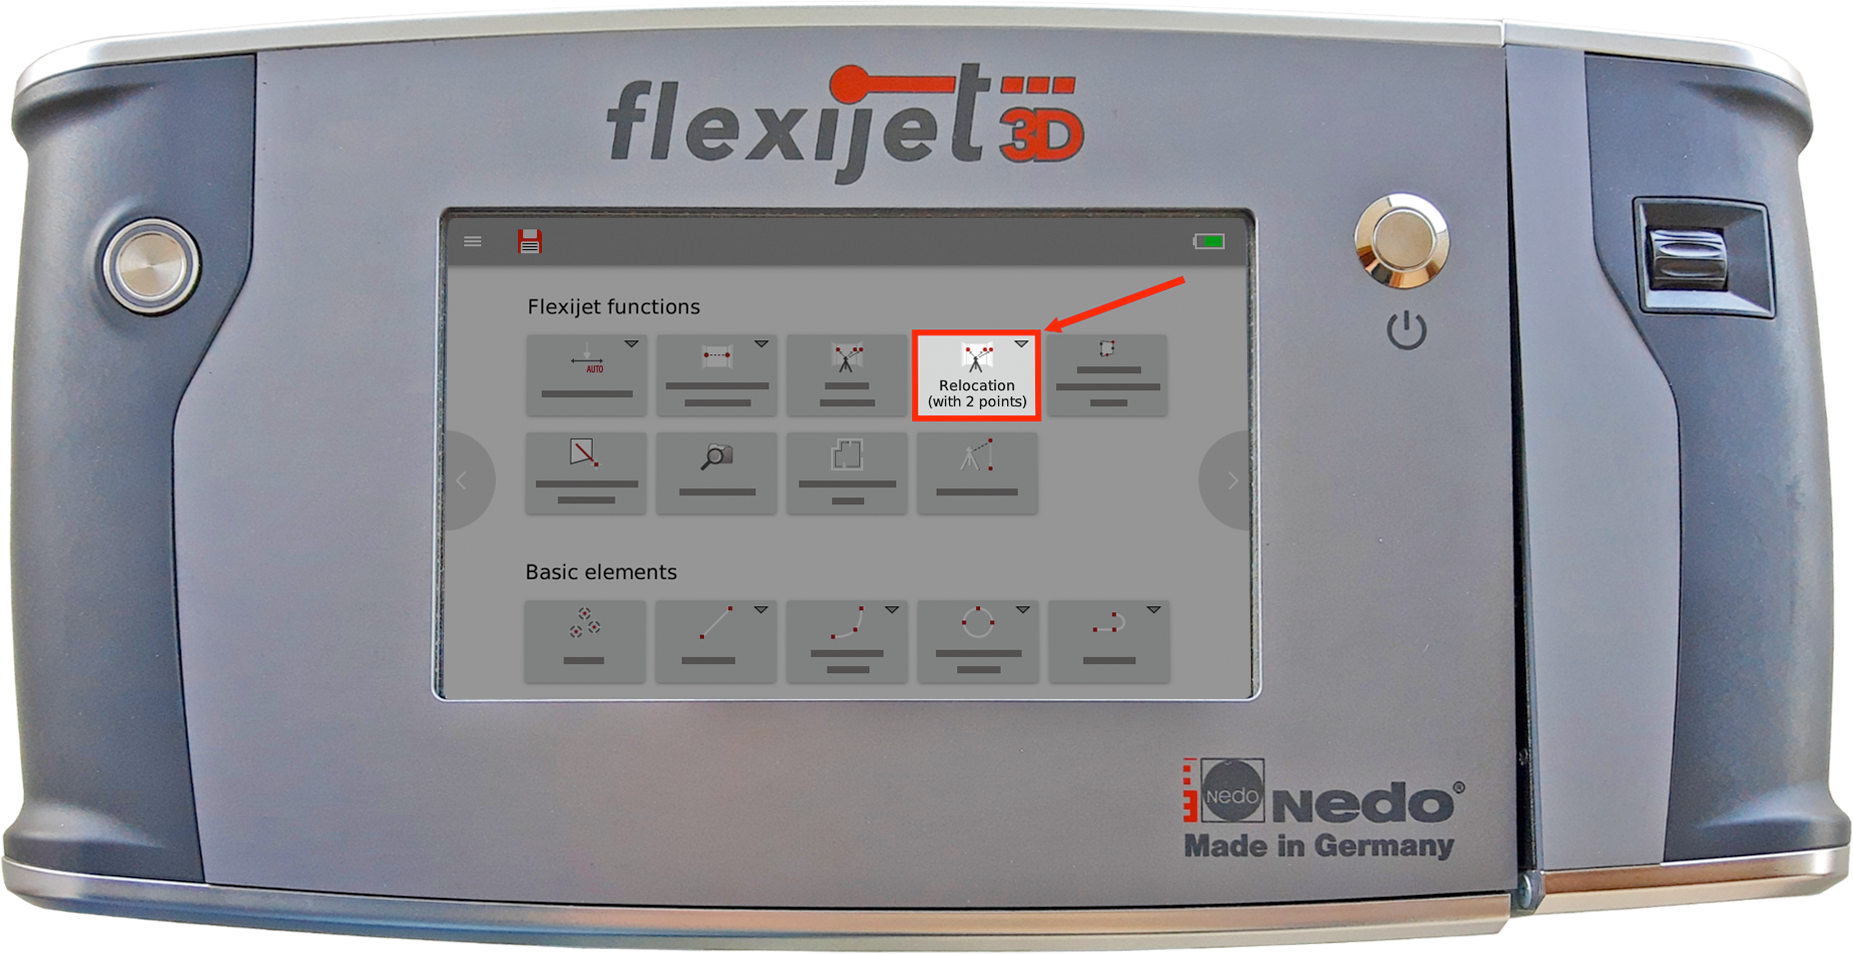
Resuming location (Resuming after moving the Flexijet)
- Select the ‘Relocation (2 points)’ on the Flexijet’s touchscreen. Flexijet will automatically Autolevel, and you will be ready to measure the points that you set before.
![]()
- You may re-measure any of the previously defined relocation points, in any order. Flexijet will automatically determine which points have been measured and interpolate Flexijet’s new position. If Flexijet cannot determine which point is which, it may prompt for additional information.
- The command window will read ‘Location Active, and display the interpreted accuracy of the measured points.
To reposition Flexijet: (from computer)
Define location (Set location before moving Flexijet)
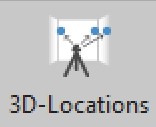
- From the Flexijet Ribbon, click on the ‘3D Locations’ button.
![Flexijet Stone 3D Location button]()
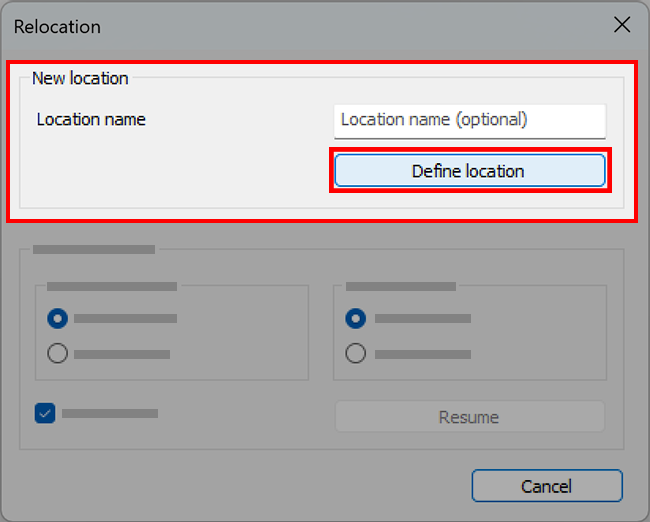
- Now, select the ‘Define’ button. NOTE: Name is optional.
![Relocation window with Define button circled]()
- Measure to define location points using a remote control. The points should be at approximately the height of the Flexijet but at slightly different heights. The points should have the largest horizontal distance between them as possible. A minimum of 2 points is needed, but more points can be defined as desired.
![Repositioning diagram]()
- After measuring the desired amount of relocation points, press the ‘Esc’ button on the Flexijet or the ‘Confirm’ button to end the command.
- Now you can move the Flexijet to a new position, where the Flexijet is able to measure at least 2 of the defined location points. The ‘Shock Sensor’ warning message will appear on the Flexijet and in Flexijet Stone, warning that the Flexijet has been moved.
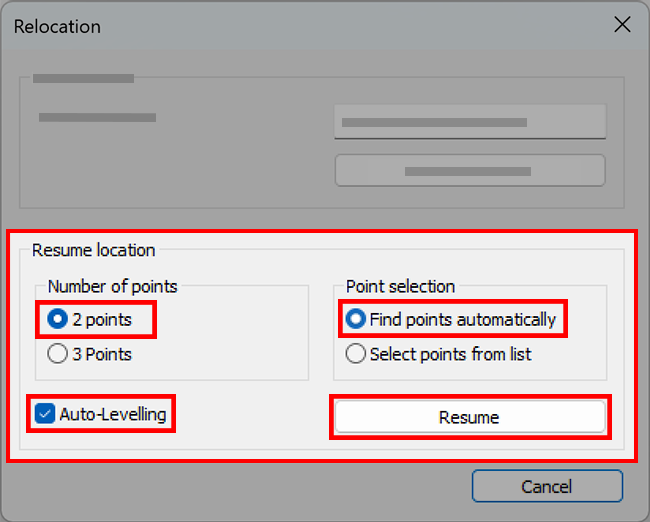
Resuming location (Resuming after moving the Flexijet)
- Select ‘3D Locations’. Now, select the number of points to be used to be re-measured (2 recommended), and click on ‘Resume.’ With the checkmark next to ‘Automatic Leveling’ selected, the Flexijet will Auto-level, and is ready to re-measure the location points. (Remember to use your Xbox controller for better precision)
- You may re-measure any of the previously defined relocation points, in any order. Flexijet will automatically determine which points have been measured and interpolate Flexijet’s new position. If Flexijet cannot determine which point is which, it may prompt for additional information.
- The command window will read ‘Location Active’, and display the interpreted accuracy of the measured points.
Information about repositioning:
- Always use the Xbox Controller, Flexijet Smart Remote, or the on-screen controller when relocating for accuracy!
- A minimum of 2 relocation points must be measured to define a location, but additional points can be added now, or later in order to allow for repositioning from multiple positions. (Single points can be added if a minimum of 2 points already exist in the file)
- Flexijet will measure each of these points 5 times for added precision (with clicking sounds followed by the measurement chime).
- Location points should placed on different walls if possible, and with as much horizontal distance between them as possible.
- Location points should be placed at different vertical elevations. For example, point 1 might be set on the first wall at 40” off the ground, point 2 on wall 2 at approximately 48” off the ground, etc.
- Naming location points is not required in versions 3.0.16.0 and later. You may still choose to name your locations if you would like to select the points manually, but the name is not needed when selecting the points automatically.
Repositioning with 2 points vs 3 points
- it is recommended to use 2 points with Auto-Levelling to resume a location whenever possible for greater precision and ease.
- Resuming location with 3 points is only recommended when Flexijet has been manually leveled. Example: measuring a on a boat, or measuring a reception desk in a shop on a pallet.
- Resuming location with 2 points and Auto-Levelling is more accurate in most situations as slight variations are not amplified over time, maintaining level over the course of a measurement.
Repositioning messages
Two possible locations found
- If both measurement points are set at the exact same vertical height, a pop-up window will open asking you to click on the first point re-measured while resuming the location (while resuming the location). Select ‘click on the point’ and click on the first measured location point in the drawing to allow Flexijet to determine its location.
![Two possibl location positions found!]()

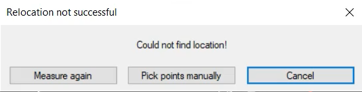
Could not find location.
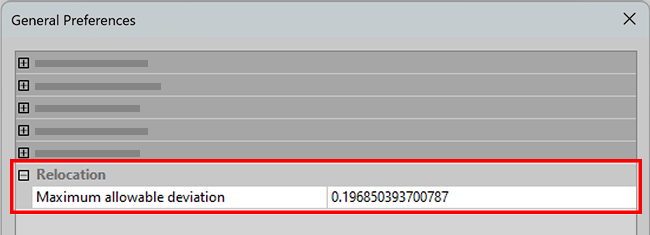
- In the rare event that relocation is unsuccessful or Flexijet cannot determine which measurement points have been re-measured, you will be prompted to ‘Measure again’, or to ‘Pick points Manually.’ An extremely fine tolerance of ‘Maximum allowable deviation’ may also cause Flexijet to cause this message.
![]()
Triangle has too acute an angle – Repositioning with 3 points
![Relocation the chosen triange has a too acute angle! warning]()

- When setting and resuming a location with 3 points, it’s important that the location points are spread out in as wide as a triangle as possible. When resuming, Flexijet does not use the data from the internal auto-levelling sensor and instead relies upon the triangulation of the 3 points to determine its location, and for this reason, the 3 points must form as wide and even a triangle as possible. For example, resuming a location with 3 points where all 3 points are at the same elevation on the same wall is not possible as they do not form a triangle.
Location point stickers
In your Flexijet case is a a box with measurement location markers. The surface of the location stickers is well suited for laser measurement. In case you forget your measurement marks, a pencil cross on painter’s masking tape will also work – these stickers are only a helpful tool at which to aim.

Considerations for the right choice of location
To define your location, you have to act a little like a chess player: you have to think a few steps ahead. Think about where you want to move and what you can measure at the new position. This is especially important when there are multiple locations. The location points must always be chosen so that at least two points can be reached from the new position.
The following things must be looked at:
- A location is defined by a minimum of 2 locations points.
- It is better to have one extra location point, than too few.
- The location points should be stuck on objects that cannot be moved.
- Ideally, the laser beam should hit the measuring mark perpendicularly.
- The maximum angle of incidence should not be less than 45°.
- The locations points should be at least 50mm(2”) apart in height.
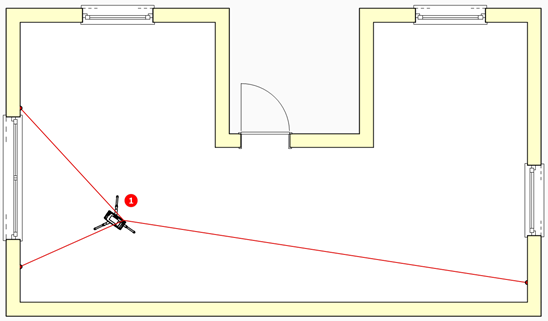
Example 1: U-shaped Room
U-shaped room should be measured completely, so 3 location points are defined from position 1.
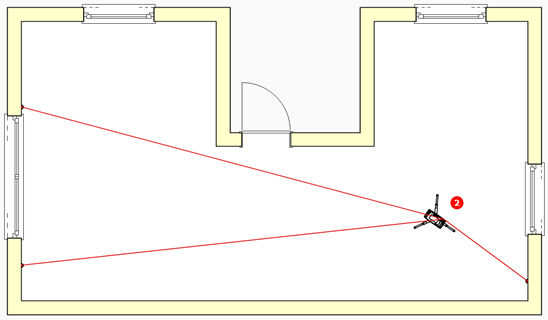
All three points can be reached from location 2. However, I use only two. If possible, the ones on opposing walls.
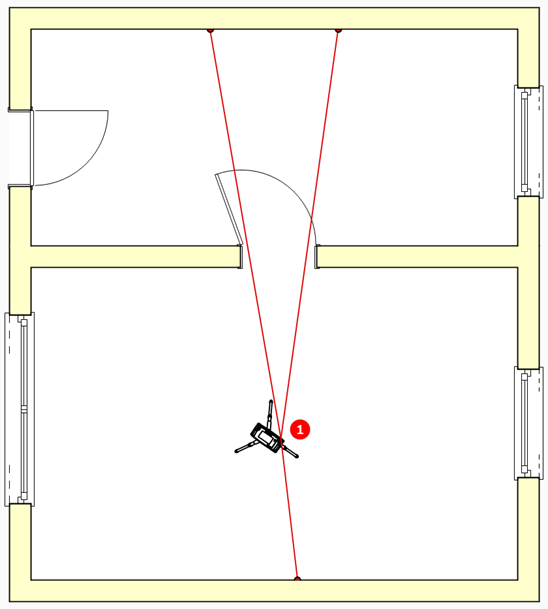
Example 2: Measure room and adjoining room:
In the room at location 1, define two measuring points in the adjoining room spread apart as far as possible.
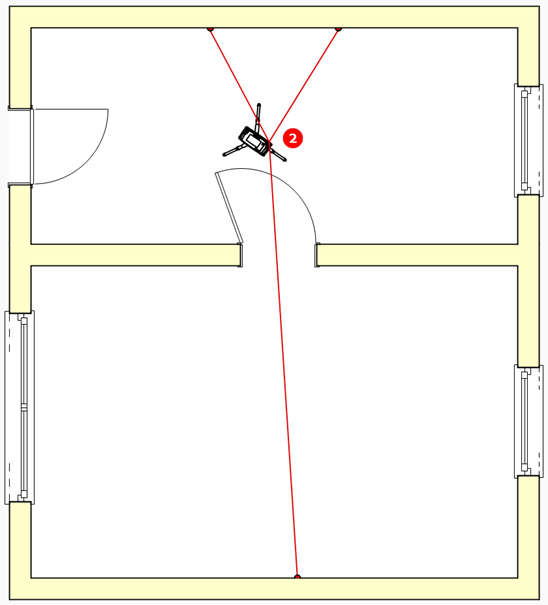
In the adjoining room at location 2, you can again reach all three location points. Again, only use 2 points: one in the adjoining room and one in the current room.
Please contact Flexijet Support at 1-844-MY-FLEXI ext 2 or helpdesk@flexijet.info with any questions!
Post your comment on this topic.