
If you are on version 3.3.6.0 or older, you must follow the instructions here.
To create a new Installation Symbol
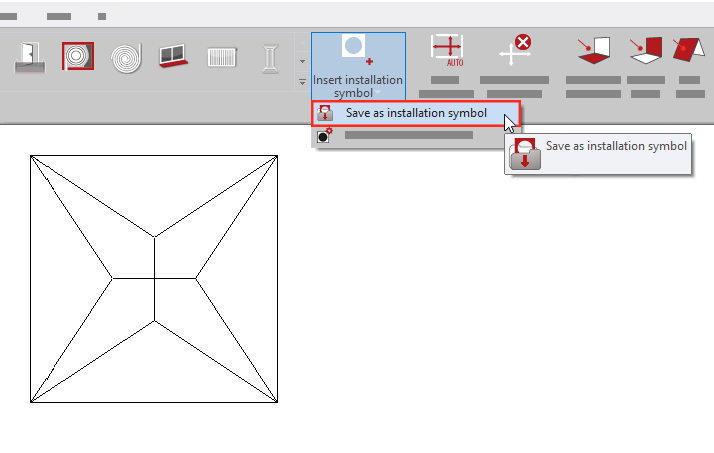
- Draw your new symbol on a new folder. Then on the “Measurement” ribbon, select the drop-down menu from “Insert installation symbol” and click on the Save as installation symbol function.
![]()
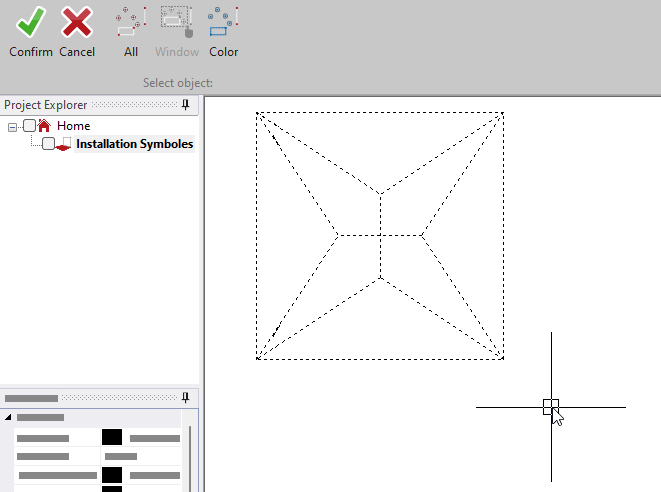
- Select the drawing/object that you would like to add as an installation symbole and hit confirm.
![]()
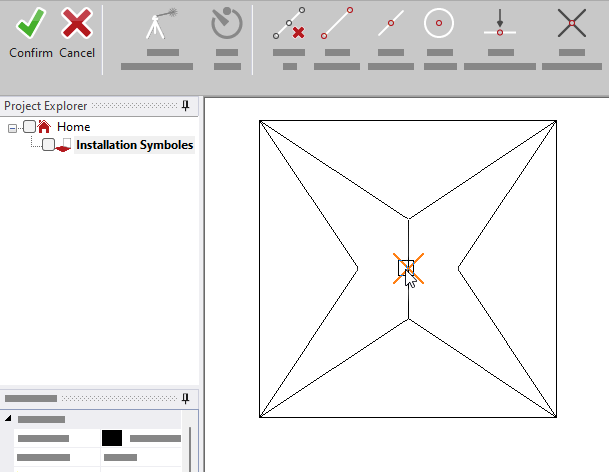
- It would ask you to select an insertion point.
![]()
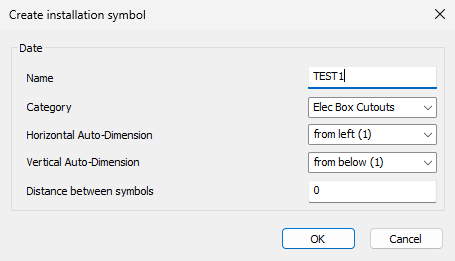
- A window where you can modify the “name, Category, and some Dimensions settings.” will appear. When finished adding all information, click “OK”.
![]()
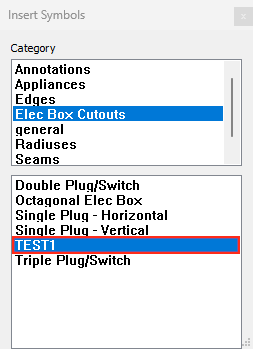
- Now, if you open your installation Symboles, your new symbol will be there.
![]()
To edit a Installation Symbol
- # Open the installation Symbole window and Select the symbol that you want to modify.
![]()
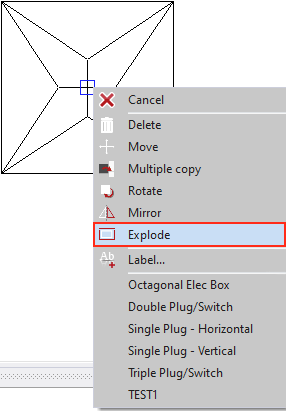
- Insert it on the screen and then explode it using right-click.
![]()
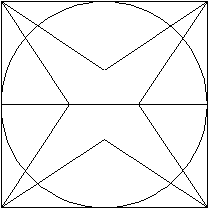
- Make any modifications that you want. And follow the instructions to add it as a New Symbol.
![]()
- Now you can delete the old symbol by clicking on the Edit installation Symbols function on the drop-down menu.
![]()
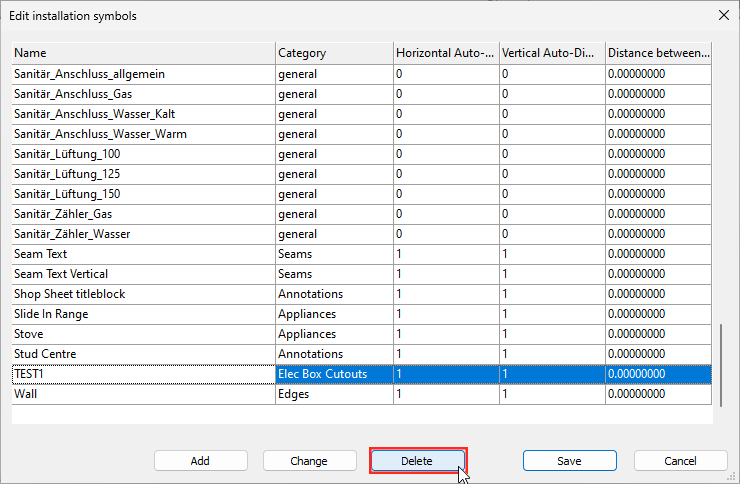
- Just have to select the Symbole you want to delete and click on the Delete button. Then click SAVE.
![]()
- On this window, you can also modify “the name, Category, and some Dimensions settings” just by clicking on the Change button. And when you are done with the modifications just press OK and SAVE
![]()


Feedback
Copyright © 2025 Flexijet GmbH
—
Powered by 
Post your comment on this topic.