![Offset Button Icon]()
The ‘Offset’ button creates a copy of an element at a defined distance.
Typically used for adding ‘overhang’ to countertops, but this function can also be used on other elements, such as polylines, arcs, circles, etc, to create a new element at a defined distance.
To add an offset In PC mode:
- Select the ‘Offset’ button.
![]()
![Offset Button Icon]()
- Enter the distance to be offset. Simply type the value into the line below the command window, then press ‘Confirm’ or the ‘Enter’ key to accept the value.
![]()
- Then, select the object to be offset.
![]()
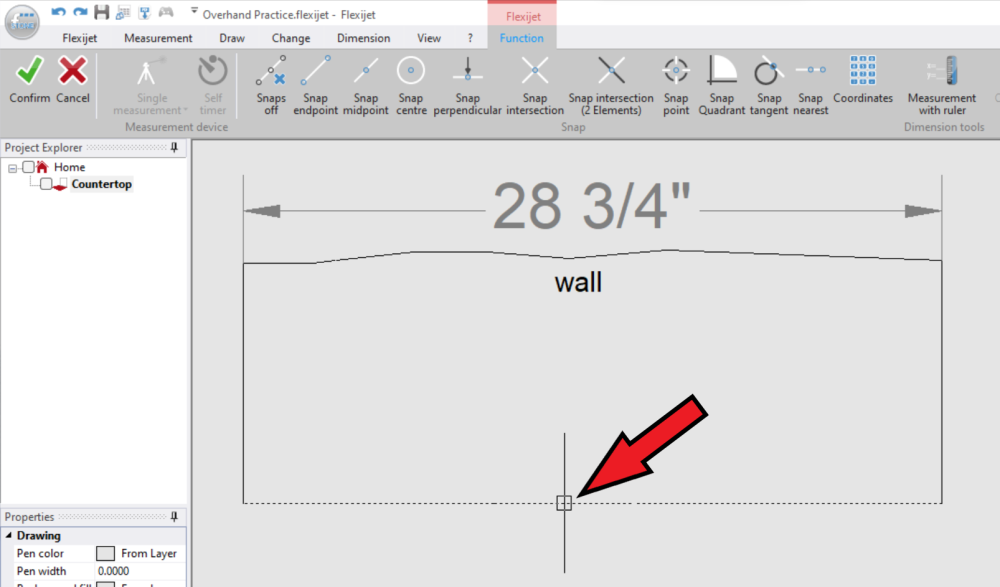
- Then click/tap in the direction you want to offset.
![]()
- Press the confirm button to end the command.
![]()
*This function runs continuously, so after selecting an object to be offset, you may then select another element to be offset and choose the offset direction. This will use the same offset value defined in step 2.
To add an offset In Touch mode:
- Select the ‘Offset’ button.
![]()
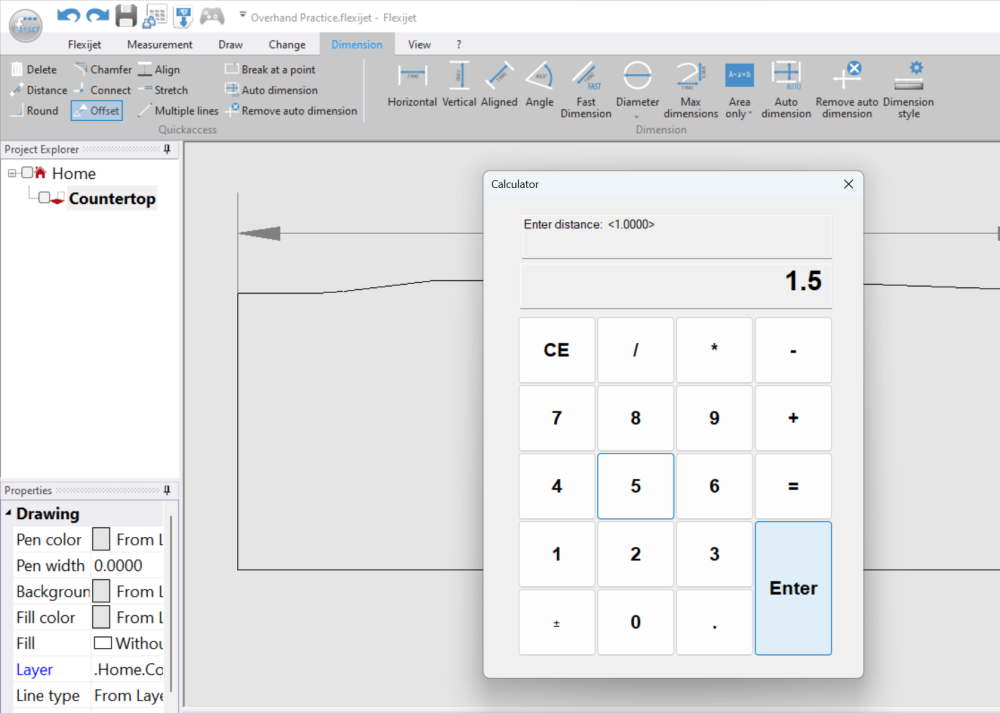
- Enter the distance to be offset. In Touch-mode, the on-screen calculator will appear allowing to input the value by touch. ‘Confirm’ or the ‘Enter’ key to accept the value.
![]()
- Then, select the object to be offset.
![]()
- Then click/tap in the direction you want to offset.
![]()
- Press the confirm button to end the command.
![]()
*This function runs continuously, so after selecting an object to be offset, you may then select another element to be offset, and choose the offset direction. This will use the same offset value defined in step 2.


Post your comment on this topic.