A Process is an organized group of related activities, tasks and procedures, that together create a result of value to the customer, and once completed, will accomplish an organizational goal. In the context of EPC, Processes can be under a set, or under another process as a sub-process. There can be many levels of processes; these are arranged in a hierarchical structure to simplify navigation and organization.
Modelers can create new Processes on the WebApp, using one of the following ways:
- Via the New in the top-right of the EPC WebApp, which we will talk about here.
- Via a right-click on a process or process set in the hierarchy tree
- Via the Details page of a Set or Process.
Creating a Process using the New button:
1. Navigate to the New button on the top-right of the EPC WebApp page.

2. Navigate to the Process box and click on the 

3. A window will be generated where you can input the information about the new Process.

4. Type the name of the Process on the “What is the name?” field and select a parent Process. Without a name and a parent process, the process can’t be created.

5. Next, you can:
a) Click on the button 
b) Click on the button 

c) Click on the Flow Objects tab, where you can add flow objects, name them, write a description and assign the responsible role. A Swimlanes Map preview will be generated as you add flow objects, to give you a glance of what the process map will look like once created:

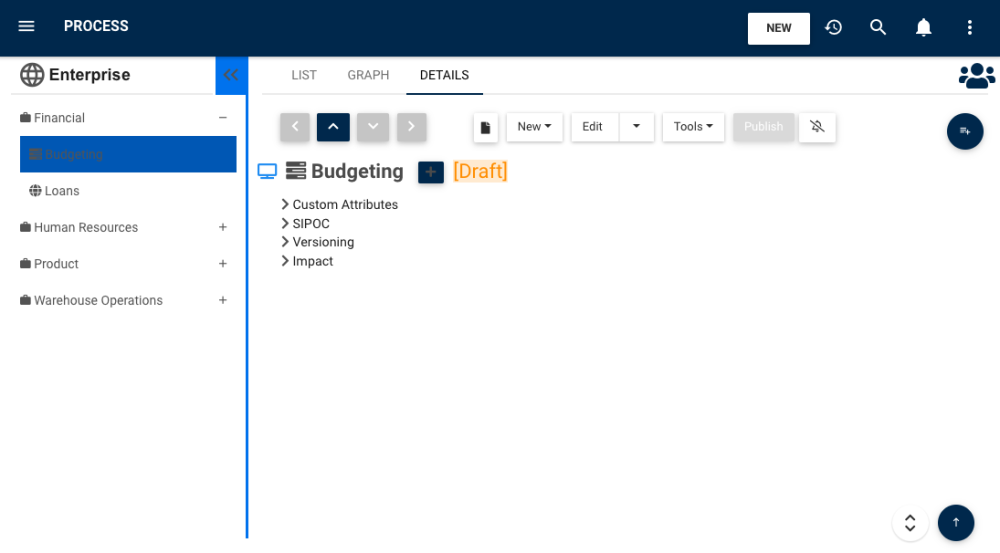
6. The new Process “Budgeting” is now on the Process tree structure. This process is currently a draft. To learn how to publish Process objects, click here

Need more help with this?
Visit the Support Portal


