
New Job
A new job can be created from the Job List screen.
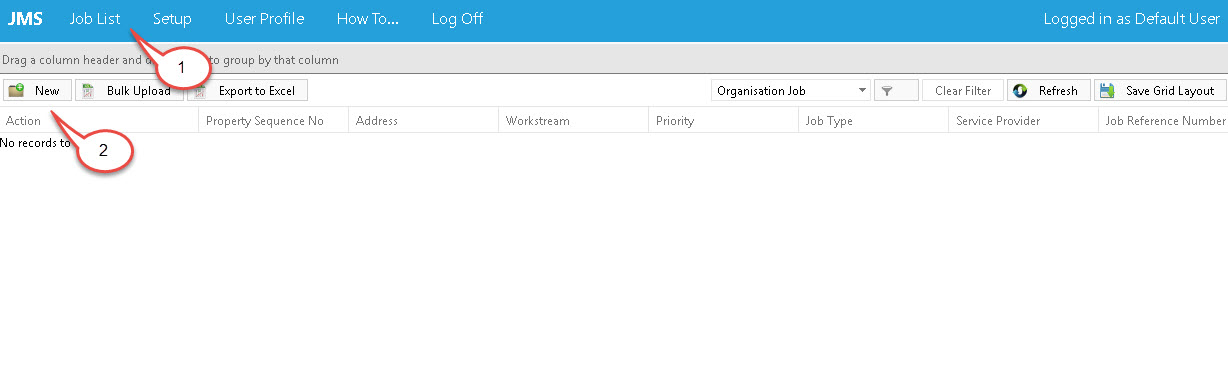
- Click on Job List from the menu bar;
- Click on New on the Job List screen.
The job creation screen appears. The screen has different tabs. You can browse through the tabs and fill in the necessary information.
What

- Enter the Property Sequence Number(1) or search for a property using the magnifying glass icon(2). Once the property is selected (The property address will be displayed (3)) click anywhere on the screen. If you used the property list, you need to double click on a property in this screen;
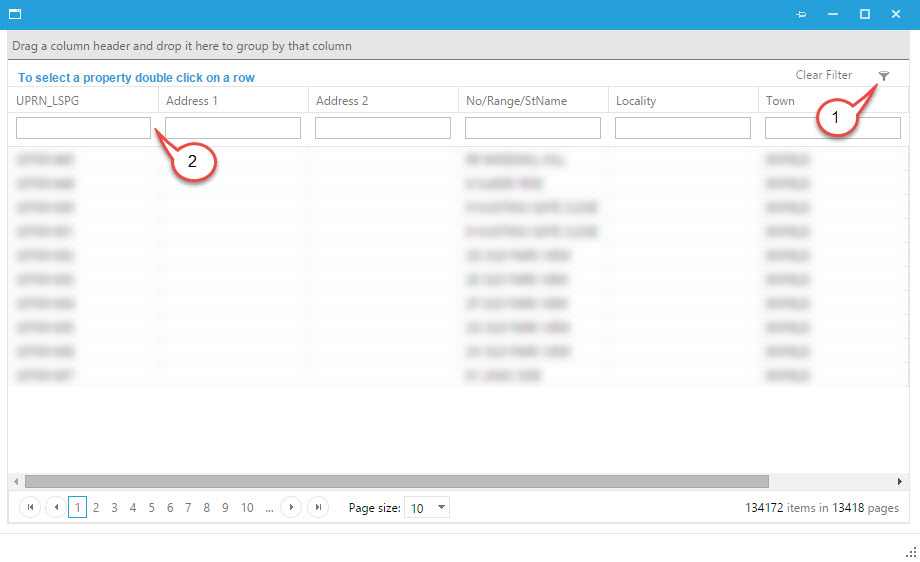
- Click on the filter button;
- Use this tab to enter preferred search criteria to filter the search.
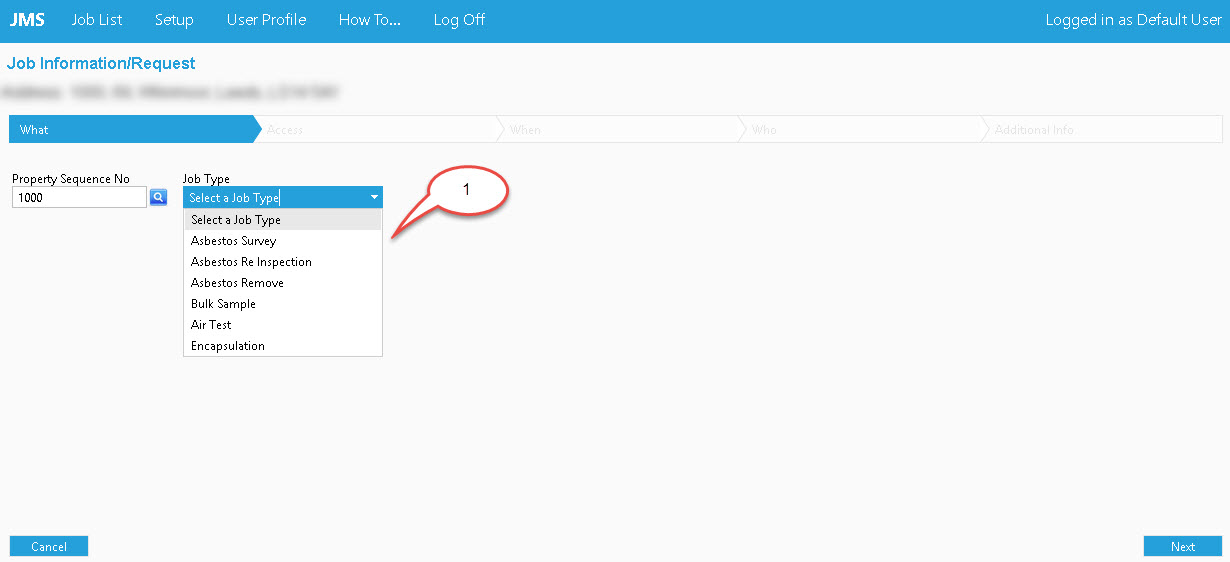
- Select the type of a job from the option box;
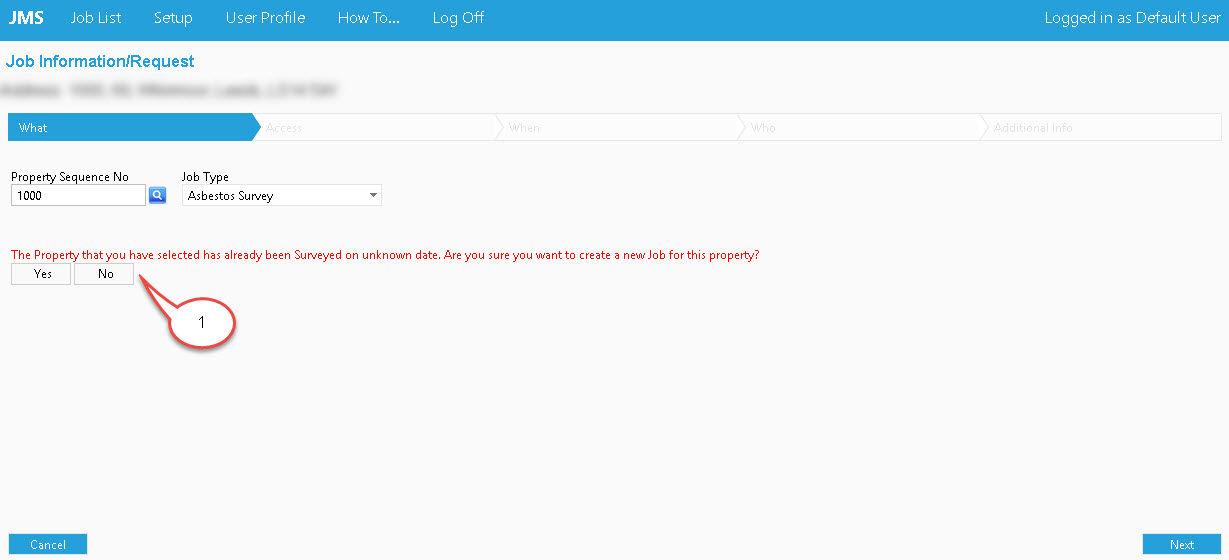
- The system checks if that property already has any historical data based on the job type selected. Checking is proceeded according to the following rule.
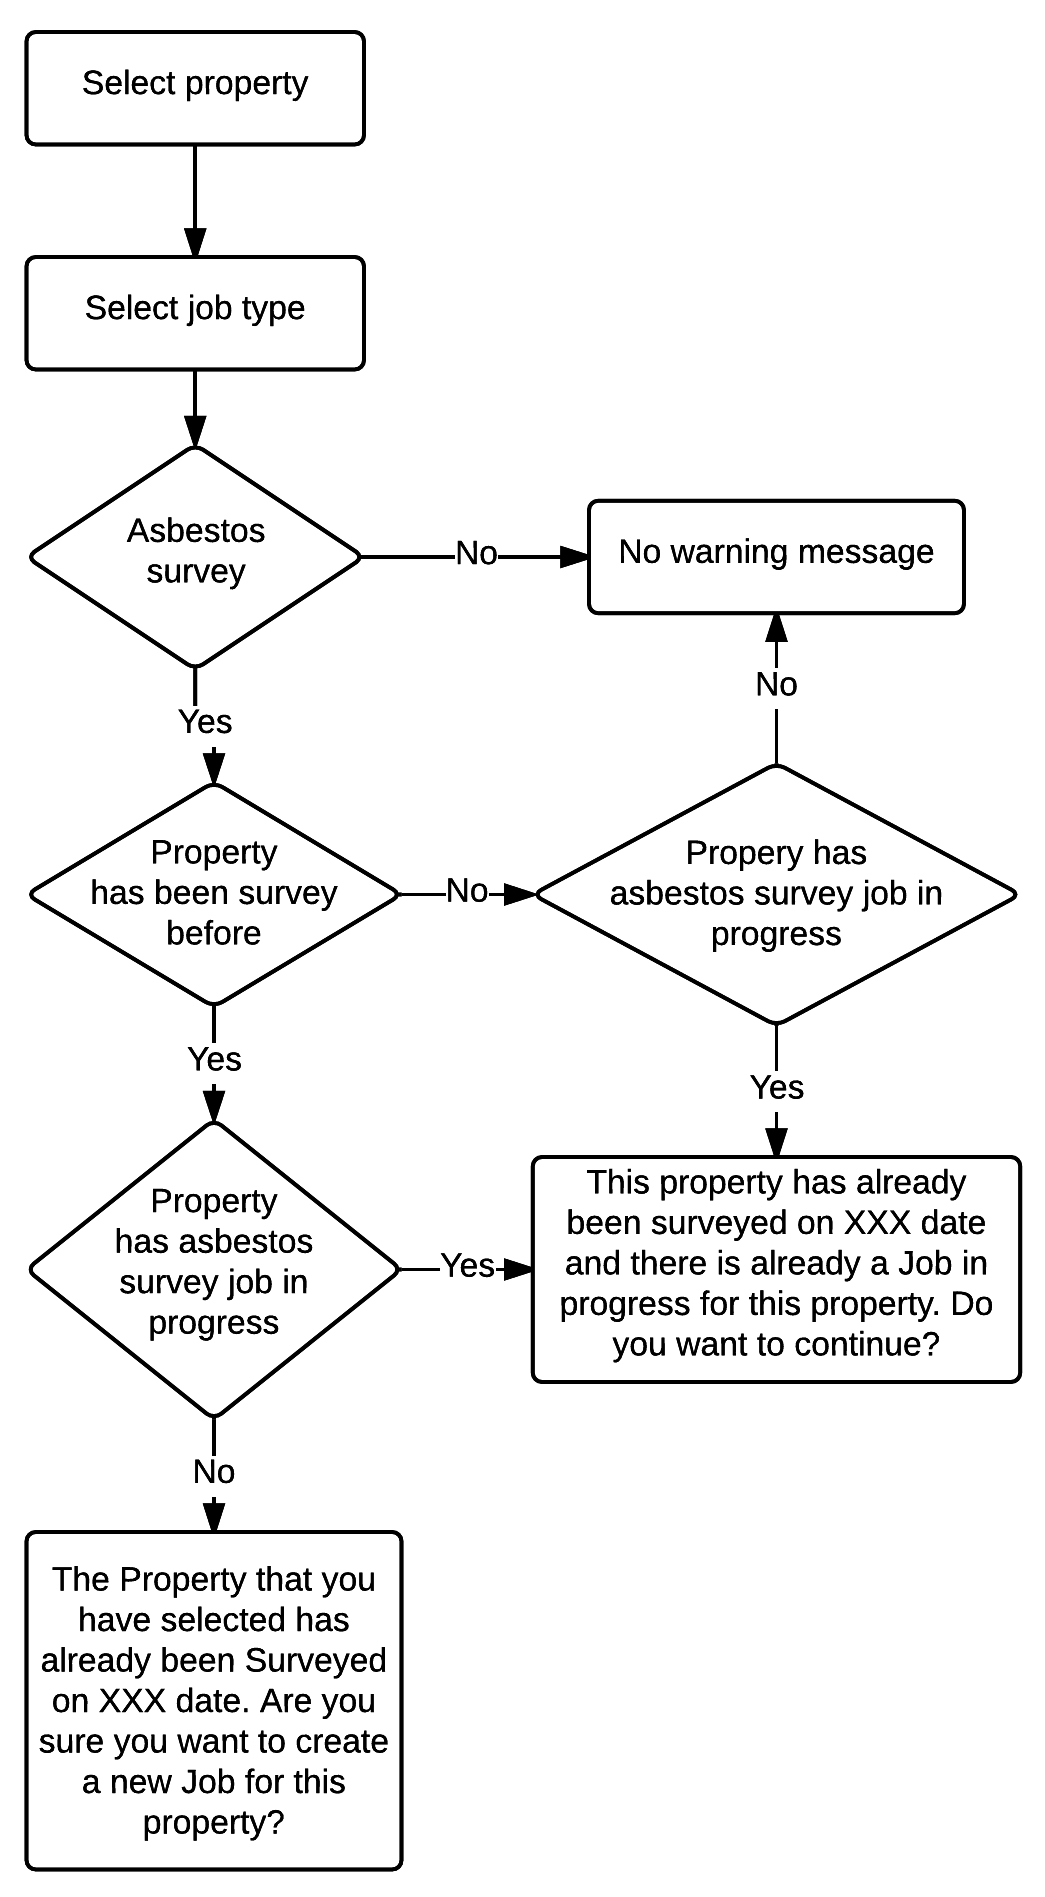
If the system has found any asbestos survey job for the selected property, the following message will appear.
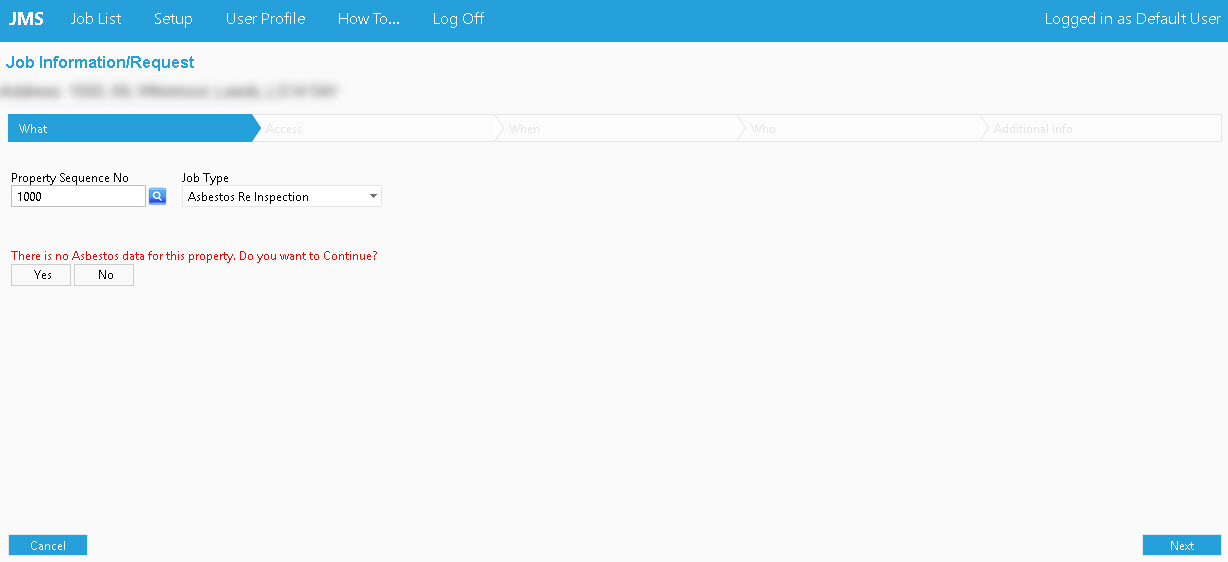
If Job Type is Re Inspection, Encapsulation or Removal, the system checks if there is any historical data for the current property. If there is no historical data for the current property found, the system notifies that no historical data was found for the selected property.
Once the property has been selected, the following screen will appear:
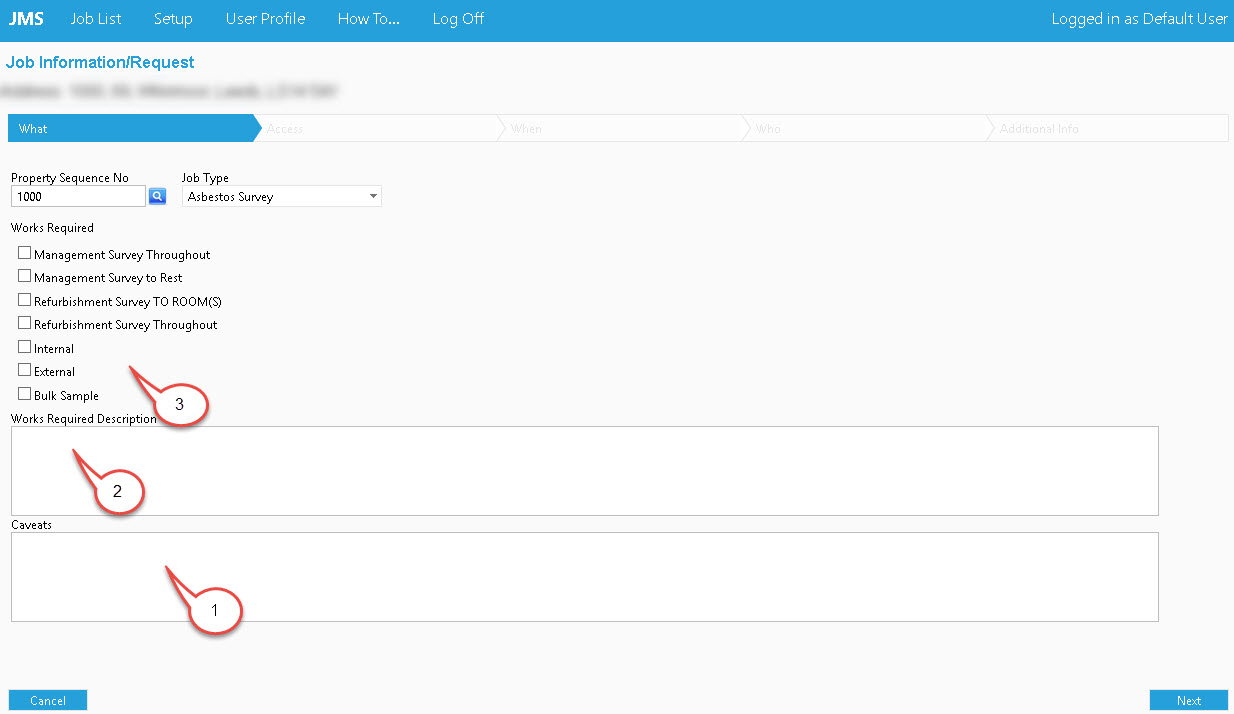
- Are there any caveats required?;
- What works need to be done for this job;
- Select one or more options from the Works Required list.
Access
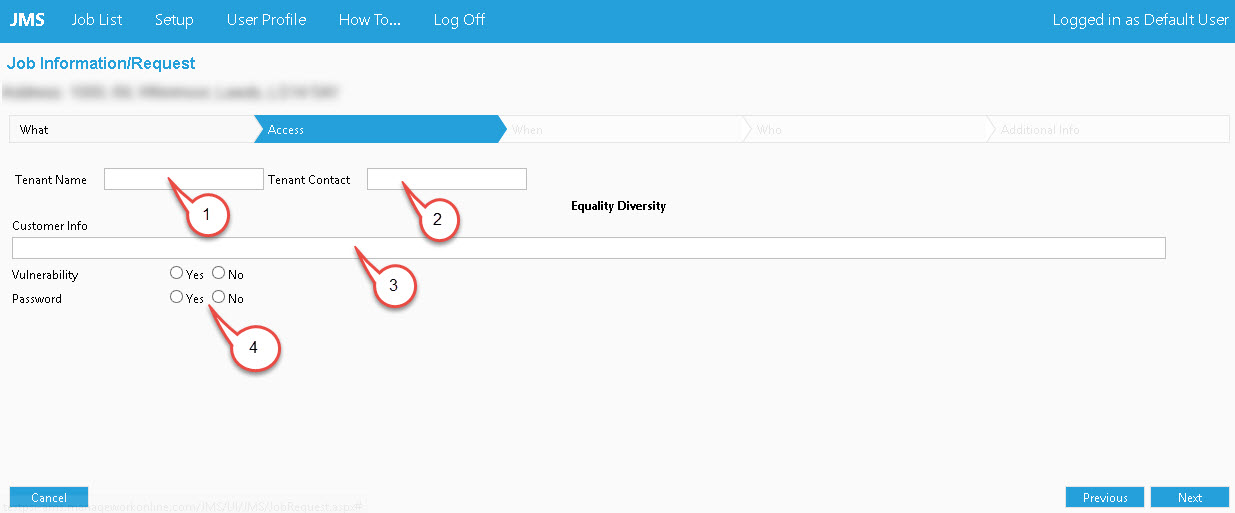
- Fill the Tenant Name field;
- Fill the Tenant Contact field;
- Fill the Customer info field;
- Select if the tenant has any vulnerabilities and if the property is password protected.
When
The dates of different phases of the job can be specified on the When screen.
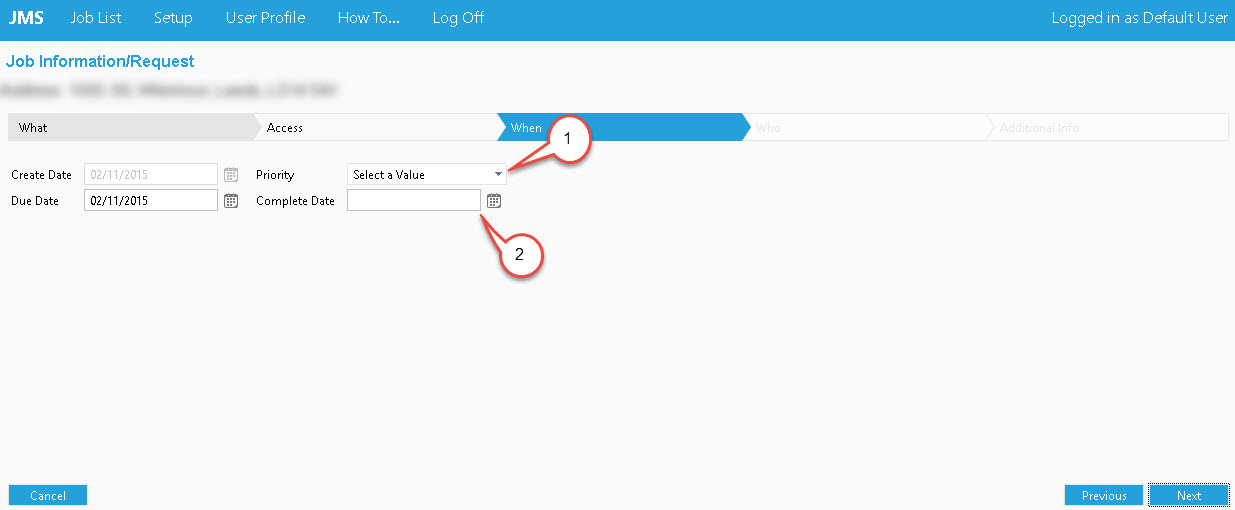
- Select a priority from the option box;
- Select a job Completion Date.
Current date is automatically selected by the system for Date of Creation.
Current date is automatically selected by the system for Due Date.
Who

Created by field is automatically selected by the system.
- Fill Requested by field;
- Fill Phone number field;
- Fill Email field. Multiple emails can be entered, separated by semicolon (;);
- Select a Workstream from the option box;
- Select a Service Provider from the option box;
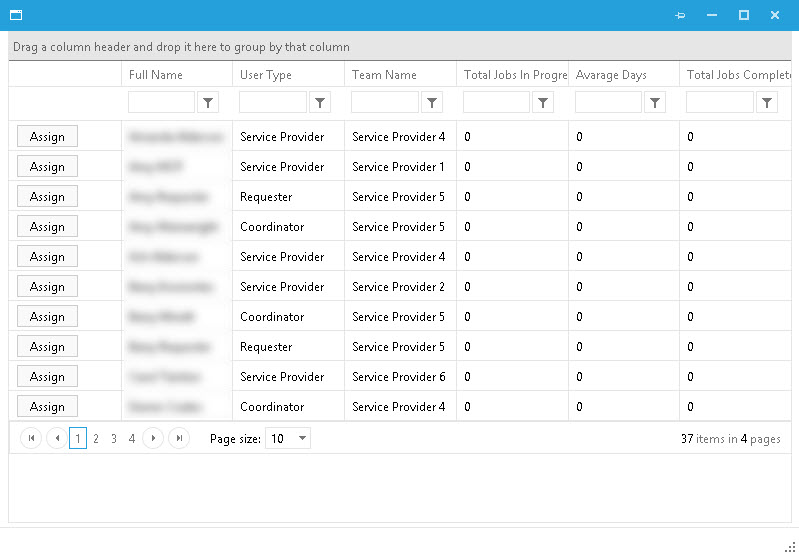
- Select Asbestos Coordinator (note that a user with a requester role cannot choose an Asbestos Coordinator). Note that one is assigned by default, but you can still select a different one by clicking the select button. This will take you to this screen.
Additional Info
If additional information is required to carry out the job these can be added to the Additional Info screen.
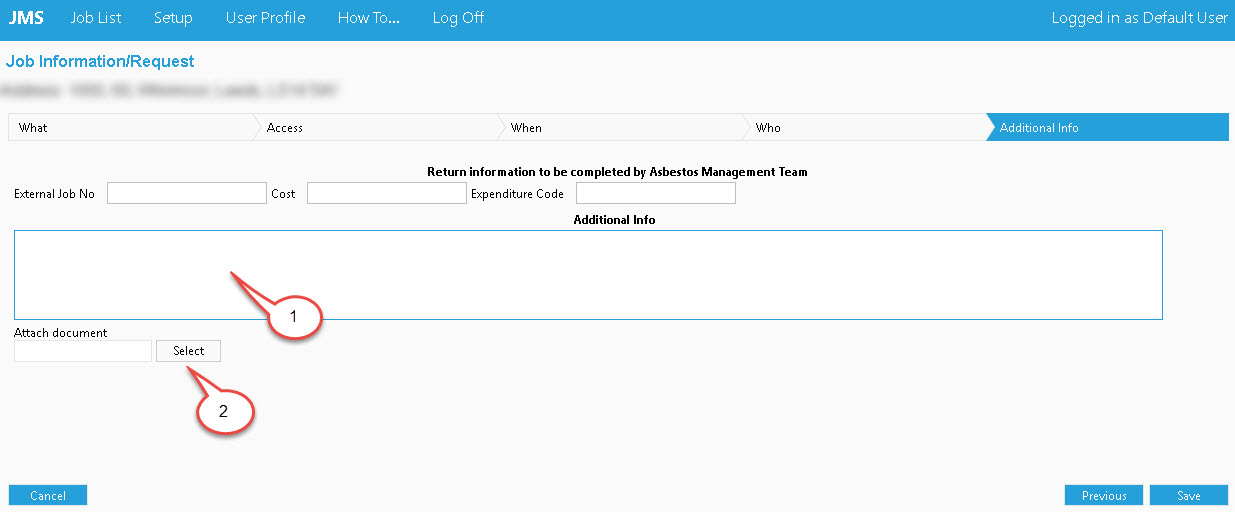
Add or select as required on the screen.
- Specify if any additional information is attached;
- Attach the document (note that you can attach up to three documents).
Click on Save to save the Job.
If the job information was filled out correctly, the following message appears on the screen.
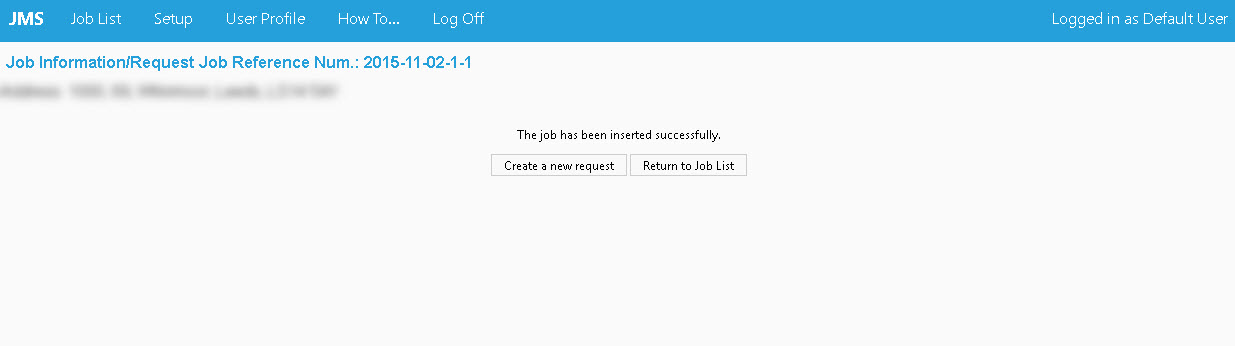
When you create the Job it’s status is set as “Request”.
See How to Accept a Job next.
Post your comment on this topic.