When the Add Gobo toolbar button is clicked, the ‘Add Gobo/Colour’ dialog is displayed:
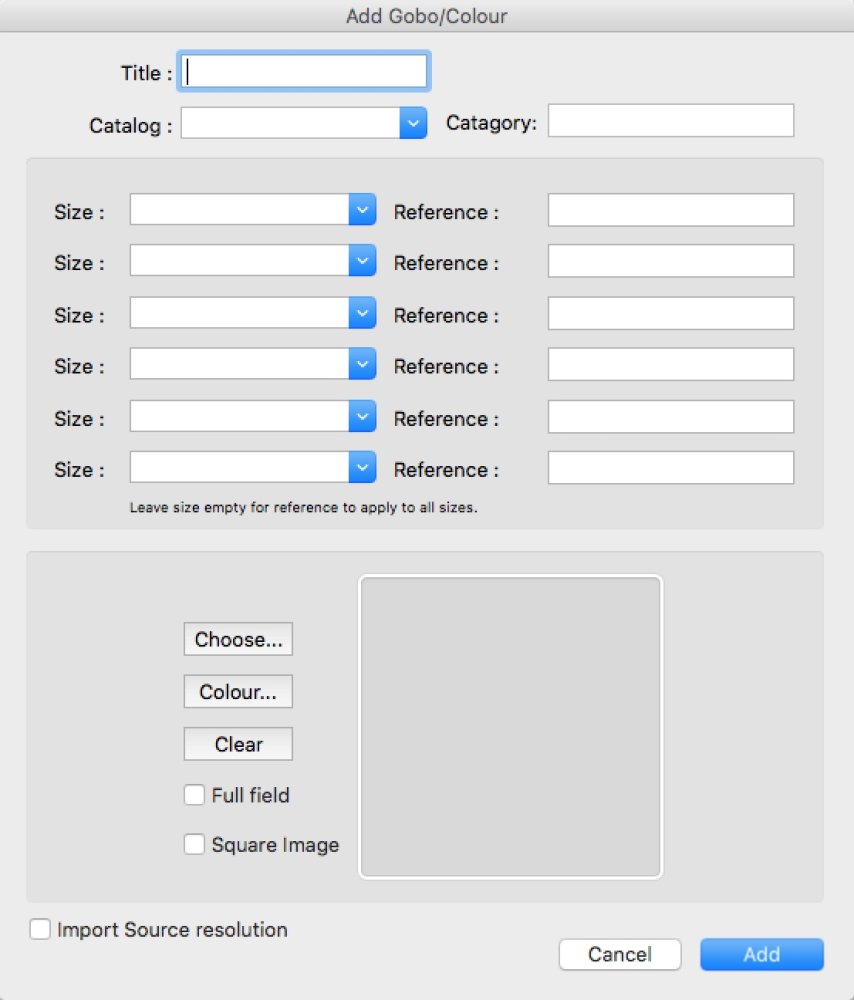
This dialog can be used to add new colours or effects, as well as gobos.
Enter the gobo or colour details in to the relevant fields. Select a catalogue name from the drop-down list, or type a new catalogue name directly in to the box. There are options to allot unique reference numbers for up to six different gobo or colour sizes. (Alternatively, some gobo manufacturers use the same reference number irrespective of the gobo size, in which case, leave the size field blank.) At least one reference number must be included to successfully add a gobo to a wheel. If the particular size required isn’t available in the drop-down list, enter a new size in to the size field, alternatively, leave the size field blank.
Title
The title/name of the gobo.
Catalogue
The catalogue the gobo or colour is a part of. This is often the manufacturer.
Category
A category is a way of grouping gobos/colours in a catalogue. For example you could have categories like Steel Gobos, Glass Gobos, Effects Glass etc.
Size
The size is used to match the correct reference for the size of gobo set for the wheel in the Moving Light Assistant fixture profile. If a gobo size does not match the gobo size in a fixture profile, the gobo will not display on the wheel. If a gobo size needs to apply to any size, then leave the Size field blank for a reference. An example of this are Rosco gobos as the gobo reference is the same irrespective of the gobo size. Some manufacturers have specific a reference (part number) for a specific gobo design at a specific size.
Reference
The Reference is essentially the part number for the gobo design and frequently for the gobo size. There are six Size and Reference pairs to allow for multiple sizes with unique references for the same design. You must have at least one reference number assigned for a gobo, otherwise when you drag the gobo to a gobo wheel it will not display the gobo (you get a black image).
Adding Gobo Graphics
The lower half of the gobo library window allows you to import an image of the gobo, or a colour swatch of the colour.
Click the Choose button to open a file browser dialog and select an image file for the gobo. Alternatively, images can be dragged from other applications, or a website, directly in to the image area. Image files supported are jpeg, png or bitmaps.
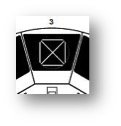
There are three check boxes which control how the image is displayed within the gobo wheel positions. They are useful in instances where the shape or size of the graphic does not match the shape or size of the gobo slot, importing a circular gobo image in to a Vari-Lite trapezoidal gobo flag for example.
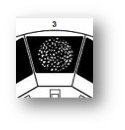
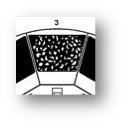
Full Field
Checking ‘Full Field’ will take a gobo image that by default doesn’t fill the entire gobo field area and expand the image so that it does.
 |
 |
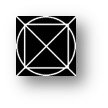
Square Image
This should be checked if a gobo image is square, not round, and affects how the image is displayed within the gobo field area.
 |
 |
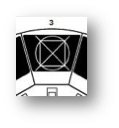 |
It is sometimes necessary to select both ‘Full Field’ and ‘Square Image’ to get the gobo image to display correctly within the gobo wheel.
Import Source Resolution
This box is unchecked by default.
When this box is unchecked, all imported images are scaled to a standard resolution of 200×200 pixels, which provides a good compromise between visual appearance and overall file size.
When this box is checked, the image is imported at its native resolution – no scaling is performed. This is useful when importing images with lots of very fine detail, or when building effects or animation discs, which will typically be as big as an entire gobo wheel, without losing image resolution. The down side is that high resolution images can lead to very large gobo library file and show file sizes.
For general gobo images, it is recommended to leave this box unchecked.
Choose
The Choose button opens a file dialog to allow you to choose an image file to add (jpg, png & bmp).
Colour
If you wish to add a colour, there is no need to import an image. Clicking on the Colour button will open a ‘Colour Picker’ dialog. You can choose or mix a colour. When the ‘Colour Picker’ dialog is confirmed, the colour will appear as the image. By default, choosing a colour will select the ‘Full Field’ and ‘Square Image’ checkboxes.
Clear
The Clear button will clear the image.
When all the gobo/colour information has been entered, click Add to add the gobo to the library.
