
Installation under Windows 7
- Run the application MLASetup. (MLASetup.exe)
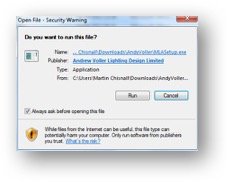
- If the following window appears, click Run to continue.
Depending upon your Windows User Account settings, you may see the following window:

- Click Yes. The Set-up routine will begin.
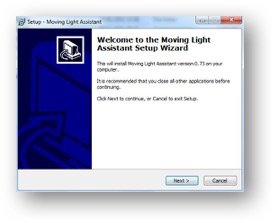
- Click Next.
- Please read the End User Licence Agreement.

- If you agree, select ‘I accept the agreement’ and click Next. If you do not accept the agreement, the installation cannot continue.
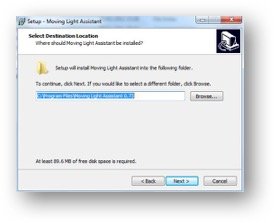
- Select a location in which to install Moving Light Assistant. By default,
C:\Program Files (x86)\Moving Light Assistant\will be created. Unless you have good reason to change this, click Next.
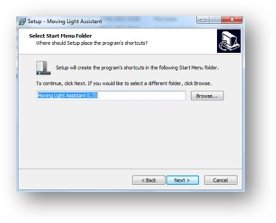
- Unless you have reason to change it, click Next to accept the program shortcut.
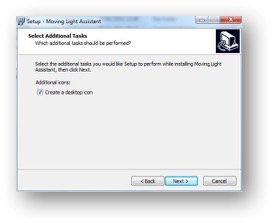
- Unless you have reason not to, click Next to create a desktop icon.
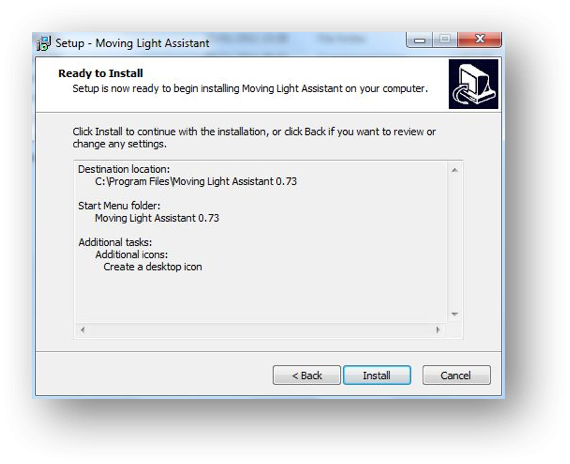
Set-up is now ready to install Moving Light Assistant.
- Click Install.
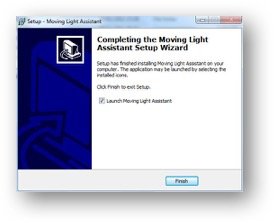
- When the installation is complete you will have the option of launching Moving Light Assistant. Click Finish.
Moving Light Assistant is now installed.
Moving Light Assistant, by default, creates a folder within Program Files, and the following a series of folders as documented in Installed Components.
Copyright © 2025 Andrew Voller Lighting Design Limited
—
Powered by 