The buttons below the central image area control the taking of, adding, deleting, copying, zooming and editing photographs and images. Images can be attached to presets as a whole, as well as to individual channels. The ‘Preset’ and ‘Channel’ radio buttons determine whether the image currently displayed is a Preset Image or a Channel Image. See Preset and Channel Images below.
Up to four images may be added to each preset, and each channel in the preset can have up to four images. If more than one image is available for the current preset or channel, the left and right arrow buttons will step through the multiple images.
Clicking the + button will open a file browser window to select a photograph or image to add. Files must be in jpeg or png format. If four images have already been attached, the + button will be greyed out and it will not be possible to attach any more photographs until an existing photograph has been removed.
Clicking the – button will delete the currently displayed image from the preset or channel. Confirmation will be requested before the operation completes.
Clicking on the Camera button will take a photograph using the attached camera and add it to the current preset or channel. See Taking Photographs for more information.
In the top left of the photo control area, a label will show if the current image being displayed is a Preset or Channel Image.
Below the photo are two labels. The first label ’1/2’ shows that photo one of two photos is displayed. The next label ‘P2270108.JPG’ is a caption for the photo. By default, this will normally be the file name of the downloaded camera file. If the image was captured for a video input, it will be the time of the capture. You can change the caption text to describe or identify the image in the Photo Edit window.
The ‘Preset’ and ‘Channel’ radio buttons determine whether the image is added as a Preset Image or a Channel Image. To be added as a Channel Image, a channel must first be selected in the Channel List.
Whilst navigating through the channels in Channel List, if there is no Channel Image, the image mode defaults to Preset. To remain in Channel Image mode, hold down the Alt key whilst using the cursor keys, or mouse, to step through the channels. Clicking the padlock icon below the image mode buttons will lock the mode until a different preset is selected.
The Channel List shows the number of photographs for each channel in the Image column. CHAN represents there are two channel images.

Preset and Channel Images
Within Preset Documentation, photographs and images can be defined as either Preset or Channel Images.
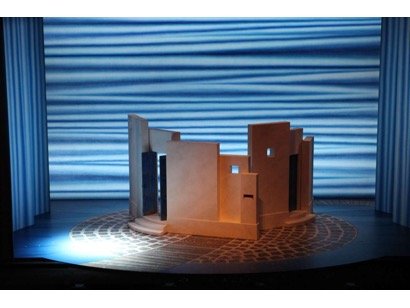
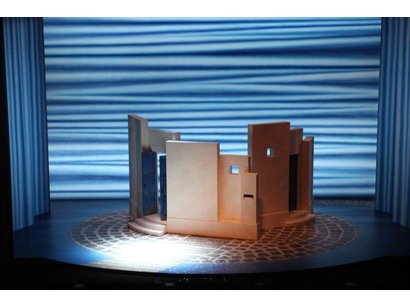
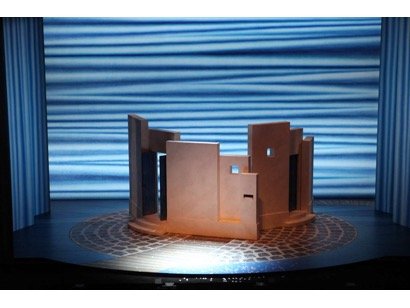
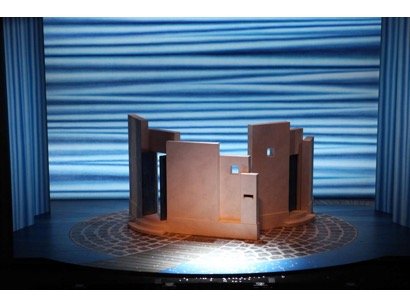
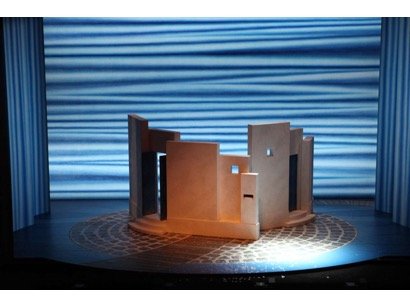
A Preset Image generally shows the focus of two or more fixtures together on in the same photograph. Optionally, graphics (annotations) overlaid on the photograph may show the purpose of individual fixtures within the preset.

A Channel Image is a different photograph perhaps with accompanying graphics, generally showing the purpose of just one fixture within the preset. It is generally a different photograph to a general preset photograph, and one which better shows the focus of a particular fixture.
 |
 |
 |
 |
 |
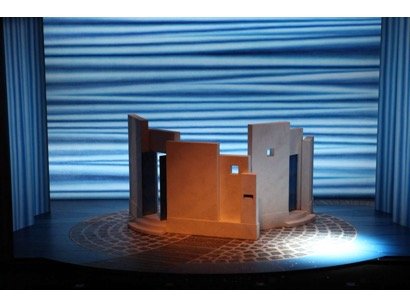 |
Photo Mode Lock
It is possible to lock the photo mode to Preset or Channel by clicking on the padlock below the ‘Channel’ radio button. This is useful when taking Channel photos so that it does not switch back to Preset when you select another channel. When you select a another preset, the padlock will automatically unlock.
Photo Copy
The Copy button will open a ‘Copy Photo’ dialog. In the dialog, you can now copy photos from Presets, Channels and Cues to the current Preset or selected Channels within the selected Preset. There are options of what to copy including a preview of the photograph you are going to copy.
Space bar will take a Photo
If camera control is being used in the ‘Cue List view’, the space bar will take a photo. This will only work if a text field does not have focus (as it will add a space in the text field).
