
There are several applications available for manual image tracing on desktop and mobile operating systems. Below are just a few of the options for Windows and Mac platforms:
| Windows | Mac | |
|---|---|---|
| Adobe Photoshop | x | x |
| Gimp | x | x |
| Microsoft Paint | x | |
| Preview | x |
Trace in Paint (Windows)
This example shows an approach to tracing features in Microsoft Paint, such that they can then be imported into MIPAR for deep learning training.Load Image
Open ‘Paint’ application.
Drag and drop image into ‘Paint’.
Trace Features
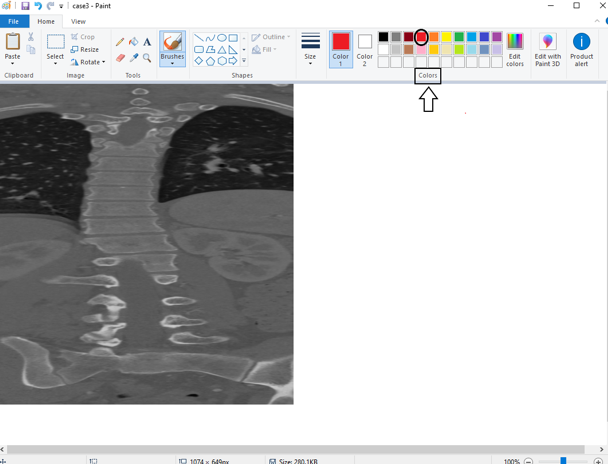
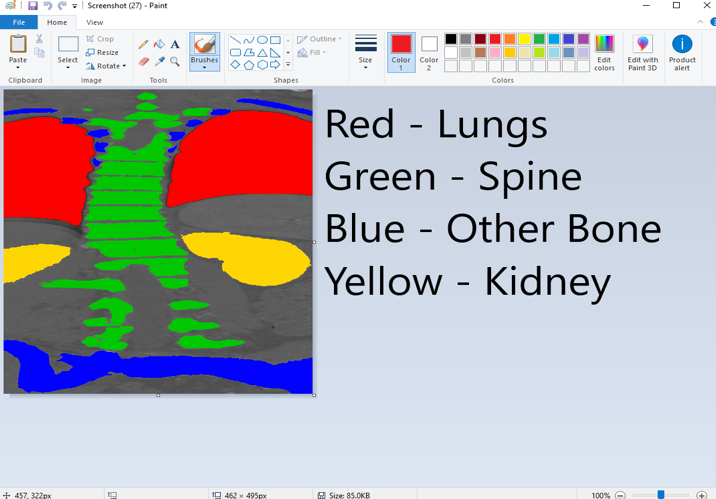
Select color ‘Red’ (Class 1), Blue (Class 2), Yellow (Class 3), Green (Class 4).
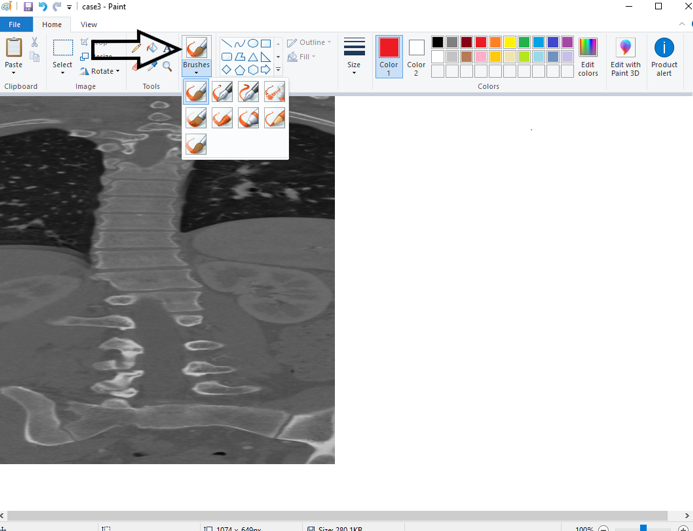
Select any pen from ‘Brushes’ drop down menu.
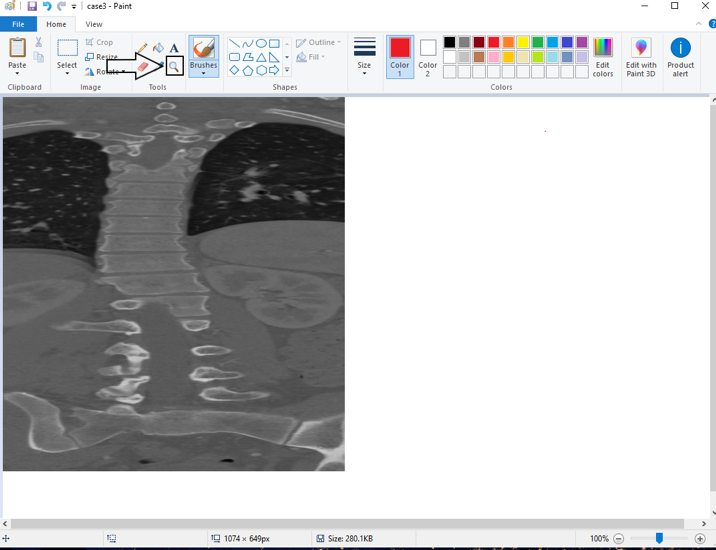
Left click and hold the mouse to draw/trace areas of interest .
Use magnify glass to zoom in on areas of interest If you make a mistake and would like to delete it hold ‘Ctrl + z’ to remove.
Save Results
Once finished tracing, press the floppy disk icon in bar to ‘save’ image .
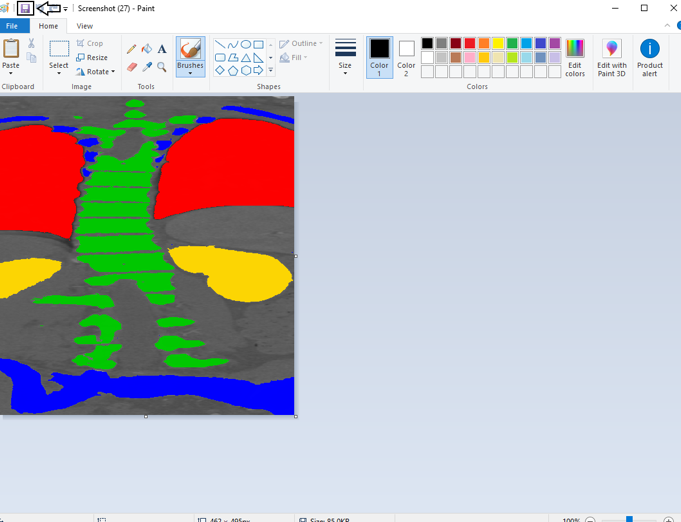
Example Tracings
We want to identify the spine, but also selected three other classes in order to give the algorithm more data to learn from. Using these negative classes gives the software more information to know exactly what makes your desired features unique.
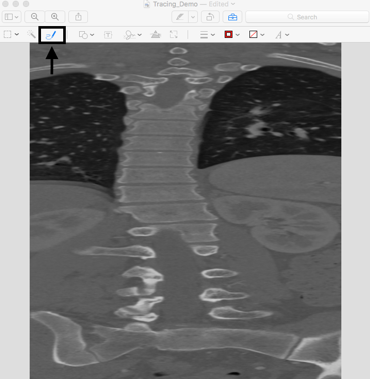
Trace in Preview (Mac)
This example shows an approach to tracing features in Preview on Mac systems, such that they can then be imported into MIPAR for deep learning training.
Load Image
Open ‘Preview’ application.
Select your image file from your computer drive
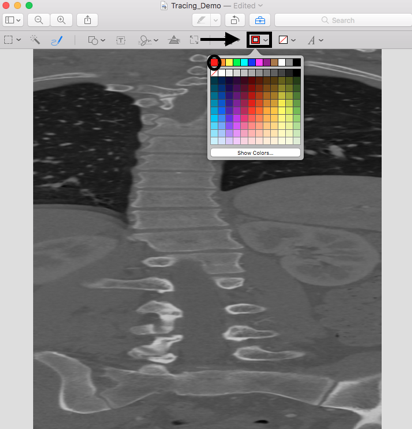
Trace Features
Once you’ve selected and opened your image, you must open the ‘preview’ tool box to
utilize tools
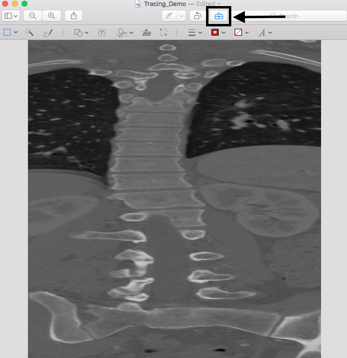
Select your pen from the tool box menu
Select color ‘Red’ (Class 1), ‘Blue’ (Class 2), ‘Yellow’ (Class 3), ‘Green’ (Class 4) from the color drop down menu
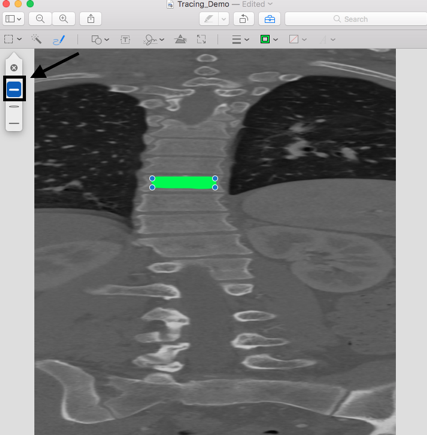
Left click and hold the house to draw/trace areas of interest
Once you release the mouse after tracing, you can select to keep manual edit instead of
the auto-lines generated by ‘Preview’
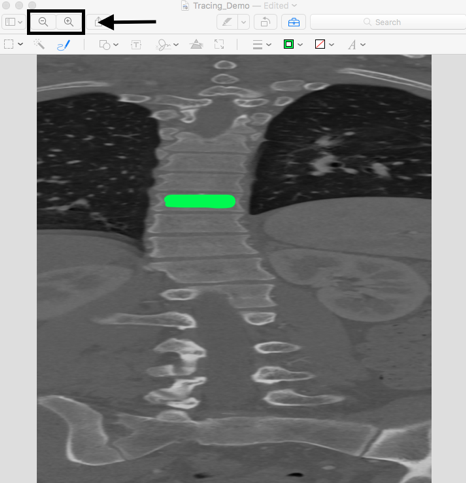
Use the magnify glass icon to zoom into areas of interest. If you make a mistake just simply press the delete key or ‘Command + z’ to remove
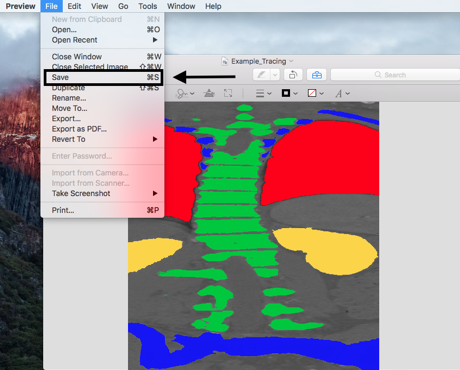
Save Results
Once you’re finished you can save by simply pressing file save or ‘Command + s’. You may want first select ‘File > Duplicate’ and then use ‘Command + s’ save a copy of the traced image separate from the original.
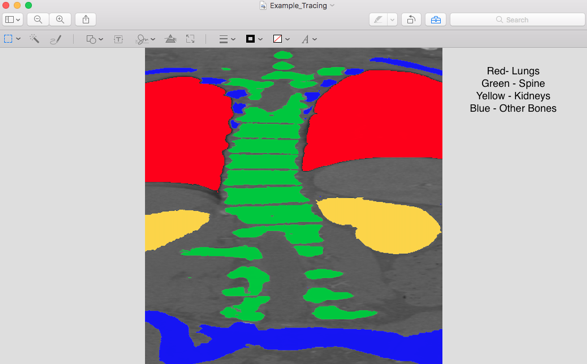
Example Tracings
We want to identify the spine, but also selected three other classes in order to give the algorithm more data to learn from. Using these negative classes gives the software more information to know exactly what makes your desired features unique.
Import Tracings into MIPAR
⇩ Download “extract-tracings” Recipe. This can be used as a “starter-kit” for extracting color tracings from any image. The Recipe has steps to extract red and green tracings to start, but feel free to add others as needed.
Launch the Batch Processor.
Load the “extract-tracings.rcp” Recipe and drag and drop the set of tracings to process.
Click Process.
When the batch is finished, launch the AI Session Processor.
Click Load Session and choose the Session file output from the batch.
Replace the loaded Reference Images with the originals by shift-selecting all images, choosing Replace, and selecting all original images.
Need more help with this?
Chat with an expert now ››