
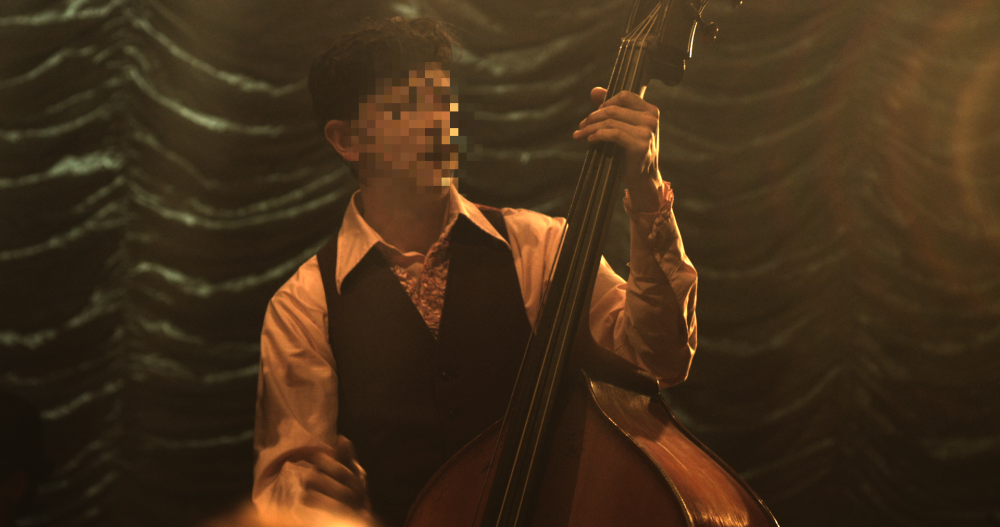
This is a quick way to obscure an item within a shot, such as a face, number plate or product logo. You can choose between blur or pixelate styles.
- Preset: Choose from a variety of presets that give you different looks for the effect.
- Size: Sets the diameter of the area that will be distorted.
- Edge Softness: Feathers the edges so they blend softly into the rest of the frame.
Shape
- Scale X: Adjusts the width of the distortion area.
- Scale Y: Adjusts the height of the distortion area.
- Rotation: Rotates the area by the number of degrees to which the dial is moved.
Position
By default the effect is centered in the frame, but you can reposition the center if you wish.
- Center: Sets the exact location of the effect center, using X and Y values.
- Use Layer: Select any other layer on the timeline to use it’s position as the center of the effect. When a layer is selected, the Center property above functions as an offset from the selected layer’s position.
- Method: Choose how the detail within the distortion area is obscured.
- Pixelate: Creates a pixelated mosaic of the area, by dividing it into large blocks and filling each block with the average color of all pixels it contains. Selecting this option reveals the Pixelate controls below.
- Blur: Applies a blur within the distortion area. Selecting this option reveals the Blur controls below.
Pixelate
- Block Size: Sets the size, in pixels, of each block within the pixelation.
- Randomize Source: Scrambles the position of the blocks to further obscure their contents.
Blur
- Radius: Sets the radius of the blur. Larger numbers hide the details to a greater extent.