
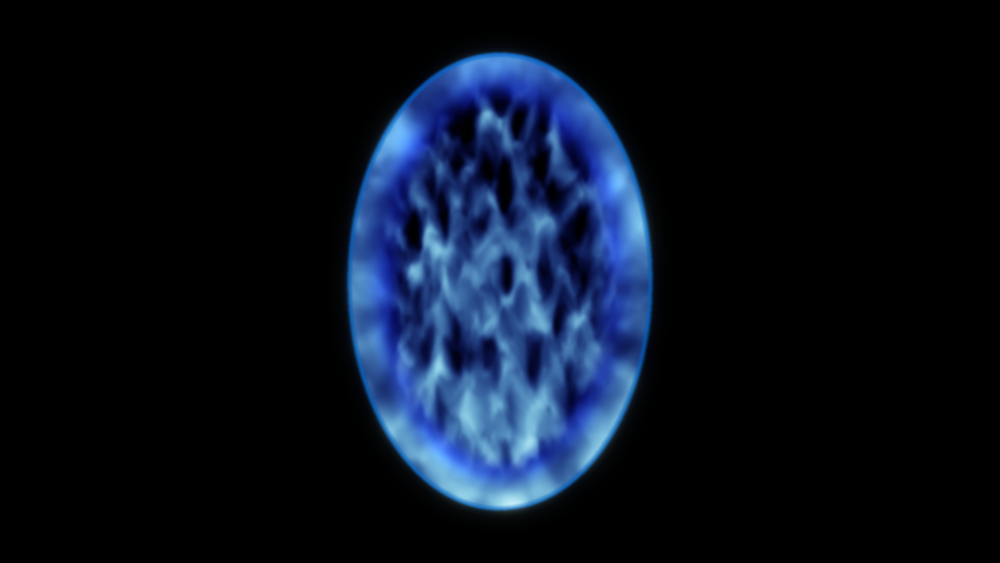
Instantly create a portal, a circular rift in space leading to another location!
The Dimension Rift effect has several built-in features for easily creating authentic portals:
- Automatically displace the background video as the portal opens.
- A layer can be selected to be visible through the portal.
- Pre-animated expanding, contracting and connection of portals with controllable animation speed.
- Adjust the 3D wave surface with a fine degree of control.
- Create custom shapes.
Applying the Rift
The Dimension Rift effect can be applied directly onto a video or image layer. This will enable it to displace and warp the background as the portal opens, but you will not be able to rotate and position it in 3D, because it is locked to the host layer.
For more flexibility it is recommended that the effect is added to a separate plane layer (see Creating and using planes). This plane layer can then be transformed in 3D (see Transforming layers in 3D), which will also transform the dimension rift. Even when applied to a separate plane layer, the effect can still warp the desired source layer. See the Wall Image property, detailed below.
Individual elements of the effect can be enabled or disabled in the Optional Layers section of the controls.
Controls
- Preset: Choose from one of the built-in presets as a starting point for setting up the effect.
- Wall Image: As described in Applying the Rift above, you may want the effect to warp a different layer to the host. The Wall Image property is used to define the layer which should be warped. For example, consider a composite shot containing two layers: a live action video clip and a 3D plane. The Dimension Rift is applied to the 3D plane, which is then positioned in 3D space so that the portal aligns with a wall in the video. The Wall Image property is set to the video layer, so that as the portal opens it warps the video.
Shape
The Dimension Rift defaults to a classic oval shape. This can be customized in the Shape group.
- From Mask: Use the shape of a selected layer, such as an image or embedded composite shot containing an alpha channel, to define the shape of the rift. This makes it easy to create your own custom shapes.
- Position: Adjusts the position of the rift within the layer it is applied to, without moving the layer itself.
- Scale: Adjusts the overall scale of the entire rift effect, including all components which are enabled.
- Rotation: Spins the entire rift effect, including all enabled components.
- Anchor Point: Shifts the anchor point from which the position and rotation of the effect are calculated, relative to the effect.
- Portal Roundness: Setting this value to 1.00 creates a perfect circle. Values below 1.00 create an oval that is taller than it is wide. Values above 1.00 create an oval that is wider than it is tall.
View
This controls relate to what is seen through the portal, when it is open.
- Image: Choose another layer on the timeline to have that layer be visible through the dimension rift when the rift is open. When None is selected, the view through the portal is simply a hole cut through the host layer.
- Note that the selected *Image will only be visible if the Connection property (found below) is set to a value above 0.00.*
- Position: Shift the visible area of the selected layer on the X (horizontal) axis or the Y (vertical) axis.
- Z: Determines the depth, or distance between the rift and the image seen through it. Increasing the Z depth will create a greater sense of parallax movement when the portal moves in 3D.
- Scale: Change the size of the selected layer within the rift.
- Rotation: Spin the selected layer, as seen through the rift.
Appearance
These settings are used to adjust the outline of the rift, and the appearance of the interior elements and texture.
- Noise Scale: Changes the size of the noise that fills the rift shape.
- Edge Width: Sets the width, in pixels, of the feathered edge that surrounds the rift. The color of the Edge is determined by the Primary Color property found further down the controls.
- Outline Width: Sets the width, in pixels, of the solid line which marks the outside boundary of the rift. The color of the Outline is determined by the Primary Color property found further down the controls.
- Depth: Changes the apparent Z depth of the rift.
- Brightness Direction: Rotates the highlight applied to the effect. As a general rule, the highlight should be applied to the edge nearest the camera, but you can position it however you want.
Animation
These properties control the animation of the texture which fills the rift while it is closed, and the edge which surrounds the open rift.
- Noise Motion Direction: Select the direction in which the noise pattern will travel.
- Noise Motion Speed: Set the speed at which the noise’s position will change, in the direction chosen above.
- Noise Change Speed: Set the speed at which the pattern of noise will be modified.
- Sparks: Specify the number of sparks which are emitted as the rift is opened or closed using the connection property, or when the Expansion property is animated.
- NOTE: The color of the sparks displayed during Expansion is determined by the Primary Color property found further down the controls.
- NOTE: The color of the sparks displayed during Connection is determined by the Secondary Color property found further down the controls.
Optional Layers
Specific elements of the effect can be enabled or disabled, providing finer control over exactly what is included in the effect.
- Wall: Enable or disable the interaction with the selected Wall Image layer. Disabling this option removes the Wall Image property from the controls.
- Floating Edge: Enable or disable the solid line which marks the outside boundary of the rift.
- Sparks: Enable or disable the sparks that appear when the rift is expanded or contracted.
- Secondary Portal: When enabled, the inner edge of the opened rift will display the secondary color. Disable this option to remove the secondary color from within the rift.
- Secondary Sparks: Enable or disable the sparks that appear when the rift is connected or disconnected.
The final controls adjust the colors of the dimension rift, and allow you to keyframe its activity.
- Primary Color: The primary color is used on the side of the dimension rift closest to camera.
- Secondary Color: The Secondary color can be glimpsed through the portal when it is open, and represents the portal on the ‘other side’, or the destination of the rift. This can be set to be a different color.
- Expansion: Keyframing the Expansion property animates the portal appearing or disappearing on a wall or surface. This includes displacement warping as it expands, as long as you have selected a Wall Image. It also includes Sparks in the primary color.
- Connection: Keyframing the Connection property links, or connects, the portal to the destination, thereby opening the portal. With Connection set to 0.00, the portal will be closed, with a rippling, water-like surface. Increasing the Connection will dissolve the rippling surface to reveal the View, as set in the View properties.