
HitFilm is designed to be easy to learn and use while providing a lot of power. If you have any experience with other video products you will find the interface familiar and easy to pick up, but even if you are a complete beginner you will be up and running in no time.
Basic Workflow
In its most basic form, the workflow is as follows:
- Open a project: Create a New project or Open an existing project from the Home screen or File menu.
- Import media: Import the video, audio, still images, or other media that you wish to edit, using the Import button in the Media panel.
- Edit media to timeline: Select portions of your media to add to the timeline, and sequence the files on the timeline to create your desired result.
- Export: Export the contents of your timeline to create a new video file.
The Screens of the HitFilm Interface
HitFilm uses two separate screens, each providing a specific set of features. You can switch between these different screens at any time while working on a project using the Window menu, or the corresponding keyboard shortcuts for each screen.
Home Screen
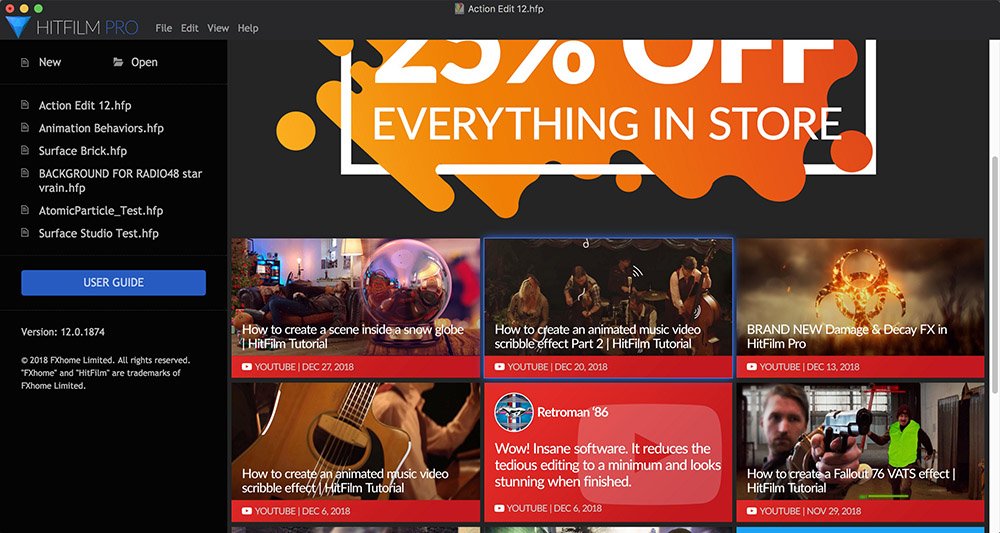
The HOME screen (CTRL+1 or CMND+1 on Mac) is the first screen you will see when you launch HitFilm. It provides quick access to your saved projects and highlights new tutorials, articles, and community activities. You can also access this user guide via the Home screen.
- To start a new project, click the New button on the Home screen. Find out more about creating projects here.
Edit Screen
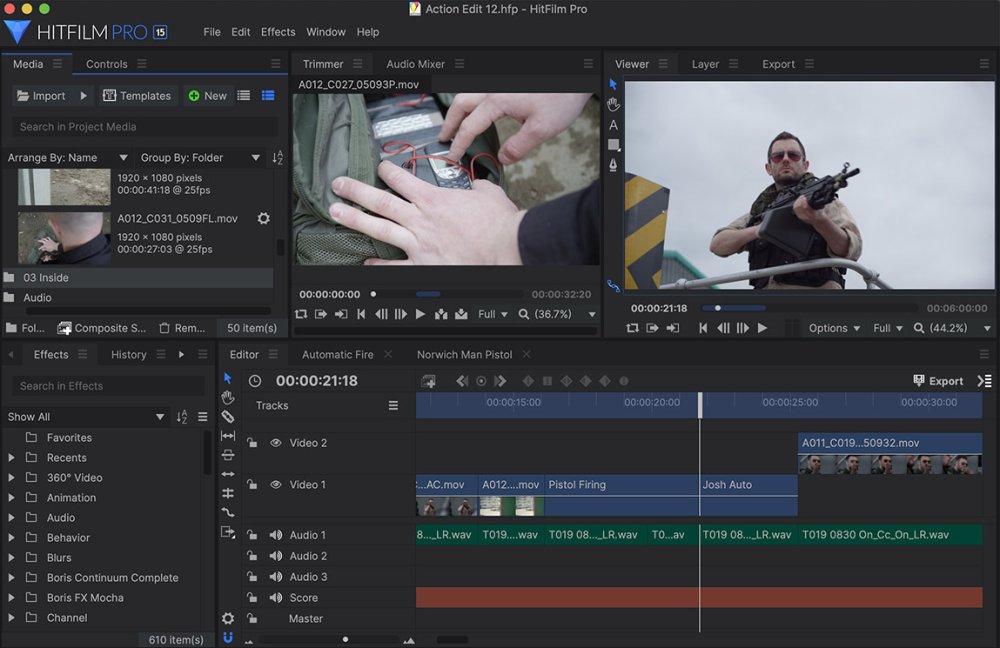
Your work in HitFilm takes place on the EDIT screen (CTRL+2 or CMND+2 on Mac). This is where you’ll find the editor and compositor timelines, the Viewer, and the effects library. It is where you import your media assets, combine them to create your project, and export your completed project into a new video file, which you can view outside of HitFilm.