

 Atomic Particles is available in the Creator tier and Pro tier.
Atomic Particles are array-based, which means they use regimented grids of particles. This is very different to the Particle Simulator which is a physics-based, free-emitter particle system.
 Atomic Particles is available in the Motion: Audio Visual Pack.
Although applied as a 2D effect, atomic particles are simulated in 3D and can be rotated around using a 3D camera. They also interact with HitFilm’s 3D lighting system.
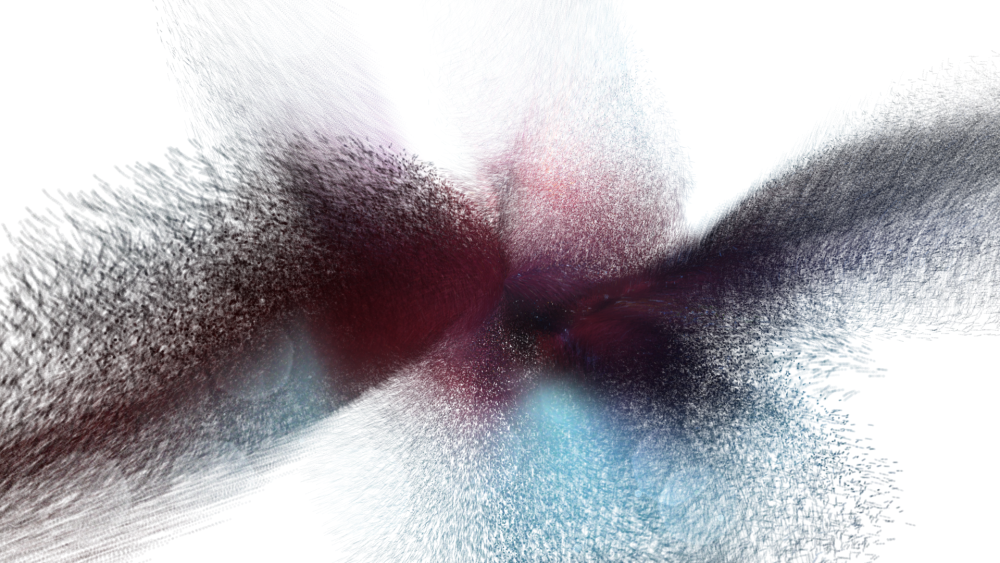
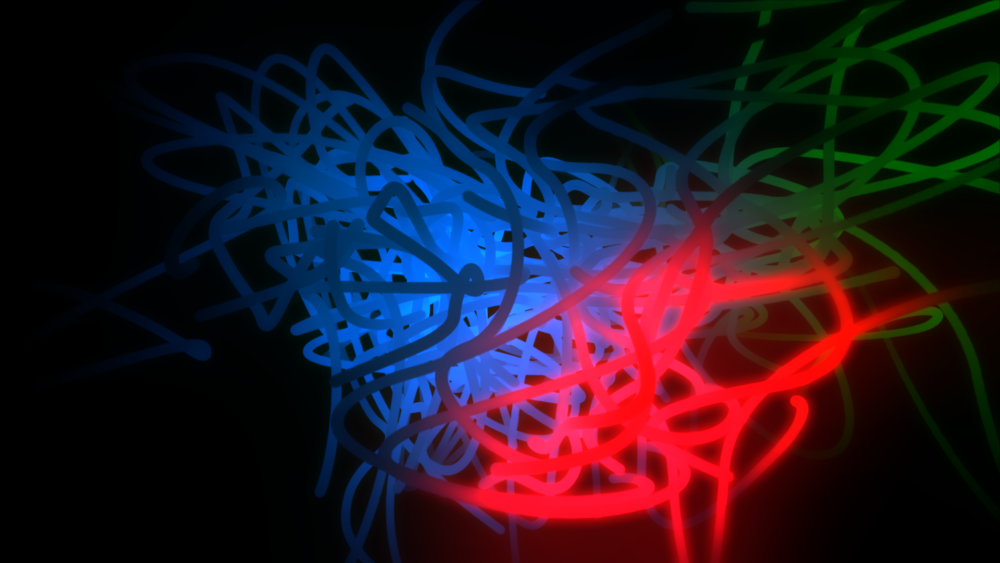
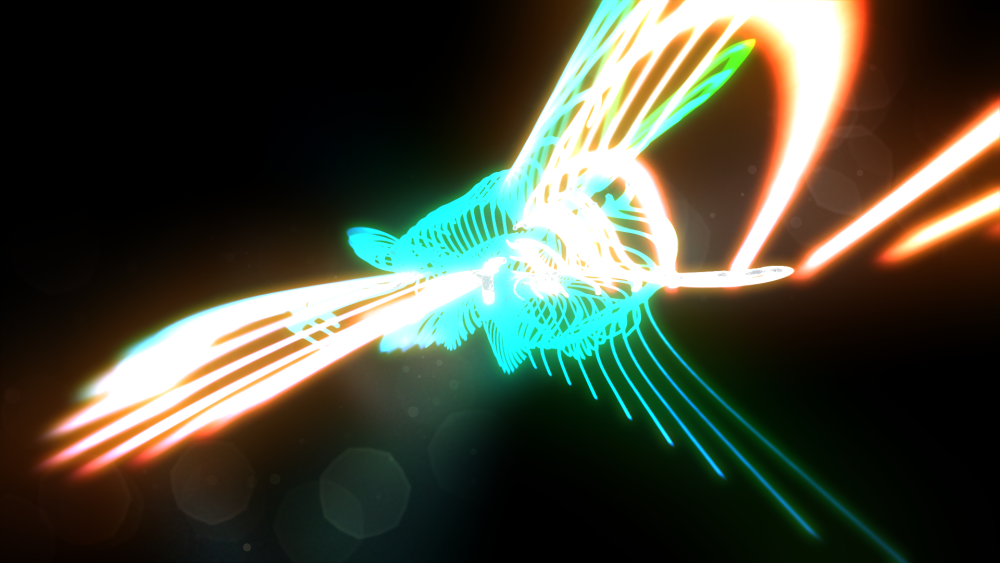
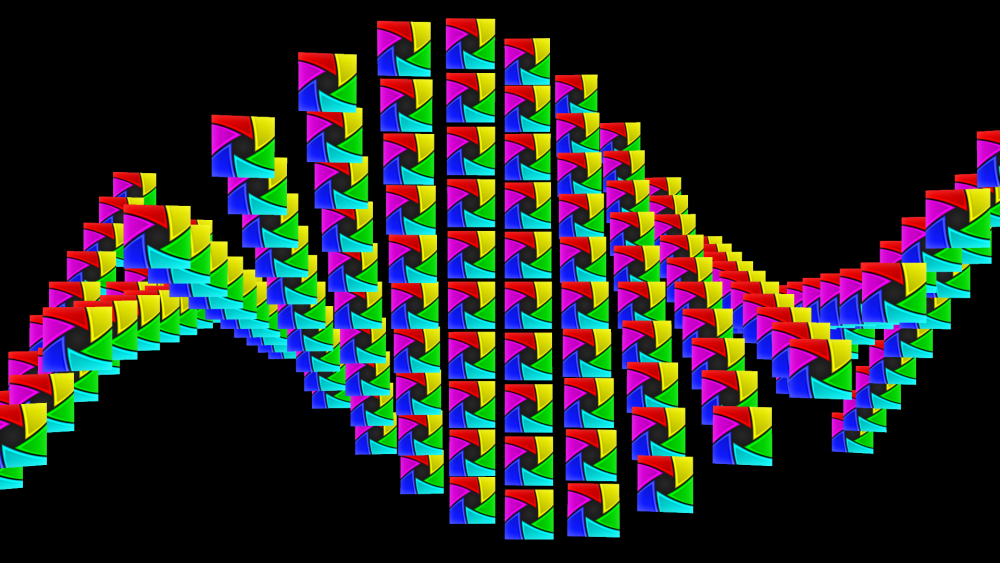
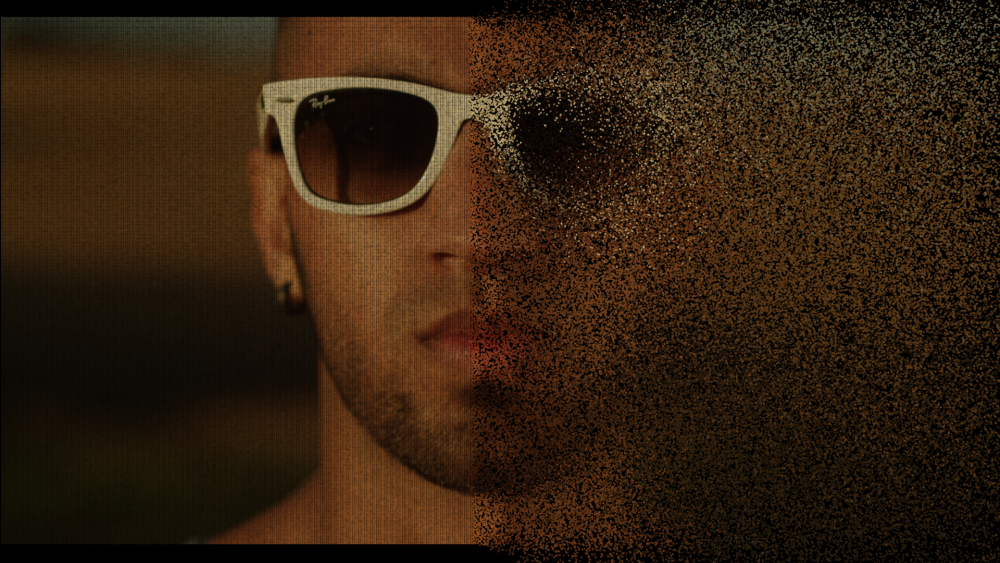
Examples of atomic particles
There are countless uses for atomic particles effects. Below are a few simple examples, all created very quickly and easily:

Particle placement
This property group determines the initial positioning and layout of the particle grid that forms the foundation of any atomic particle effect.
3D model render mode
If atomic is applied to a 3D model layer this option becomes available.
Screen space applies atomic to the 3D model as if it were a 2D layer, simply atomizing the rendered, flattened frame.
Project texture atomizes the 3D model according to its 3D geometry. This mode ‘bakes in’ lighting into the atomized version.
Model textures atomizes the 3D model according to its 3D geometry. It uses the 3D model’s source textures, prior to the model being illuminated in the scene.
Position & rotation
The position properties determine the location in 3D space of the particle grid.
For greater control the particle grid can be linked to another layer in the composite shot, including a 3D point layer.
Atomic and 3D cameras
Atomic particles is a 2D effect, although it generates 3D rendered content. It can be adjusted to exist in 3D space using this technique:
- Create a new point layer.
- Set the point layer’s dimension to 3D.
- Apply the Atomic particles effect to a layer and explore the Particle placement -> Position property group.
- Set the Transform From option to link to the point layer created in step 1.
The atomic particles will inherit 3D position data from the point layer. 3D cameras can then be moved in and around the atomic particle cloud in 3D.
Number of particles
The particle grid can be adjusted to have more or less individual particles. The particle grid is made up of multiple layers (Z) of horizontal (X) and vertical particles (Y).
This is a particle grid of 10×10×1:

Increasing the number of Z layers to 5 gives depth to the particle grid:

The spread of particles can be adjusted using the scale properties, to make particles closer together or farther apart:

The twist property spins each vertical column of particles, creating a corkscrew appearance:

Depth sort changes the accuracy of the particle rendering. Turned off the rendering is fastest, but particles may not be represented accurately in 3D space.
Here is an example effect without depth sorting:

Here is the same effect with depth sorting on:

The second example shows a much more accurate representation of the particles in 3D space. Note the crossover point of the two strands at the top-left of the image and the peak of the curve at the top right, both of which are more accurately rendered with depth sorting on.
Turning depth sort to on can slow down rendering times.
Particle appearance
The appearance properties determine the size, shape and opacity of the particles.
The shape menu can be used to change the particle shape to that of another layer, which is defined in the source menu.
This can be used to create a grid of particles using a product logo, for example:
Embedded composite shots can also be used as particle shapes, enabling the use of animated shapes.
Disperse
Dispersing particles randomizes the position of the particles.
Here is a particle grid with no dispersal:

Here is the same effect with an increase dispersal amount:

This can have interesting effects when applied to video or image layers:

Layer
By default the dispersal happens uniformly across the layer.
The layer option can be used to alter the strength of the dispersal by location.
Applying this gradient layer:
Results in the dispersal being most prominent towards the bright side of the gradient:
Fractal
Warping the atomic grid using the fractal controls creates organic shapes and introduces animation.
Displace alters the atomic grid to produce a folded result, best imagined as undulating cloth:

Disperse and size work similarly to the standard dispersal and size properties but also create fractal animation, retaining the sense of a connected grid.
The wavelength and iterations properties determine the strength of the overall fractal warp. A higher wavelength will result in a more uniform, less detailed transformation. Low iterations will create smoother patterns, with higher iterations creating noisier results.
The speed of the fractal animation can be adjusted.
Flow
Adjusting the flow will give the impression that the particles are moving in a particular direction. This is most evident with larger numbers of particles:

Layer
The fractal settings can also be driven by a separate layer, in the same way to dispersal. A layer such as a color gradient can then be used to adjust the intensity of the fractal warping.
In the example below, a simple gradient has been used to alter the fractal shape, resulting in less fractal warping at the right side of the frame and more at the left:

Displacement
The position of individual particles in the grid can be affected by another layer. In the example below a video layer of a car has been used to displace the atomic particles, revealing the layer’s shape:

Size
The size of particles can also be linked to another layer. In this example the size of the particles is affected by the car layer, with darker areas creating smaller particles;

Spherical warp
The particle grid can be warped by a sphere force, either attracting or detracting the particles. This can be used to wrap the particle grid into a spherical shape:

Audio interaction
Atomic particles animation can be driven by an audio layer.
The audio layer must first be chosen. This can be any layer on the timeline that includes audio.
Before the audio affects the particle animation it must first be mapped to particular properties.
There are four mapping slots and you can use as many as you want.
Mapping slots
The Map to property determines which property the audio interacts with.
Frequency, range and threshold adjusts how the audio interacts with the particles.
Audio interaction works on top of the other atomic particles properties, so you will also need to adjust the corresponding property group to enable audio interaction. For example, if you choose Fractal as your map to option, you will also need to adjust some of the fractal properties.
Illumination
By default an atomic particles grid is lit only by its own specified color. The illumination properties can be used to enable full 3D lighting.
To illustrate the difference, here is an example with the Illumination Type set to none:

While the spherical shape is evident, there is no distinction between strands that are closer to the camera and those that are further away.
Here is the same shot with the Illumination Type set to Comp lights, with a single point light (with falloff) in the center of the shape:

By using the 3D light for illumination, it is possible to perceive depth in the atomic shape.
Comp lights will use all available lights in a scene.
Selected lights can be used to choose specific lights.
The material property group provides the same properties as found in standard 3D layers.
Motion blur
Motion blur can be turned on or off. Using the Comp settings option will match the motion blur found in the rest of the composite shot.