
Generates a wide variety of realistic lens flares and lights. Each flare type can be heavily customized to create a limitless variety of alternatives.
Below are two examples of light flares, both created starting with the chromatic halo type to show the level of possible customization:
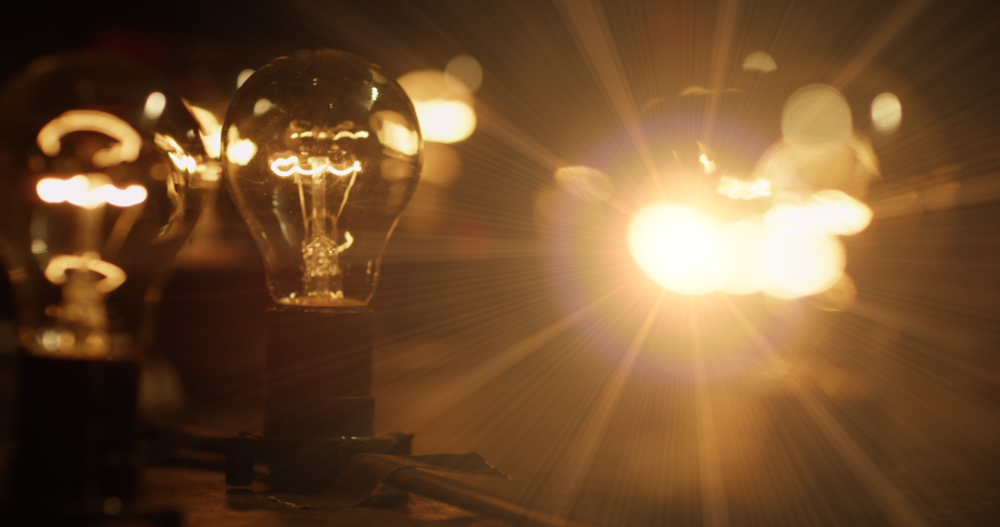

Flares are made up of a hotspot, rays and unique tertiary elements. Each part can be adjusted individually.
The positioning of a flare is determined by its hotspot and its pivot. The pivot point is used for automatically animating the rays and additional elements, while the hotspot is used for the position of the main flare itself.
- Preset: Choose from a variety of built-in presets, each of which gives you a predefined set of values for the effect controls. These can be used as-is, or as a starting point for further adjustments.
- Flare Type: Select the type of lens or light source whose flare characteristics you want to emulate.
- Hotspot Position: Define the origin point of the flare effect.
- Center: Sets the overall position of the hotspot, using X (horizontal) and Y (vertical) values.
- Use Layer: Select another layer from the timeline using this menu, to use the selected layer’s position to control the position of the hotspot. When a layer is selected, the Position property above functions as an offset from the parent layer’s position.
- Pivot Position: Defines the pivot position around which the flare will rotate when the hotspot moves.
- Center: Sets the overall pivot position, using X (horizontal) and Y (vertical) values.
- Use Layer: Select another layer from the timeline using this menu, to use the selected layer’s position to control the pivot position. When a layer is selected, the Position property above functions as an offset from the parent layer’s position.
- Intensity: Adjusts the brightness of the flare effect, including all elements.
- Scale: Adjusts the size of all elements of the flare, but not the spacing or distance between them.
- Blend: Sets the blend mode used to apply the light flare effect onto the underlying layer.
Global
The global controls apply changes to all elements of the light flare.
- Color: Choose a color for the light flare. You can use the eyedropper to choose a color from the layer, or click the swatch to open a color picker and choose any color you prefer. You can also manually enter the color values for the red, green, and blue channels.
- Gamma: Alters the gamma of the flare, changing the perceived brightness of the effect.
- Saturation: Changes the intensity of the color within the flare effect.
- Hue Shift: Shifts the color of the flare around the color wheel. This is most useful for animating changes in the color over time.
Hotspot
The hotspot controls alter the appearance of the flare’s origin point without altering the other elements of the flare.
- Brightness: Adjusts the brightness of the hotspot.
- Color: Choose a color for the hotspot. You can use the eyedropper to choose a color from the layer, or click the swatch to open a color picker and choose any color you prefer. You can also manually enter the color values for the red, green, and blue channels.
- Scale: Changes the size of the hotspot.
Rays
The rays controls alter the radial line elements of the light flare.
- Brightness: Adjusts the intensity of the rays.
- Quantity Scale: Adjusts the number of rays, defined as a percentage of the default number of rays in your selected Flare Type.
- Rotation: Spins the ray elements around the center of the hotspot.
- Length Scale: Changes the length of the rays, as a percentage of the original ray length defined in your selected Flare Type.
- Width Scale: Changes the width of the rays, as a percentage of the original ray width defined in your selected Flare Type.
Other Elements
These controls alter the tertiary elements of the lens flare.
- Brightness: Adjusts the intensity of the tertiary flare elements.
- Color: Choose a color for the tertiary elements of the light flare. You can use the eyedropper to choose a color from the layer, or click the swatch to open a color picker and choose any color you prefer. You can also manually enter the color values for the red, green, and blue channels.
- Scale: Changes the size of the tertiary elements.