
Generates a counter showing the current position in time of the layer or timeline.
- Time From: Choose the source of the timecode that is displayed.
- Layer: The timecode starts from 0 at the first frame of the layer to which the effect is applied.
- Timeline: The timecode starts from 0 at the first frame of the entire timeline, regardless of where on the timeline the layer itself starts.
- Format: Choose the format in which the timer counts. The example images show the timecode fo the exact same frame, in each format.
- Frames: Displays as a simple frame count, showing exactly how many frames exist in the range from the start of the source to the current playhead position.
![]()
- SMPTE: Uses the format established for film by the Society of Motion Picture and Television Engineers, which displays Hours : Minutes : Seconds : Frames
![]()
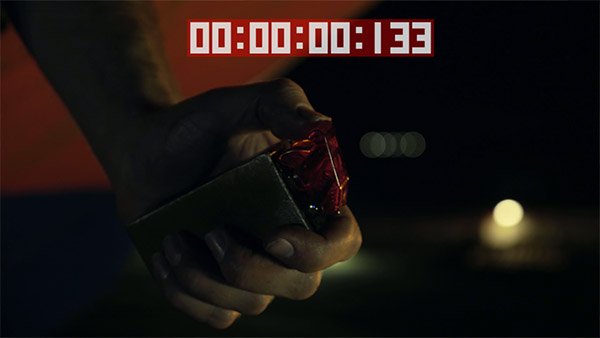
- Milliseconds: Counts in common time format, displaying displays Hours : Minutes : Seconds : Milliseconds.
![]()
- Frames: Displays as a simple frame count, showing exactly how many frames exist in the range from the start of the source to the current playhead position.
- Center: Use these controls to adjust the positioning of the timecode.
- Position: Sets the center point for the timecode effect, using X (horizontal) and Y (vertical) values.
- Use Layer: Select another layer from the timeline using this menu, to use the selected layer’s position to control the center of the timecode effect. When a layer is selected, the Position property above functions as an offset from the parent layer’s position.
- Scale: Adjusts the size of the timecode.
- Text: Modify the appearance of the numbers using these controls.
- Color: Choose a color for the numbers. You can use the eyedropper to choose a color from the layer, or click the swatch to open a color picker and choose any color you prefer. You can also manually enter the color values for the red, green, and blue channels.
- Opacity: Defines how opaque the numbers are. At 0.00 the numbers will be completely transparent, and at 1.00 they will be completely opaque.
- Background: Modify the appearance of the box which sits beneath the numbers, using these controls.
- Color: Choose a color for the background. You can use the eyedropper to choose a color from the layer, or click the swatch to open a color picker and choose any color you prefer. You can also manually enter the color values for the red, green, and blue channels.
- Opacity: Defines how opaque the background is. At 0.00 the background will be completely transparent, and at 1.00 they will be completely opaque.

