
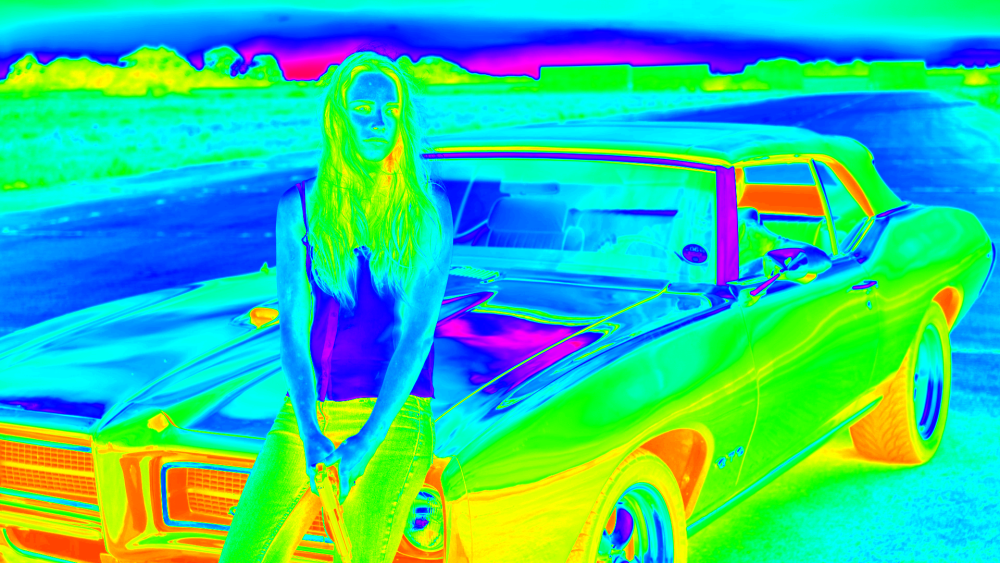
Color Cycle loops the color palette. Adjusting the phase shift will cause the colors to cycle. Each color can be adjusted individually, including adjusting its alpha transparency. This can therefore be used to generate mattes based on specific color ranges. It includes numerous Cycle Presets for quickly generating specific looks, such as this hue cycle:
Input Phase
- Phase From: Select which channel from the source is used to map through the color cycle.
- Add Phase: An additional phase shift can be added, based on a second layer on the timeline.
- Layer: Choose the layer to be used as a source for the added phase shift.
- Phase From: Select which channel from the selected layer is used to map through the color cycle.
- Mode: Choose the mode used to combine the Add Phase with the primary Input Phase.
- Phase Shift: Adjusting the phase shift will cause the colors to cycle.
Cycle
- Cycle Preset: Choose from a number of predefined presets that create specific looks.
- Number of Colors: Choose the number of colors used in the cycle. The default is 4. There will be controls displayed below for as many colors as you set in this property.
- Color 1: The number of colors you see controls for will correspond to the value in the Number of Colors property above. The controls for each will be the same.
- Phase: Set the number of degrees by which the colors will be shifted around the color wheel.
- Color: Choose the color to be used as the basis for this stage of the cycle
- Alpha: Set the opacity of the color. Lower values make the color more transparent.
- Color 1: The number of colors you see controls for will correspond to the value in the Number of Colors property above. The controls for each will be the same.
- Cycle Repetitions: Set the number of times the defined color cycle will be applied to the selected channel.
- Interpolate Palette: When enabled, this property allows for gradual transitions between colors. When disabled, there will be a harder transition from one color to the next.
Output
- Channels: Select the channel or channels that will be displayed in the output. Only one option from the menu can be selected at a time, but some options include multiple channels.
- Alpha: Select how the original alpha of the image will be combined with the alpha generated by the effect.
- Composite Over Layer: Enabling this option places the results of the Color Cycle above the source layer before calculating the final values.
- Blend With Original: Adjusts the intensity of the final effect.
Masking
- Masking Mode: Select the option used to define how the results will be masked onto the original source layer.
- Pixel Distance: Allows masking based on the colors present within the image. Selecting this option opens the Pixel Distance controls below.
- Layer: Allows masking based on another layer on the timeline. Selecting this option opens the Layer Selection controls below.
- Both: Combines Pixel Distance and layer masking. Selecting this option opens both the Pixel Distance and Layer Selection controls below.
- Pixel Distance: When the mode is set to Pixel Distance, the following controls will appear.
- Color: Select a color to which the color cycle will be applied.
- Tolerance: Higher tolerance values will include a greater range of colors surrounding the selected Color value.
- Softness: Higher values soften the edges of the selected range, so the transitions are softer.
- Mode: Choose between RGB or Hue modes for different results.
- Layer Selection
- Layer: Choose another layer on the timeline to be used as the source.
- Channel: Select which channel from the selected layer is used to map through the color cycle.