
Alembic .ABC files can be used to drive a 3D model’s animation. Alembic files can store complex animation data with full IK rigging. This means that you can import pre-animated models into HitFilm, including advanced character animation, which wouldn’t be possible to animate directly inside HitFilm.
You still retain complete control over 3D camera angles and lighting when using animation files. Alembic animation can therefore be considered as 3D stock footage, just as you might use 2D stock in your projects.
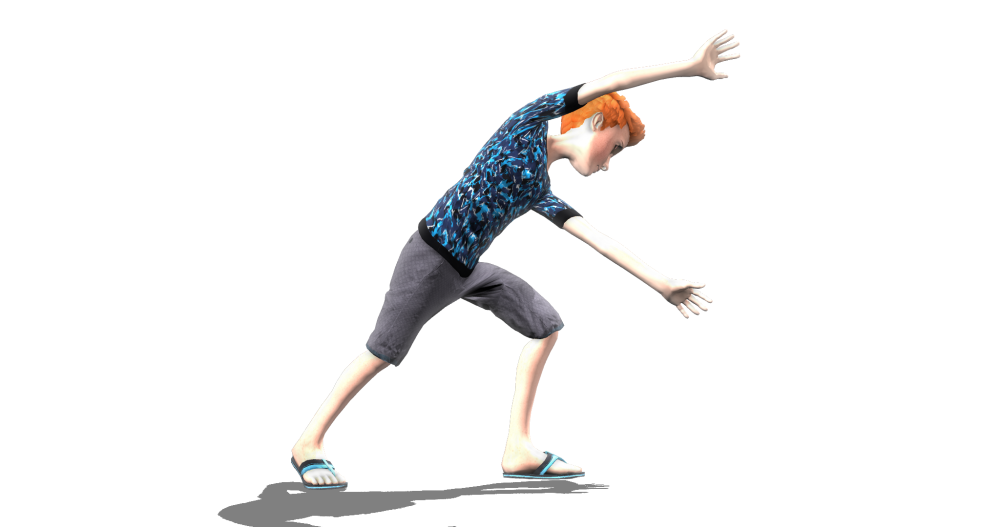
For example, here we can see a human character performing a complex cartwheel animation which would be impossible to animate inside HitFilm:
More information on the Alembic format can be found here: http://www.alembic.io/
To import an Alembic animation file, choose the 3D Model Animation option from the Import Menu.
Applying Alembic Animation to a 3D Model
Alembic animations must be applied to corresponding 3D geometry. The animation file needs to have been created alongside a specific model, which should be imported separately. Applying animation created for one model to a different model will create unpredictable results.
Alembic files are listed in the Media Panel. You first need to add the associated 3D model to the timeline, to create the 3D model layer.
Once you have your 3D model layer, expand its property groups to find the Models group. This is where your specific models are listed, with each model having an Animations slot.
You can now drag the related Alembic animation file onto the Animations slot to add it to the layer.
Note that you can add multiple Alembic animations to a single model. These animations can be set up to work sequentially or simultaneously.
Controlling Alembic Animation
Using the animation’s controls you can change the playback rate of the animation, including reversing playback, or play a specific section.
The Strength property adjusts the intensity of the animation on the model. For character animation you will normally want this at 100%. If the animation is being used to warp or distort a model, this can be used to adjust its effect.
By default the animation will playback as intended by the animator. Enabling Custom Playback gives you more direct control over the playback, enabling you to choose a specific part of the animation or keyframing the animation’s progress. For example, if you have an animation which lasts 5 seconds by default, you can use Custom Playback to play it in slow motion by setting its 0% and 100% Playback keyframes 10 seconds apart.
When Custom Playback is deactivated you can optionally turn on Loop, which will repeat the animation indefinitely.