
 Classic Cine Style is available in the Pro tier.
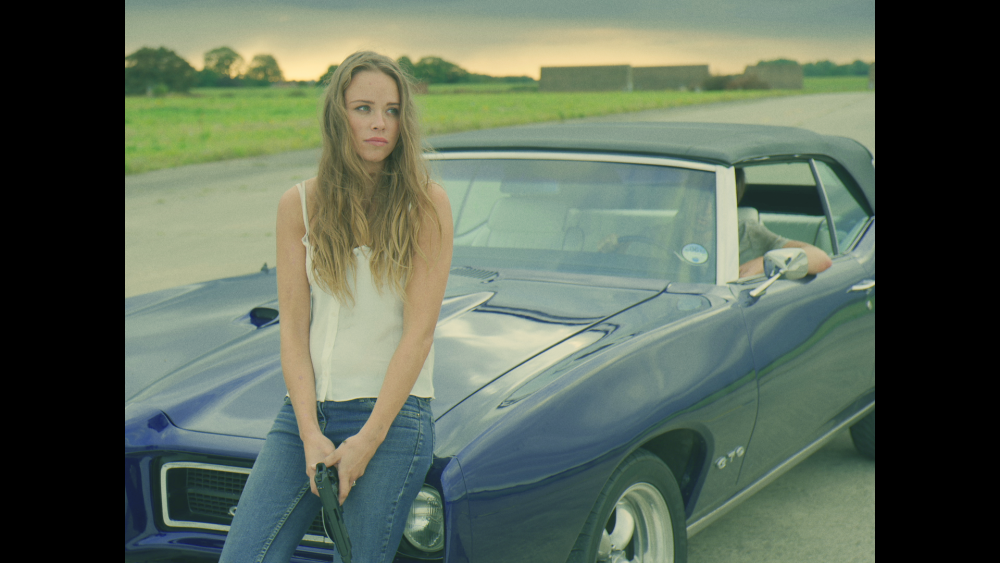
This effect is all about recreating retro film looks. It includes several presets and can also be fully customized. Here’s an example of a preset recreating the look from 1950 film Gentlemen Prefer Blondes:
Controls
- Preset: The built-in presets give you a variety of starting points, based on the look of classic films.
- 2-Strip – The Gulf Between (1917)
- 2-Strip – The Toll of the Sea (1922)
- 2-Strip – Kodak (1928)
- 3-Strip – On With The Show (1929)
- 3-Strip – Gentlemen Prefer Blondes (1950)
- 2-Strip – Aviator
- 3-Strip – Aviator
- S-Curve: Alters the contrast of the layer, based on a s-curve which alters the shadows and highlights more than mid-tones, while limiting clipping in the extreme values.
- Exposure: Allows you to brighten or darken the exposure of the layer.
- Saturation: Increase or decrease the color intensity of the layer.
- Black: The black point of the resulting image can be set using the color picker, or by manual selection.
- White: The white point of the resulting image can be set using the color picker, or by manual selection.
- Defocus Blur: Blurs the image in a manner that replicates the look of a lens being out of focus.Subtle applications of defocus can help replicate the look of very old film.
Grain
Adds grain to the image to replicate film stock. Choose a preset as a starting place, then adjust the controls to fine tune its appearance.
- Film Size: The smaller the film, the larger the grain will appear in the image.
- 8mm
- 16mm
- 32mm
- Grain Strength: Increase the strength to make the grain more obvious. In most cases, relatively low settings are best.
- Seed: Change the Seed value to randomize the grain pattern.
Red, Green, Blue
Each channel can be adjusted individually using the following controls.
- Density: Increases the intensity of the relevant color channel.
- Hue: Shifts the hue of the relevant color channel around the color wheel.
- Hue Range: Increases or decreases the range of hues affected by the adjustment.
- Exposure: Brightens or darkens the relevant color channel.
- Gamma: Changes the luminosity of the relevant color channel using a nonlinear algorithm.
- Negative: Shifts the colors of the areas outside of the relevant color channel. By default the values here are the opposite of the color channel being edited, but you can change the color values to add color into those areas.
- Output Strength: Sets the overall strength of the relevant color channel, after all adjustments are applied.
Output Gamma
- Red: Adjusts the balance between the three color channels in the layer. Values above 1.0 shift the image toward red.
- Green: Adjusts the balance between the three color channels in the layer. Values above 1.0 shift the image toward green.
- Blue: Adjusts the balance between the three color channels in the layer. Values above 1.0 shift the image toward blue.
Letterbox
- Enabled: Toggles the letterbox on or off.
- Ratio: Sets the size of the image inside of the letterbox. The value is the width, applied as a ratio to a height of 1.
- Offset: Shifts the visible image inside of the letterbox. If the ratio creates a pillarbox, with black bars on the left and right, then the image will be offset horizontally. If the ratio creates a letterbox with black bars at the top and bottom, the video will be offset vertically.
Vignette
- Enabled: Toggles the vignette on or off.
- Center: Sets the location of the vignette’s center.
- Position: Define the position of the center on the X ands Y axes.
- Use Layer: Select another layer from the timeline to use its position as the center. When a layer is selected here, the Position property above functions as an offset, based on the position of the selected layer.
- Horizontal Stretch: Adjusts the width of the vignette.
- Vertical Stretch: Adjusts the height of the vignette.
- Softness: Defines the distance from the center to the start of the feather.
- Curvature: Shifts the distance from the center to the mid-point of the feather. Lower values give a mire subtle effect.
- Opacity: Determines how opaque or transparent the layer itself is.
- Background: Defines the color fo the vignette
- Opacity: Determines how opaque or transparent the vignette areas are.
- Color: Choose the color of the vignette. You can use the eyedropper to choose a color from the layer, or click the swatch to open a color picker and choose any color you prefer. You can also manually enter the color values for the red, green, and blue channels.