

 Text is available in the Creator tier and Pro tier.
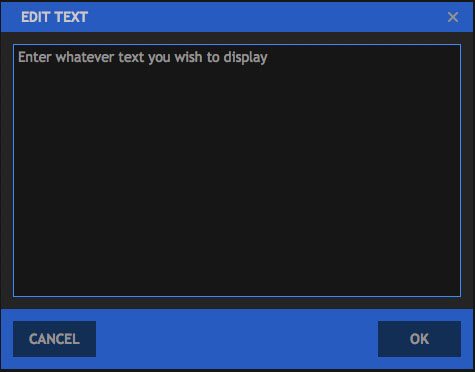
The Text effect lets you quickly generate text on any timeline. To add Text, drag the Text effect from the Effects panel onto a Plane, an image, or a video clip, to add text to that clip. Open the controls for the effect in the Controls panel, and then click the A icon displayed to the right of the Text property. This will open the Edit Text dialog, where you can enter the text you wish to add to the layer. Once you are finished editing the text, click the OK button to close the Edit Text dialog and apply the changes. You can then edit the text and further customize the effect in the Controls panel, or directly on the timeline when working in a composite shot.
- Text: This is where you edit the contents of the Text effect. Click the “A” icon to open the Edit Text window. You can then enter whatever text you wish the effect to display.
![]()
- Cancel: discards any changes you have entered and closes the Edit Text window.
- OK: Confirms the text you have entered and closes the Edit Text window. Once the window closes, the text will be updated on the viewer.
Transform
You can control the alignment and positioning of the Text effect through these controls.
- Offset From: Select the position from which the layer movement will be measured. By default the text is Centered, but you can also place it in the Bottom Left, Bottom, Bottom Right, Left, Right, Top Left, Top, or Top Right.
- Position Offset: Sets the distance, in pixels, which the layer is moved from the default position selected in the Offset From menu.
- Rotation: Sets the rotation of the layer, in degrees.
Format
The Format controls allow you to set the details of the text style for the effect.
- Font: Select the font to be used, from a list of all fonts installed on your computer.
- Style: If your selected font includes different styles (Bold, Light, Italic, etc.), you can select your desired style here.
- Alignment: The text alignment can be adjusted here. You can align the text to Left, Center, or Right, or Justify the text to keep both sides aligned
- Color: Allows you to select a font color.
- Opacity: Sets the transparency of the Text, from completely invisible at 0.00 to completely opaque at 1.00.
- Font Size: Sets the size of your text. In general, if you want to enlarge your text, it is better to increase the font size rather than increase the layer Scale above 100%.
- Line Spacing: Defines the vertical spacing between each line of text.
- Enable Word Wrap: Toggles word wrap on and off. Enabling word wrap means that as soon as the text gets too long to fit in a single line, a line break will be created automatically, and a new line is started automatically.
- Word Wrap Width: Defines the width at which word wrap will be implemented. You can create margins in your text layer by setting the Word Wrap Width to a smaller value than the width of the layer the text effect is applied to. For example, if your text is applied to a Full HD layer that is 1920 pixels wide, and you set the Word Wrap Width to 1800, the 120 pixels that remain will be split to create a 60 pixel wide margin on each side of the layer.
- Blend: Determines how the Text is blended with the layer it is applied to. None will prevent the layer from being displayed at all, so only the text is visible. Normal displays the text over the top of the layer, so both are visible. Details on all the other Blend Mode options can be found on the page about Compositing With Blend Modes.
- Motion Blur: Sets the amount of motion blur applied to the layer when its position is animated.