
K-Touch v3.1 intoduces a new GUI element, sliders. Sliders can be used for volume but also could be used for any group of commands that represent a range of values. Instead of pressing buttons, users can drag their finger to control a device. This article details how to add a working slider to your GUI.
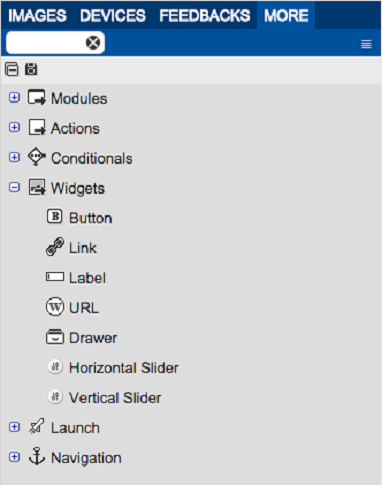
- In the More tab, under Widgets, find the horizontal and vertical slider options.
![]()
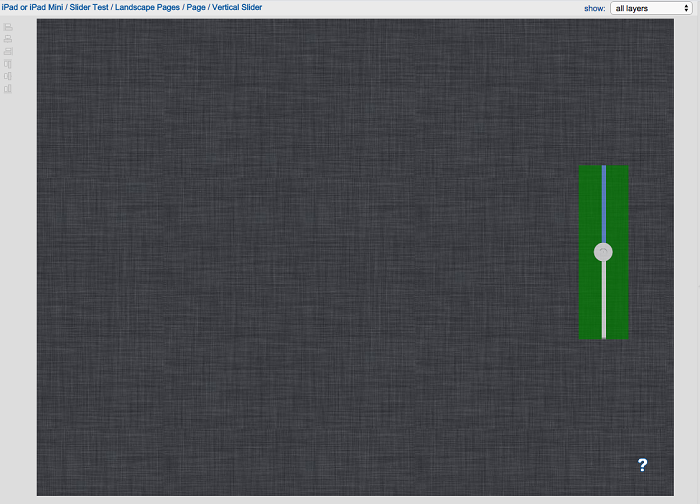
- Drag a slider into your GUI.
![]()
- Drag the entire device driver this slider will control onto the slider.
![]()

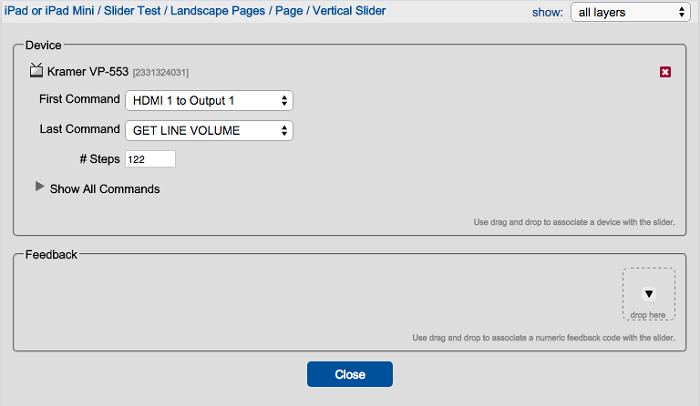
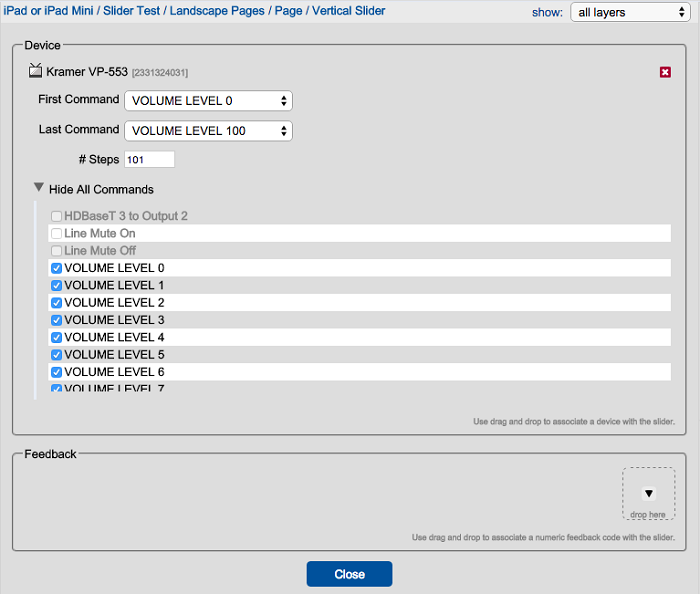
- Double click the slider to enter the edit view.
![]()
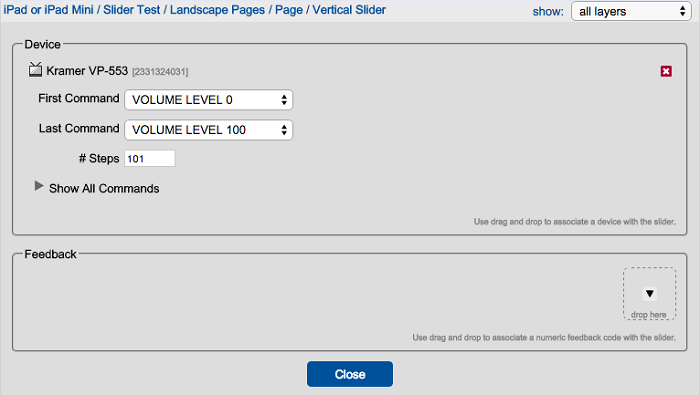
Here you define what commands this slider can access. You can select from any set of commands inside the device driver.
Note: Make sure your commands are in order in the device driver.
![]()
- Optional: Show all commands.
Click Show all commands to see all the commands the slider accesses. To individually check or uncheck additonal commands, do it here.
![]()
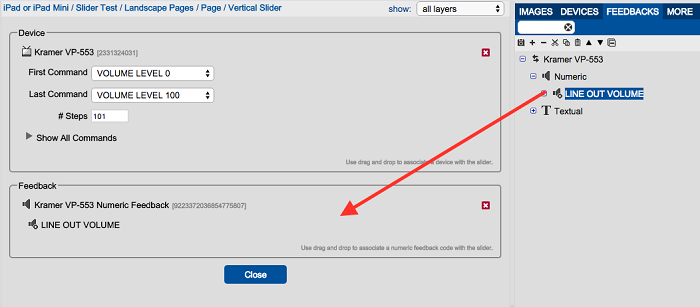
- Optional:
- For bi-directional use, drag the numeric feedback for this device that matches the range being used onto the feedback part of the slider.
![]()
- Set the slider properties.
![]()

Name: Give the slider a name.
Row: Vertical position of the upper left corner of the slider.
Column: Horizontal position of the upper left corner of the slider.
Width (cells): Horizontal footprint of the slider.
Height (cells): Vertical footprint of the slider.
Number of steps: [Read only] Number of steps used in the slider..
Send commands on: ?Drag or Release. Define if you want the slider to continually send commands as you drag your finger or if it should only send one command when you release your finger.
Knob color: Define the color of the knob.
Bar fill color: Define the color of the bar under/left the knob.
Bar empty color: Define the color of the bar above/right of the knob.
Bar thickness: Define the thickness of the bar in pixels.
Knob radius: Define the size of the knob in pixels.
Device: [Read only] The device assigned to the slider.
Feedback: [Read only] The feedback assigned to the slider.