
A page is the visible canvas on which you create your control GUI. Pages are made at the exact resolution of the handset you are using. A panel may contain multiple pages in landscape or portrait orientation.
- Choose a Panel
- To create a new page, select and expand the panel to which you add the page.
![]()
- 2. Add the Page
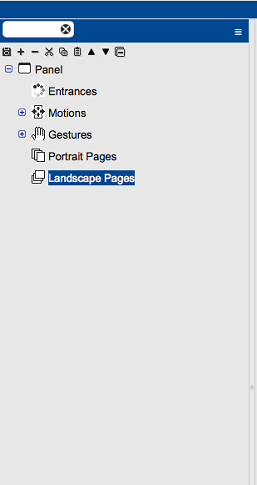
- To create a portrait page, select the Portrait Pages section of the panel.
- To create a landscape page, select the Landscape Pages section of the panel.
- After selecting the proper layout for your application, click the ‘+’ button.
![]()
![]()

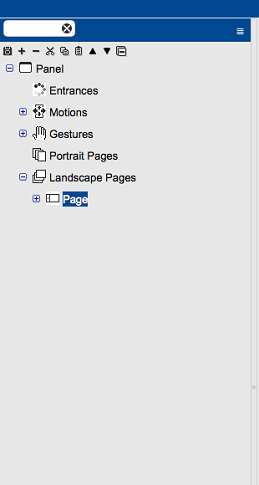
- Select the Page
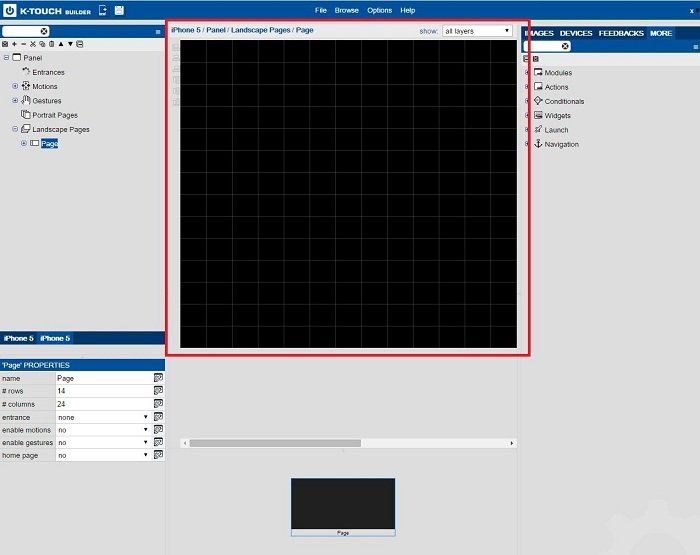
- After selecting the new page, a few sections of the screen change. The main center window displays your GUI canvas. Since this is a new page, the area is black.
![]()
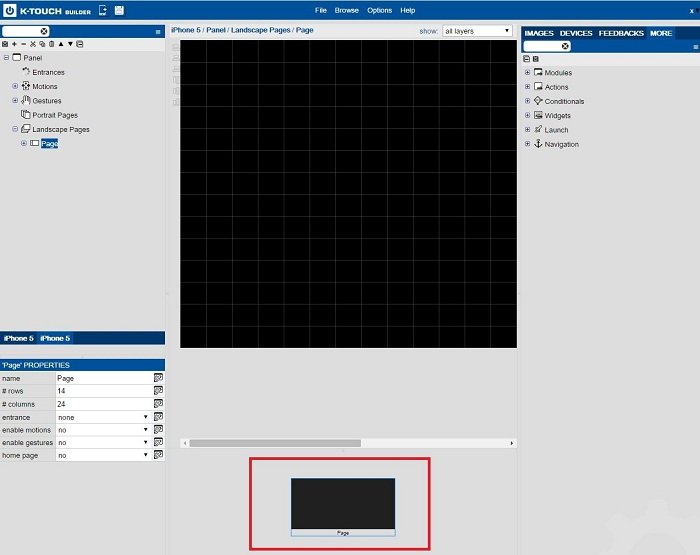
- The lower center of the screen displays screenshots and names of all the pages that are in the selected panel.
![]()
- In the lower left hand corner, properties appear for the selected page .
![]()
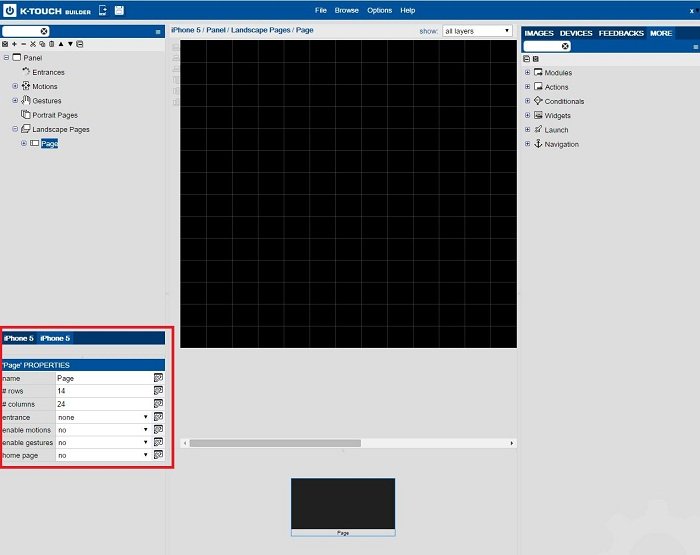
- Page Properties
![]()
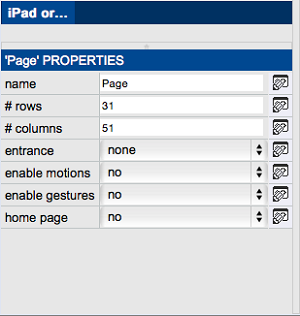
- Name: Name the page for easy identification.
- # Rows: Vertical position of the top left corner of the button as it pertains to rows in the grid. The default number of rows is 31 but you can adjust the grid size as your project requires. The maximum # of rows is related to the total number of vertical pixels available.
- # Columns: Horizontal position of the top left corner of the button as it pertains the columns in the grid. The default number of columns in the grid is 51 but you can adjust the grid size as your project demands. The maximum # of columns is related to the total number of horizontal pixels available.
- Entrance: If an entrance macro is defined for the panel, assign it to this page.
- Enable Motions: If motions are defined in the panel, select Yes to use them on this page.
- Enable Gestures: If gestures are defined in the panel, select Yes to use them on this page.
- Home Page: If this is the main page of the panel, select Yes.
You are ready to design your GUI
Copyright © 2025 Kramer
—
Powered by 