
In this article, I will explain how I created the multi page swticher template step by step.
- Create a new project and handset
- Set the handset to full screen mode to eliminiate all operating system elements and make K-Touch fill the screen.
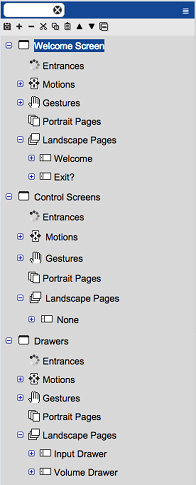
- Create panels and pages
Create 3 panels and 5 pages in the following configuration
- Panel: Welcome Screen
- Page: Welcome – This page will be what the user sees when the system is off
- Page: Exit? – This page will ask the user if they are sure they want to turn the system off
- Panel: Control Screens
- Page: None – This is the first control page, it is not tied to a specific input
- (more pages to come later)
- Panel: Drawers
- Page: Input Drawer – This page will contain the input buttons
- Page: Volume Drawer – This page will contain our volume buttons
![]()
- Give the welcome and control pages a background, leave the drawer pages transparant
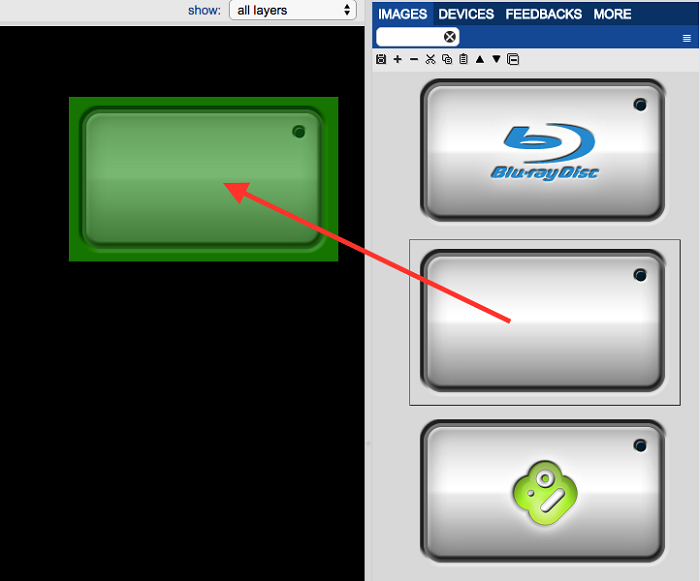
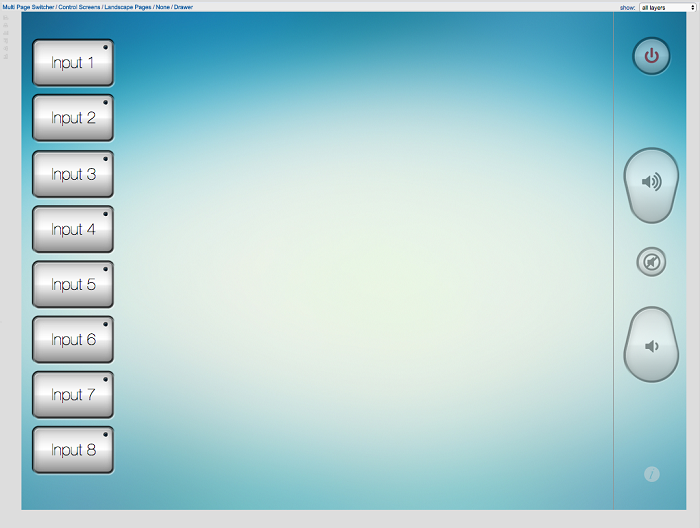
- Add input buttons to the input drawer
- Open the input drawer page in the drawer panel
- Drag an input button onto the page
Note: This drawer will exist on the left of our control screen so place the buttons on the right side of the input drawer page
![]()
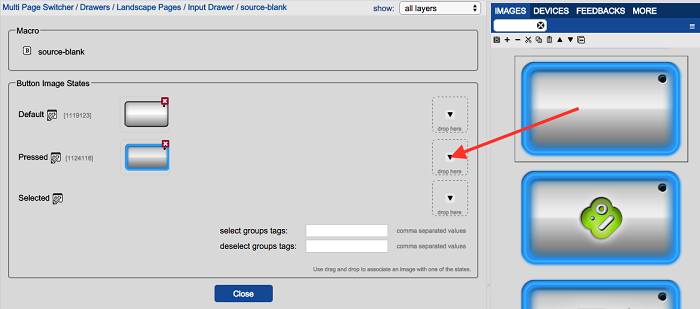
- Double click on the button to go to the edit view
- Drag the button’s pressed state image into the pressed state area
![]()
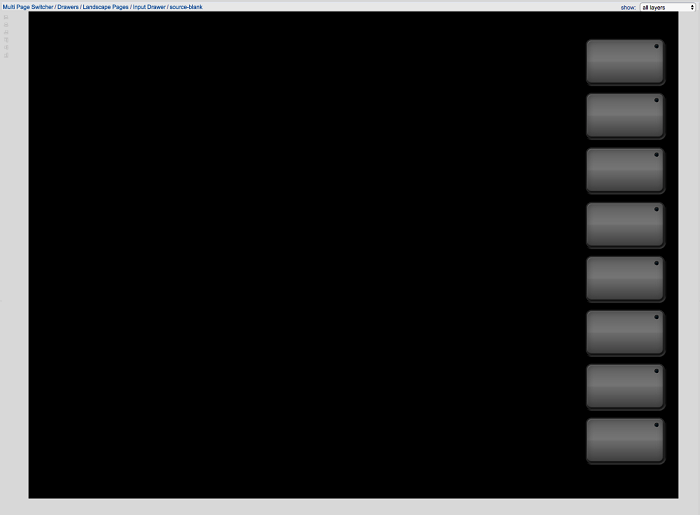
- Create identical buttons for the number of inputs you have (copy and paste works good for this task)
![]()
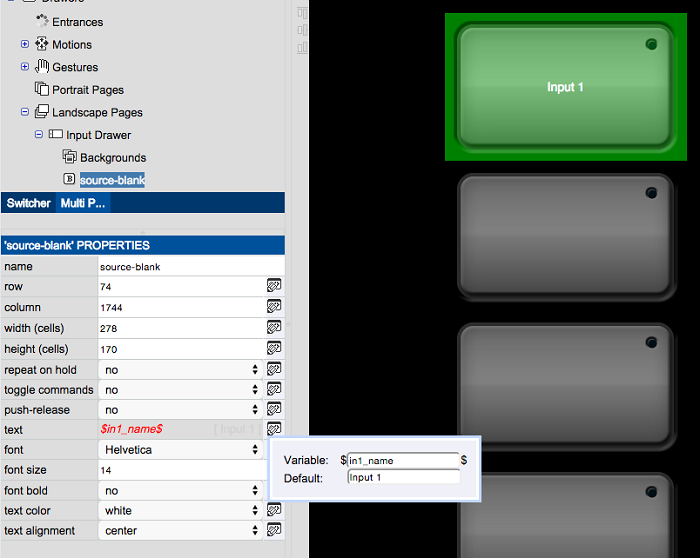
- Name each button, assign a variable to each button name and change button text font/color/size
- Give each button a name (input 1, input 2, etc.)
- Assigning a variable to each button name is not necessary for any project. (For the template, this will makes changing the input names easier. For large projects, this might be a good habit to get into anyway. You will see why in a few more steps)
![]()
- Repeat for all buttons ($in1_name$, $in2_name$, etc.)
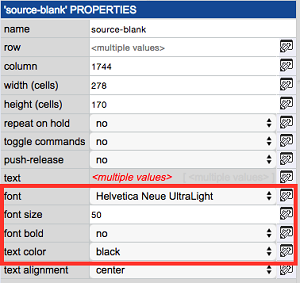
- Resize and change the color of the font to appear on the white buttons (highlight all buttons and change the settings once)
![]()
- Give the normal state of each input button a variable and add commands to control image states
Since we have the input buttons in a drawer, normal deselect groups will not work. Therefore we will have to control the image states manually
- Double click on an input button to go to the edit view
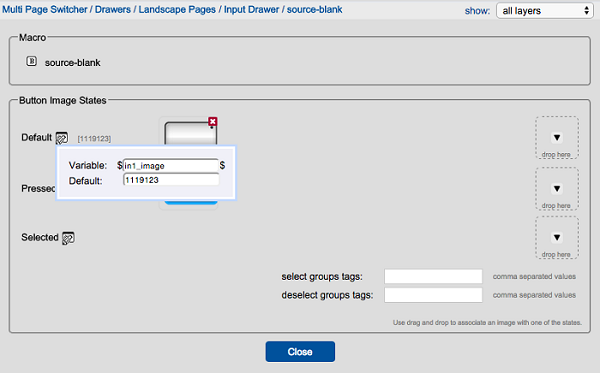
- Click the variable icon next to the normal button state and give the image a variable
![]()
- Repeat for all buttons ($in2_image$, $in3_image$, etc.)
For each input button press we will need to not only change the image of the selected input to show selected but also de-select all other inputs. - Add a set variable command to the Input 1 button
- Here we will be changing the input image variables. Set the variable name to $in1_image$
![]()
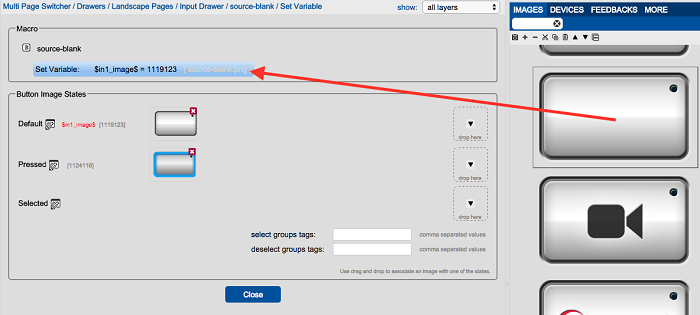
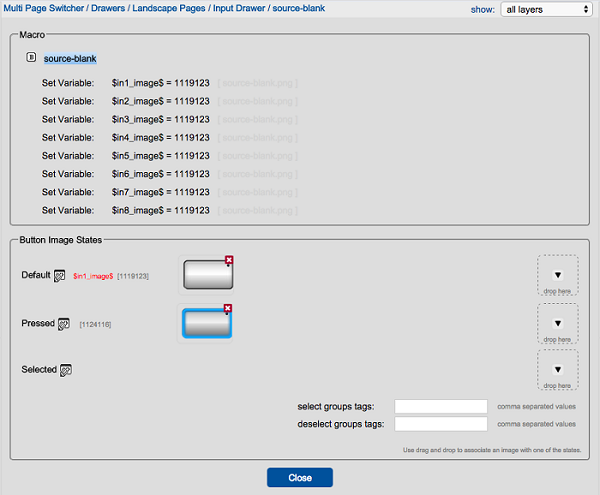
- We need to make the value of this set variable an image, to do this drag the image over to the set variable command. For now, set the variable to the “normal” button image (not selected)
![]()
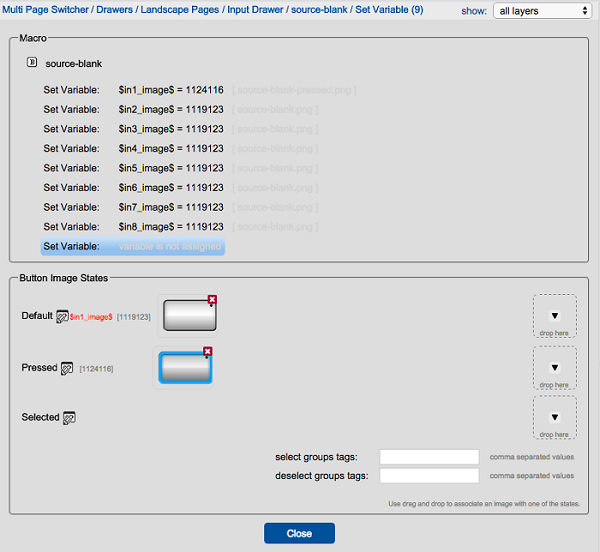
- Copy and paste this command so you have 8 total commands (one for each button)
- Edit the variable names so eahc set variable command is for one of the 8 buttons
![]()
- Copy all 8 set variable commands and paste them onto each of the 8 buttons (each of the buttons will contain all 8 commands)
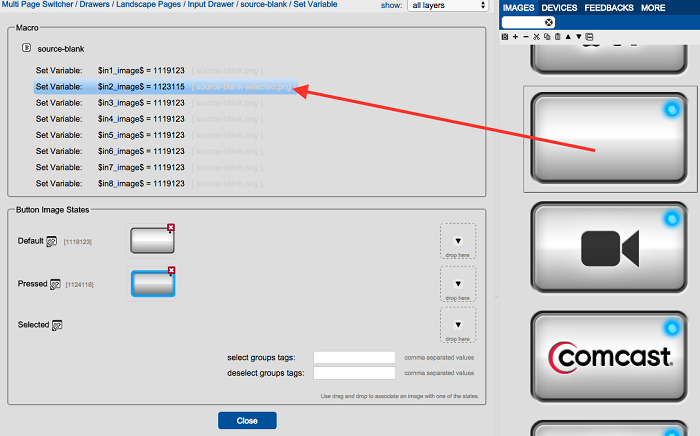
- For each button we need to adjust 1 variable. We want the button that is pressed, to change its own image variable so the button appears to be in the pressed state.
- Double click a button to get to the edit view, drag the selected image to the set variable that corresponds to the button you are editing (1 to 1, 2 to 2, 3 to 3, etc)
- See the example below for the input 2 button
![]()
- Done with the input drawer page (for now)

- Go to the volume drawer page, add a button to get back to the app settings
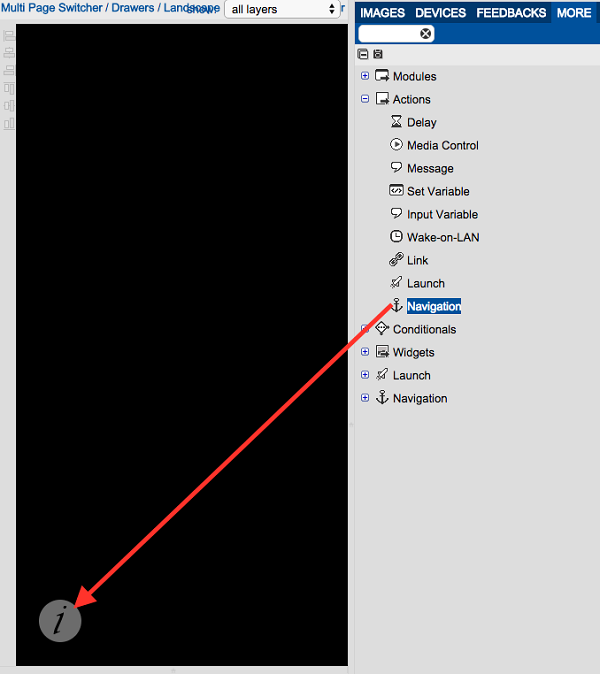
- Put a button in the bottom right corner that contains a navigation action to bring you out of the GUI and into the K-Touch app settings. Because this drawer will be on the right side of our finished GUI, place the buttons on the left side of the drawer
Note: This must be done for any GUI where the navigation bar was disabled or the GUI is full screen like this one.
![]()
Double click the button to see the edit view. Click on the navigation action to view its properties. Change the navigation action to sync.
![]()

- Add volume and power buttons with their appropriate pressed button state and make volume buttons active while pressed
![]()

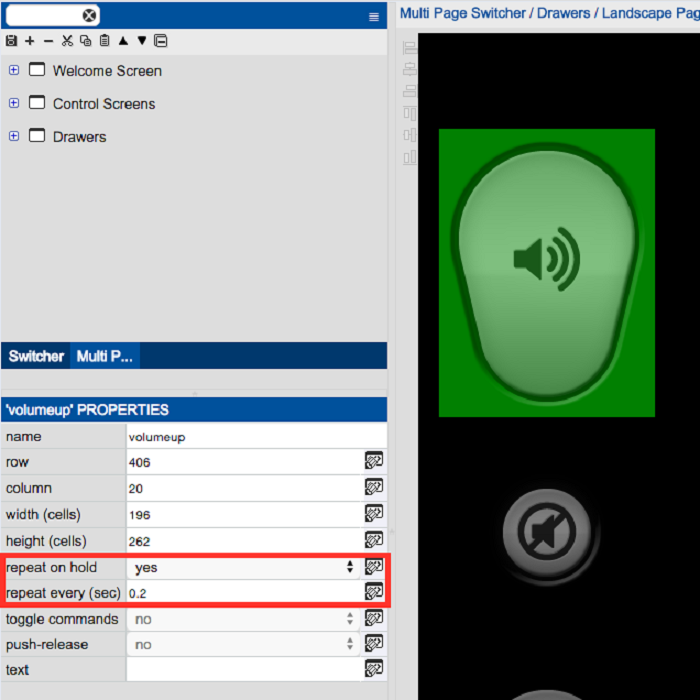
- To allow the volume buttons to continuously repeat when pressing and holding them, click on each volume button and set the repeat on hold property to ‘yes’
![]()
- Go to ‘none’ page in the ‘control screens’ panel. Add the drawers to the page
- Drag a drawer widget to the right side of the ‘none’ page
![]()
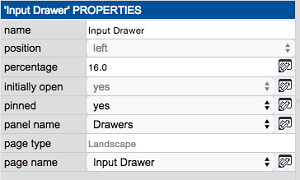
- Set the drawer properties
- Set pinned to yes (drawer is always open)
- Panel to Drawers
- Page to input drawer
- percentage to 16 (the right amout that the drawer will stick out to properly show my buttons)
![]()
- Repeat the process for the volume drawer on the right side of the ‘none’ page
![]()

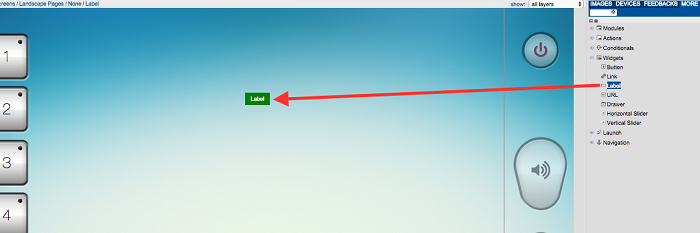
- Add a text label to show input status and make the label’s text a variable
![]()
- Resize label footprint
- Format text (size, color, font, etc)
![]()
- Assign a variable to the label’s text.
![]()


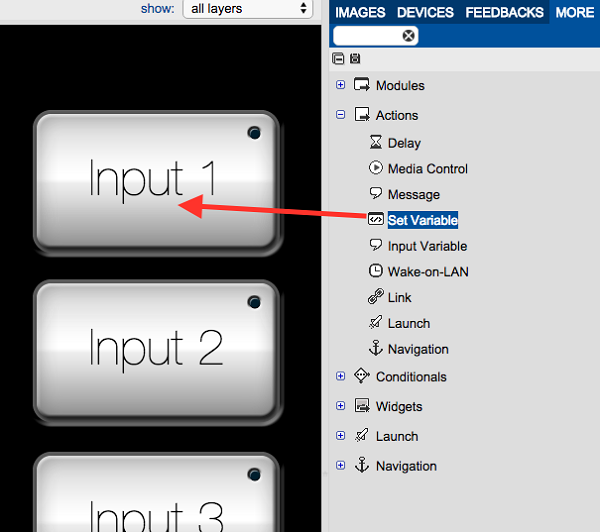
- Allow an input button press to change the text of the label
- Go back to input drawer page
- Add set variable action to the first input button
![]()
- Double click the button to reveal the edit view
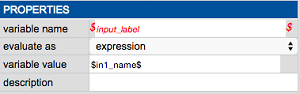
- Click on the set variable command and view its properties
![]()
- Set the text label to equal the input name. You must use an expression since there is a variable on the right side of the equation
![]()
- Repeat step 13 for all buttons
$in2_name$ for Input 2 button, $in3_name$ for Input 3 button, etc.
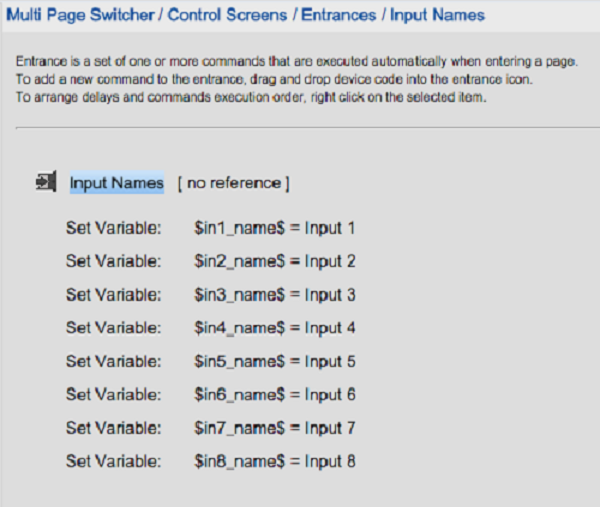
- Create an entrance to set input names
This step allows you to create a place for input names to be changed 1 time but have that change spread thoughout the entire project. In this case setting the variables in the entrance will not only change the button’s text but also follow through to the input name for the text label changes.
- Create an entrance in the contorl screens panel
![]()
- Create a set variable for each input and set the name to whatever you want
![]()

- Create a control page for each input
The goal of this project was to create a GUI where each input can have its only indivdual control screen so, for example, when you press the blu-ray button, the blu-ray controls show up on the screen. In this step we will create a page for each input using the ‘none’ page as a template
- Copy and paste the none page 8 times… one for each input
- Rename the pages to their corresponding input names
![]()

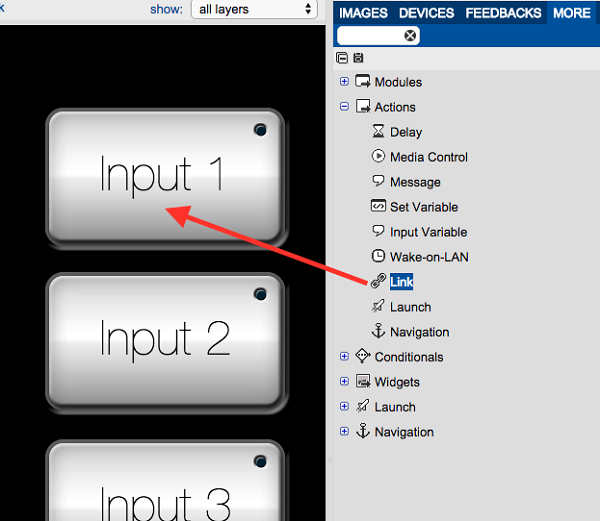
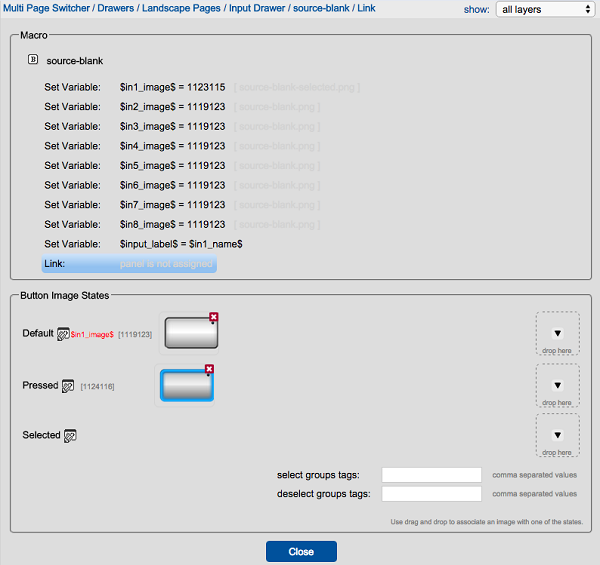
- Create page links on input buttons
- Add a link to each input button, in the input drawer, that links it to its own control page.
![]()
- Double click the button to get to the edit view
- Select the link command
![]()
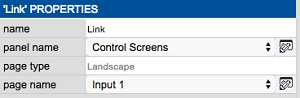
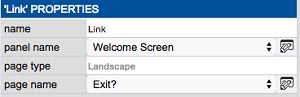
- Set the link properties
![]()
- Repeat link for all buttons (Input 2 page for input 2 button, input 3 page for input 3 button, and so on)
- Create welcome page
- Add some text labels to the page to give users direction
![]()
- Add a full screen transparant button (using the button widget) to allow the ‘press anywhere’ to work
![]()


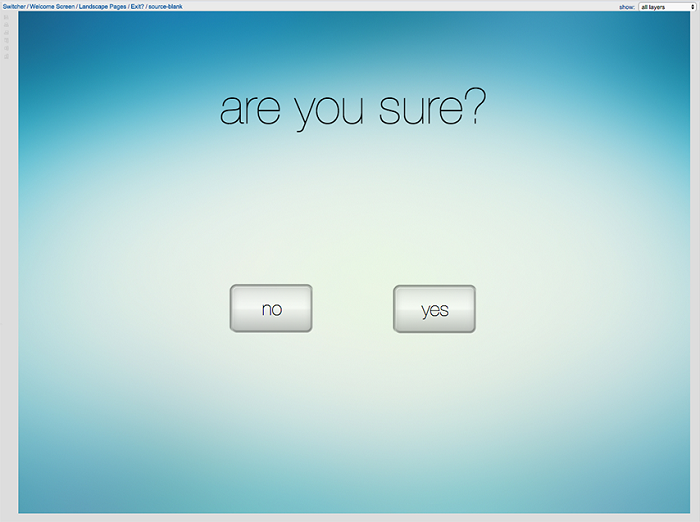
- Create the exit page
- Ask the user if they are sure they wanna quit and present two options
![]()
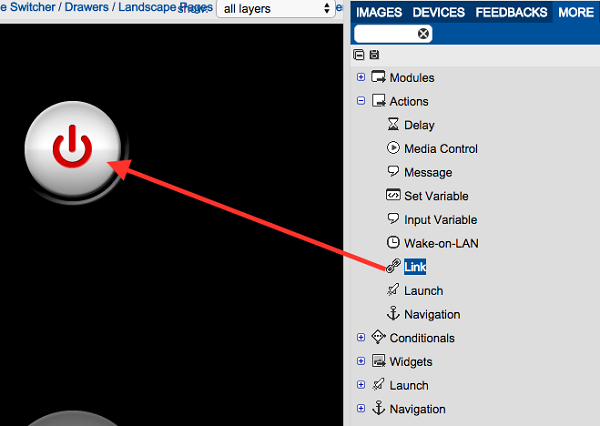
- Create links between the pages and panels
- The power button on the volume drawer page should link to the exit page
![]()
![]()
- The full screen button on the welcome page should link to the none page on the control screens panel
- The no button on the exit page should link back to the none page on the control screens panel
- The yes button on the exit page should link to the welcome page
- Optional: Create a blu-ray page
The benifit of having a page for each input is the idea that you can have individual source controls or information for each selected input. Since many applications require a blu-ray/dvd player and it can be time consuming to add all the buttons and image states. I am going to add one to the template. This could easily be deleted if a customer didn’t have a blu-ray/dvd player
- Select one of the input pages and drag transport control buttons onto the screen
- Add the pressed image state for each button
![]()

- Save
This is how you create the template. The GUI is complete. The only thing left to do is add commands for your specific project and set up the mobile app.
This solution is finished.
Copyright © 2025 Kramer
—
Powered by 