
This article explains how to create a single toggle button that performs different actions and changes appearance for each action.
Adding Multiple Actions to a Button
- Launch the Builder.
- Add a new button or select an existing button from the interface.
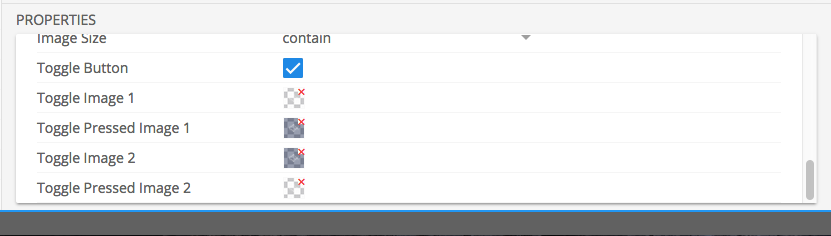
- Select the Toggle Button checkbox in the Properties window.
Note: Selecting this option hides the Press and Release options from the button edit screen. - Select the relevant Device from the right pane.
- Add actions to the button.
Double-click the button to view the actions that were added. Multiple actions are shown as Tap: 1, Tap: 2 and so on.

Adding an Image for Each Action
- Make sure you have added the required button images to an Image Library.
- Make sure the relevant interface button is selected.
- Drag an image from the Images tab in the right pane to the Toggle Image 1 field in the Properties window.
Drag different images to each of the Toggle Image and Toggle Pressed Image fields as needed. - Save or Publish your changes.
Note on Toggle Buttons
Toggle images may not align between actions and images. Example: on the first press of a button within a page or overlay, you are executing command one – but triggering toggle image 2 to appear. Toggle image 1 as programmed in the Builder is actually the default image that appears on the page.
Revision:
4
Last modified:
29 October 2019
Feedback
Copyright © 2024 Kramer
—
Powered by 
Post your comment on this topic.
Kramer Control Representative wrote: Oct 11, 2017
If multiple actions are necessary within a single press of a Toggle button, you will need to create a Macro in the Macro section. Then within the toggle button you will add two execute macros. The toggle button will execute Macro 1, then Macro 2 and so on.
Ian wrote: Oct 11, 2017
How do I assign multiple commands to Tap 1?