Overview
With the release of 2.5.0 programmers can now provision Brains that are connected to WAN, but by using the Kramer UI webpage.
- If you are not familiar with the Kramer UI webpage, click here
This new feature means that the programmer no longer is required to use an iOS or Android device to complete the provisioning process of a Brain. iOS and Android provisioning still works, but is no longer a requirement.
Process
- Open Manager
- Select Project from list of Projects
- Select Space from inside Project
- Make sure that you have Published the Space
- For Reference Spaces you must first ‘Publish All References’ from the Master Space (if the Space is newly created)
- Enable Express Mode
- Generate provisioning code by clicking the Blue arrow

Copy the Provisioning code to your clipboard
- You can use the blue ‘Copy’ button next to the arrow to copy the code as well
Open the Kramer UI webpage of the Brain and select the Provisioning tab

The two tabs that appear within this section relate to the Internet status of the installed Brain
- Online Provisioning
- Brain is connected to WAN with access to cloud servers
- Offline Provisioning
- Brain is not connected to WAN or does not have access to our cloud servers
In this example we are using Online provisioning, select the tab and paste the code into the section that appears below and select provision Brain once the code is pasted

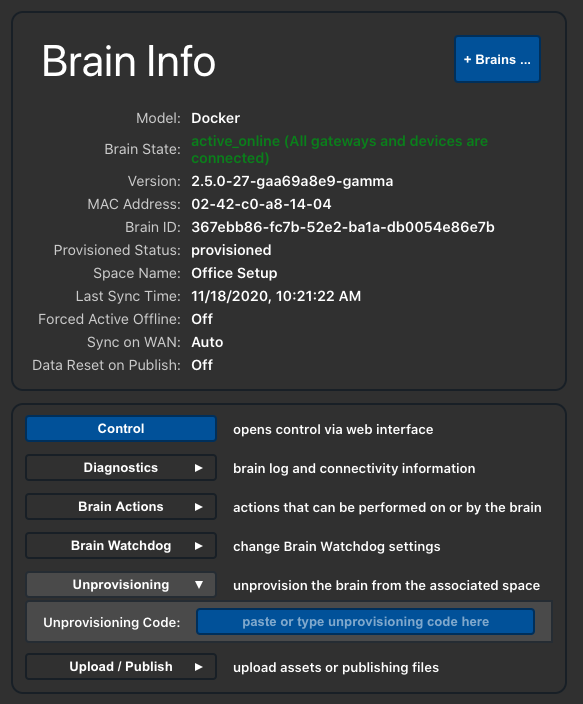
Once the Provision Brain button is selected the Brain will begin the provision process. Once the provision process is complete the Provisioning tab will change to show Unprovisioning and the Brain info will show current Brain status

Revision:
5
Last modified:
24 November 2020


Post your comment on this topic.